- TOSIZE.at
- Do it yourself
- DIY Projects
Fitting risers on open staircase with OSB-3, by Sander
Fitting risers on open staircase with OSB-3, by Sander

Create this project yourself with sheet material cut to size by TOSIZE.at!
Sander
Average
2 minutes
Description by Sander
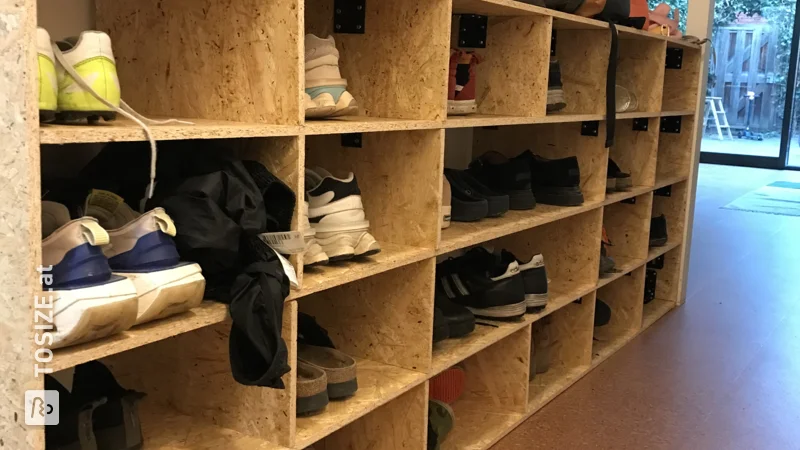
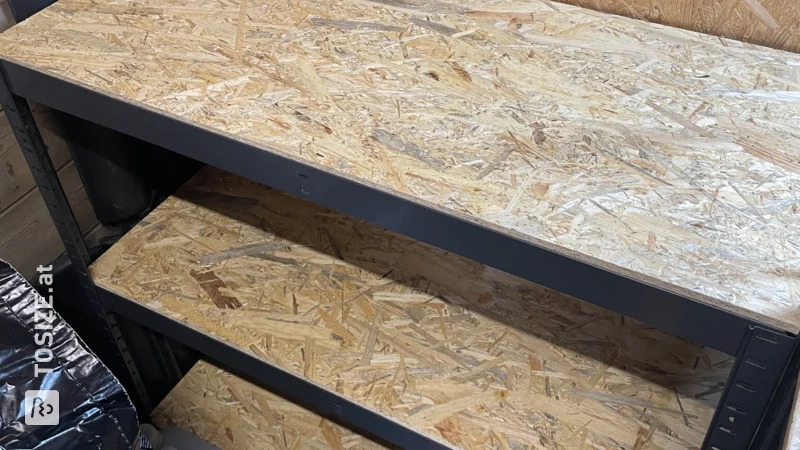
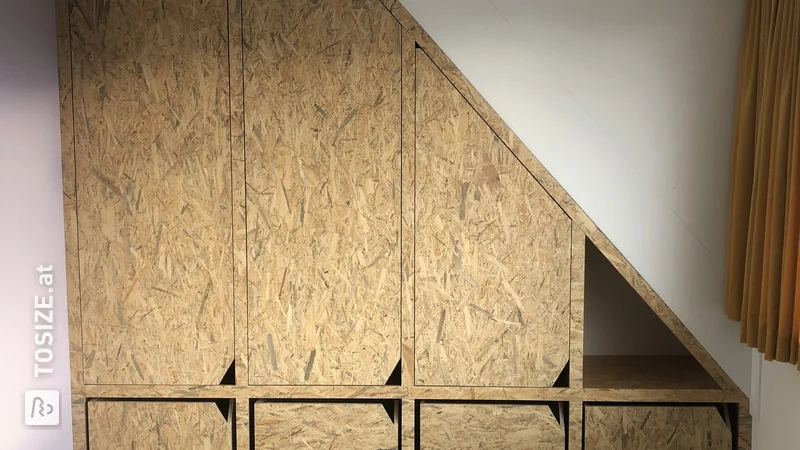
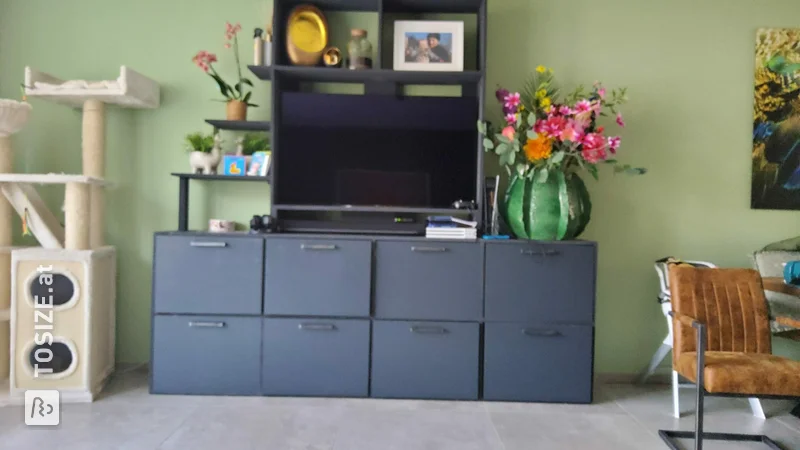
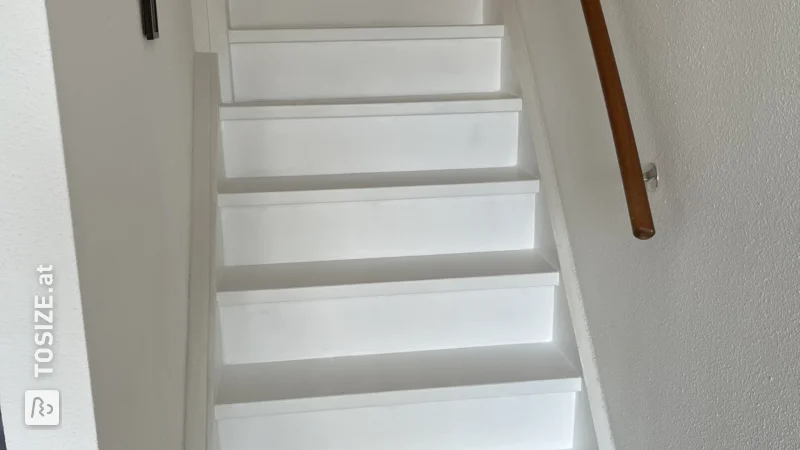
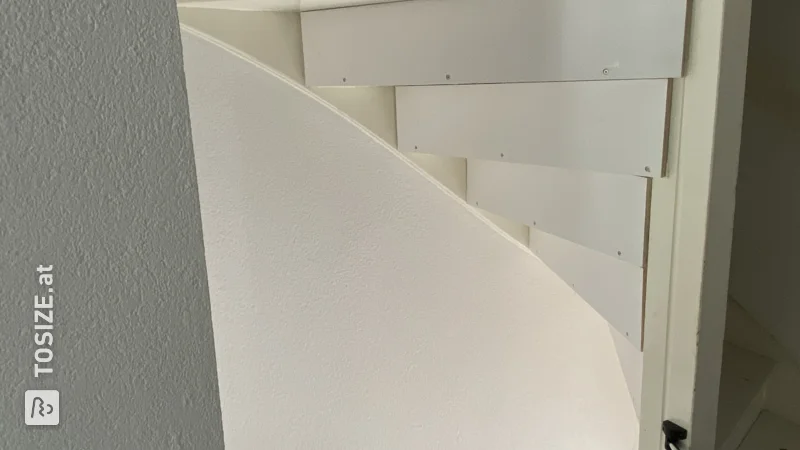
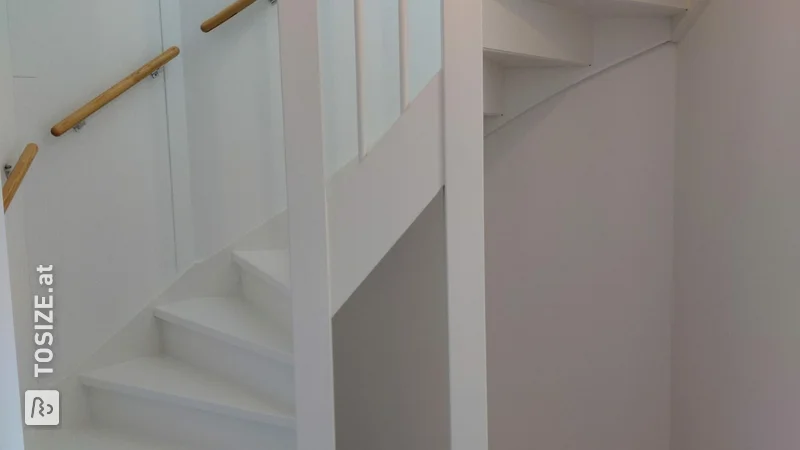
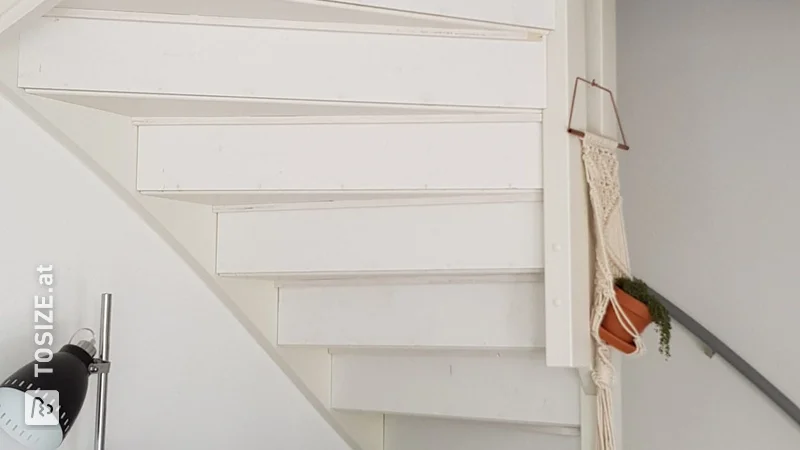
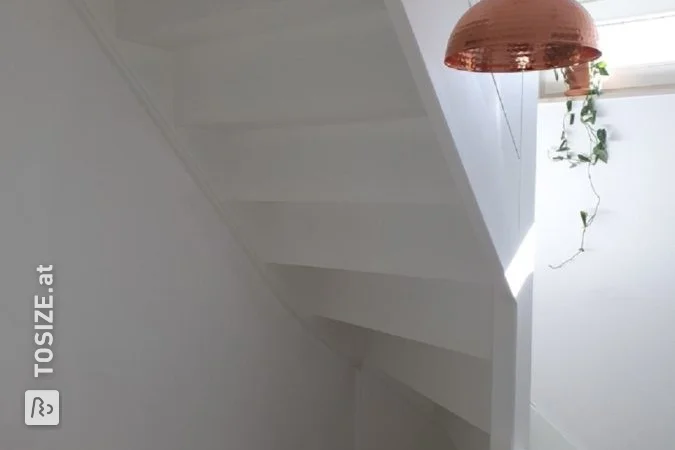
I closed off the staircase to the attic, preparing it for carpeting.
How I made this project
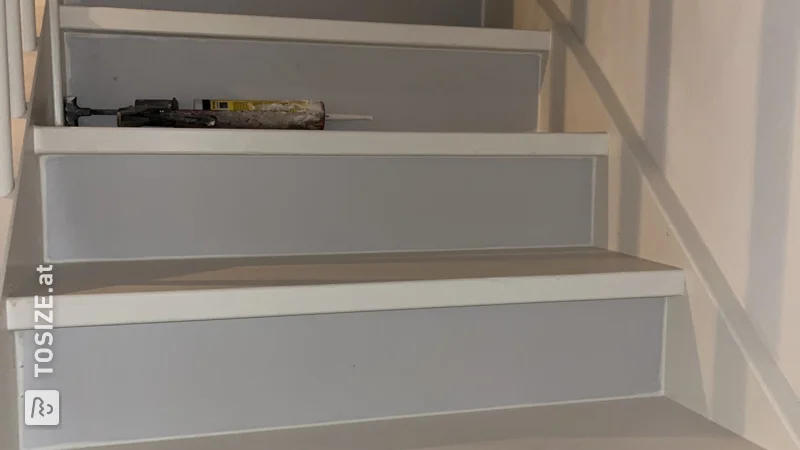
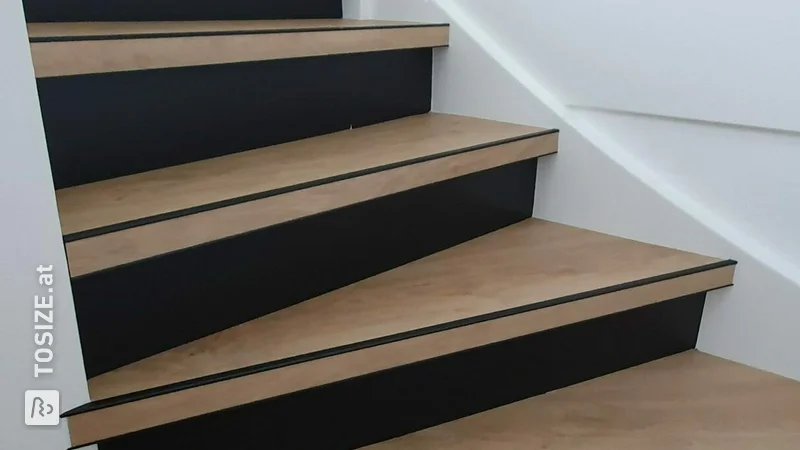
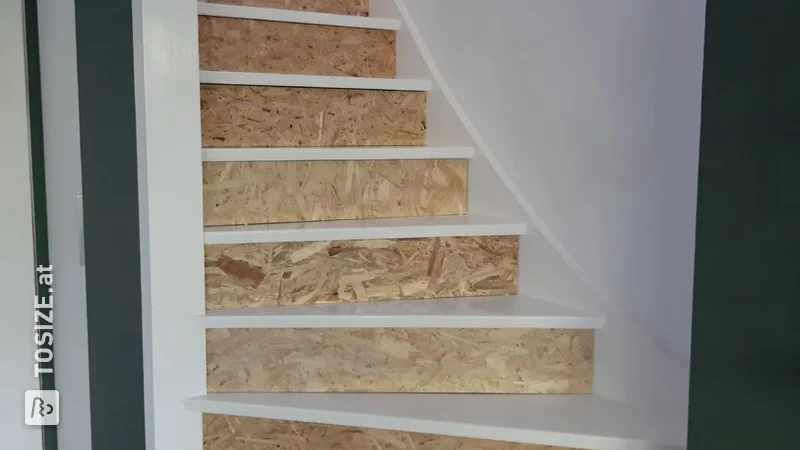
I used thick OSB 3 panels. Attached with long 3 OSB gold zinc screws vertically through the stair treads into the upper edge of the riser, and 3 screws horizontally through the bottom of the riser and through the tread.
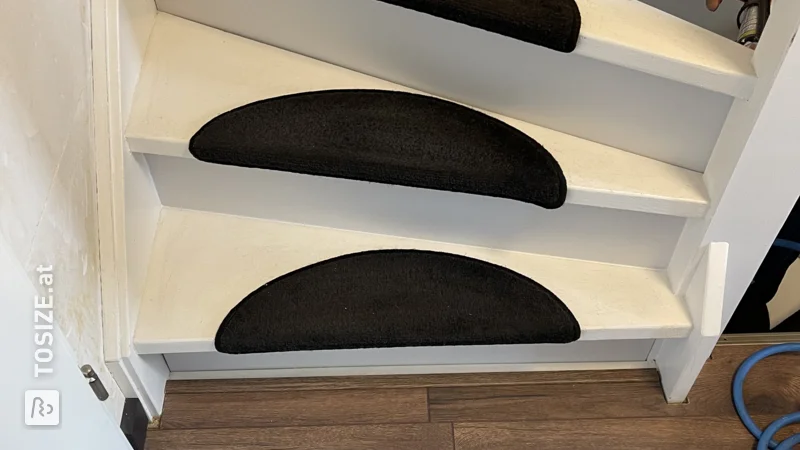
- Removed anti-slip strips.
- Filled slots of anti-slip strips (preferably use real wood filler instead of putty).
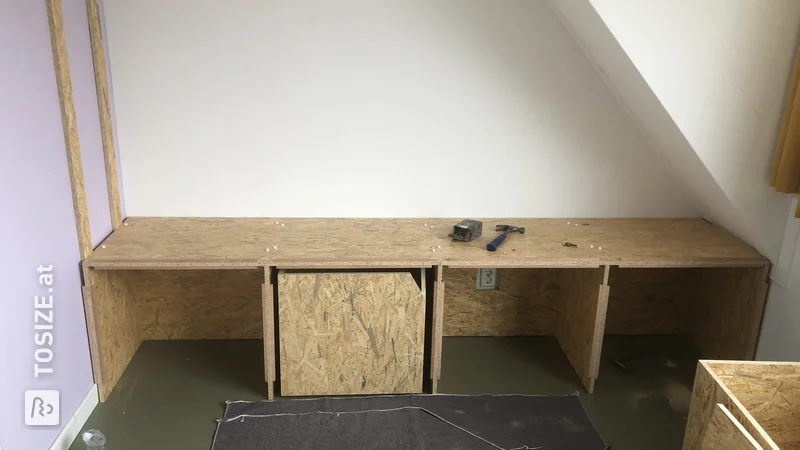
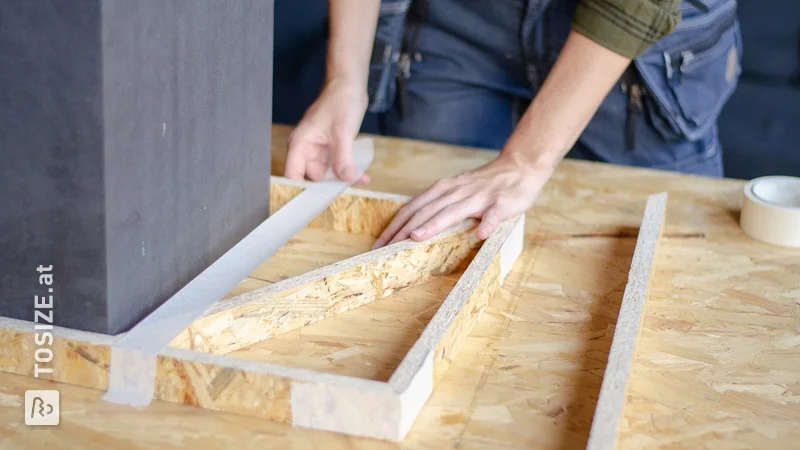
- Fitted and trimmed panels. Unfortunately, with a jigsaw, ideally with a table circular saw.
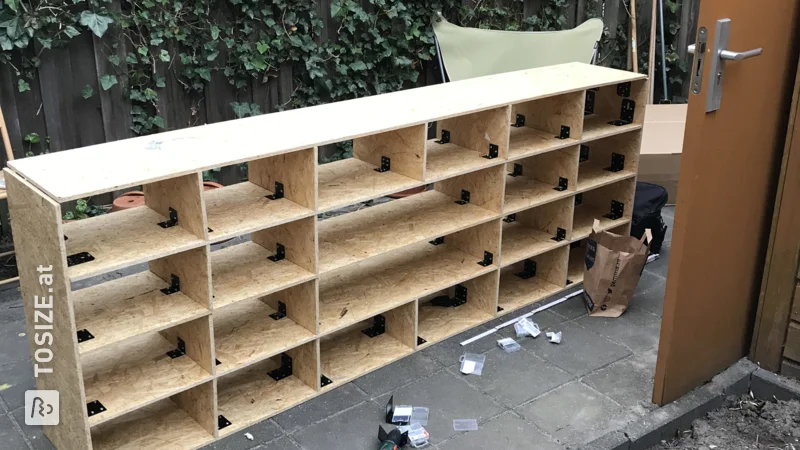
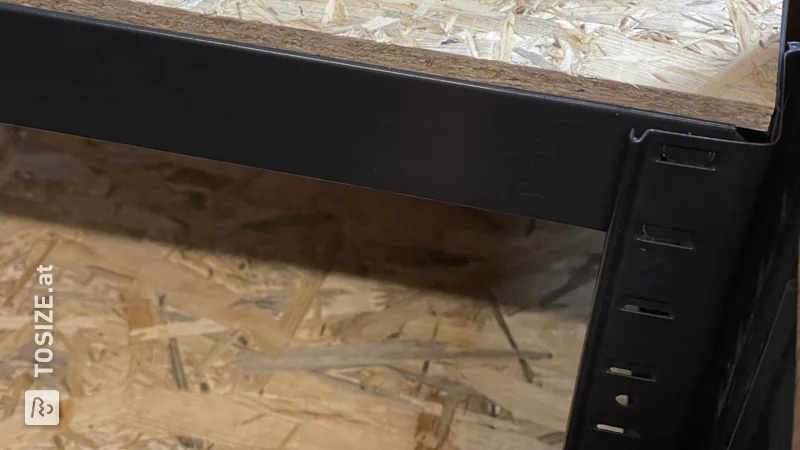
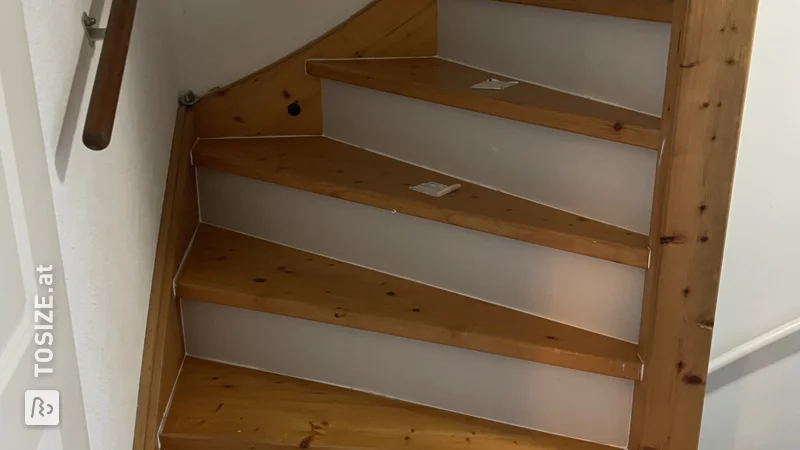
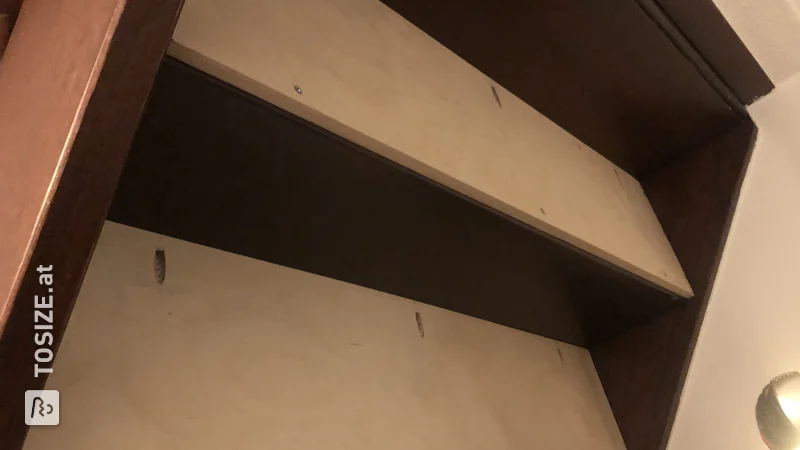
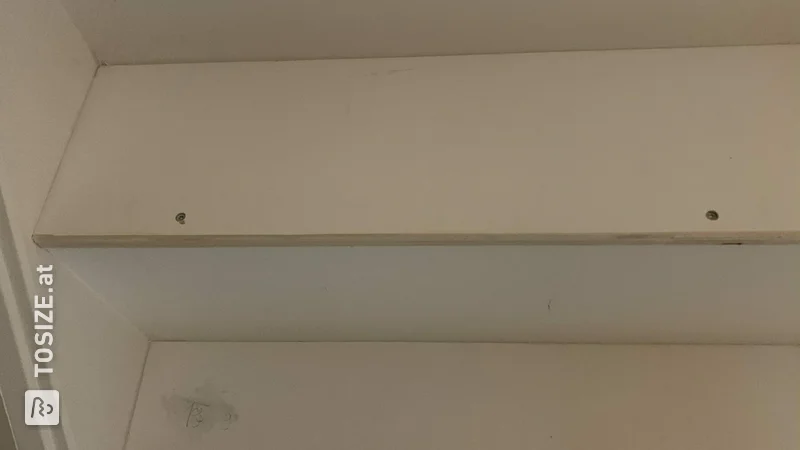
- 10 cm from the sides of the risers, one screw on each side, plus one precisely in the middle lightly screwed in (for horizontal attachment on the back of the tread). Since it's difficult to work under a staircase, don't screw them in the air.
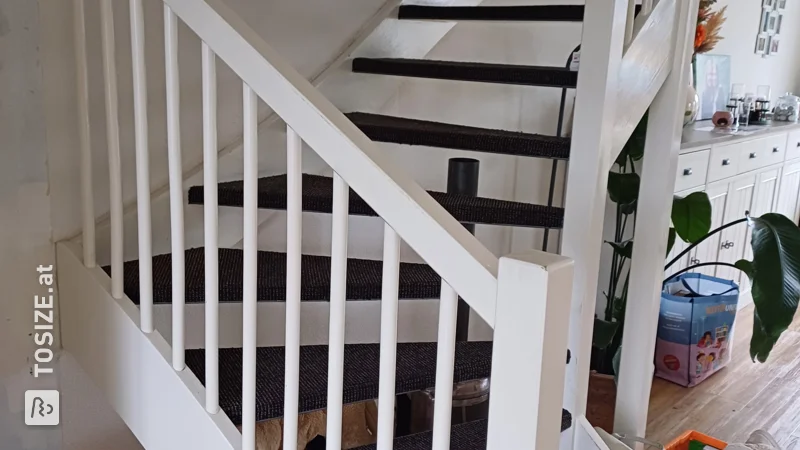
- Vertically attached on top of the staircase. First, pre-drill very accurately perpendicular to the tread. Check if you're not off. Use a tape measure under the overlying stair tread to the riser, and the exact thickness of the panel. Note: drilling perpendicular can be done with a jig but the treads themselves are not completely flat and level due to construction. In practice, it worked but proceed very cautiously.
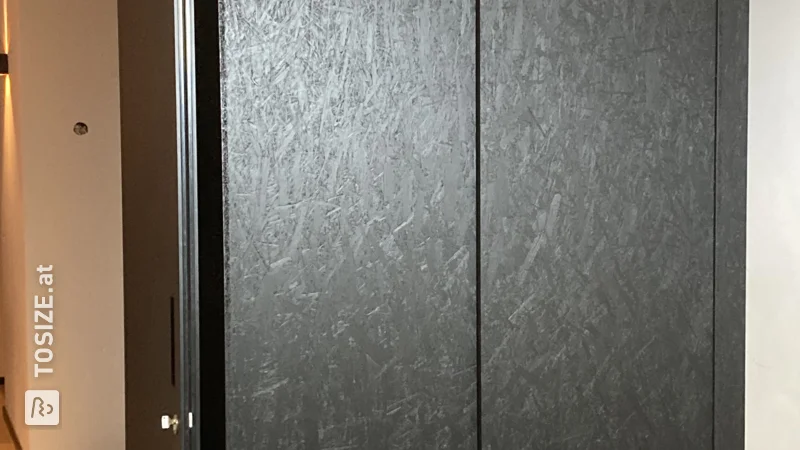
- Sealed large gaps with sealant. Use suitable sealant such as glazing sealant due to movement and forces. Note: OSB panels are printed on one side. In this project, the staircase was carpeted so I could proceed with drilling, sealing, etc.
Dimensions of my DIY project
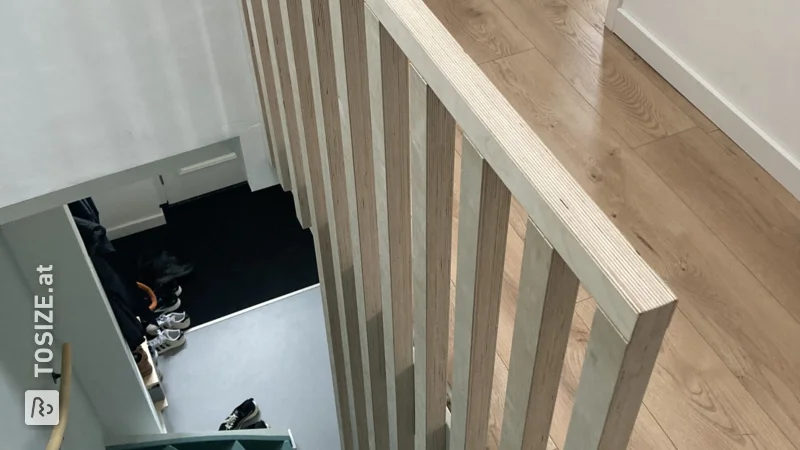
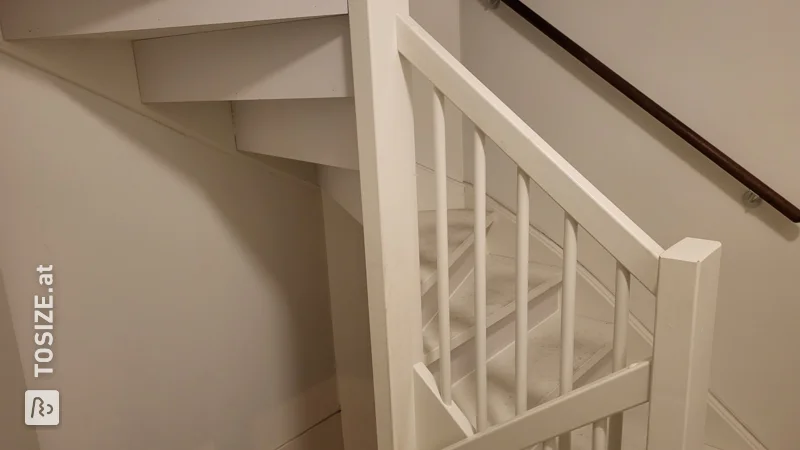
The sizes vary per step. Pitfall: do not just use a laser distance meter, some are inaccurate at short distances such as the length of a riser! This forced me to trim all risers myself. When using thick panels, consider that if the tread is not perpendicular to the stringers of the staircase (especially in curves), a gap will be created and the thick panel will no longer fit properly.
Tip! Also check out our handy DIY tips!
How next?
Want to make this DIY project? Check out Sander's saw list and complete your order easily.
€210.87
View all sheet materials