Making your own to size worktop

A worktop is ideal for doing odd jobs, storing your tools or enjoying working in your workshop. Want to make your own custom-made worktop? It starts with a solid worktop from TOSIZE.at. We will cut your worktop to size for you and deliver it quickly to your home. Nice and easy!
- How to make your own to size worktop?
- What items do you need to make a worksheet?
- How high is a worktop?
- How thick should a worktop be?
- How to make a drawing for a worksheet?
- Which chassis are you using?
- What material do you use for a to size worktop?
- How do you finish a worksheet?
- Examples of worktops made by our handymen
- Getting started with your own worksheet
How to make your own to size worktop?
A worktop should be able to take a beating and be made of sturdy, durable material. That's why you simply order a worktop to size at TOSIZE.at. In fact, we have many material types and thicknesses in our range. You choose the type of wood that best suits your job and we will cut it to size for you.
If required, we finish the edge with an ABS-band.
What items do you need to make a worktop to size?
Before you start your project, it is useful to have the following items ready.
- Cordless drill: to easily pre-drill holes and mount the legs or base to your worktop
- Squared paper, pencil, eraser, ruler: to make a drawing of your work surface or workbench
- Primer, edge sealer, lacquer or other finishing agent: most of TOSIZE.at's timbers still need finishing
- Sandpaper: always handy to have on hand, to smooth away unevenness or neatly sand your drill holes
- Tape measure or folding rule: to measure everything correctly and order a worktop in the right size from us
- Spirit level: to neatly level your worktop
How high is a worktop?
Of course, you decide entirely what the dimensions of your worktop will be. But, it is smart to think carefully about the height of your worktop.
Do you mainly want to sit at it? Then take into account the height of the chair or stool you place next to it. Make sure you leave at least 20.0 cm between the seat of your chair or stool and the underside of the worktop. Then you can sit at it properly.
Do you mainly work at your worktop while standing? Then you can use the following rule of thumb for the height. Stand up and let your arms hang alongside your body. The height of your wrists is the ideal height of your worktop. After all, you should be able to lay your hands flat on the worktop when you stand at it. So in most cases, the height of a worktop will be between 80.0 cm and 100.0 cm.
How thick should a worktop be?
A worktop needs to be strong and sturdy. You want it to be able to take a beating. But, the thickness of the worktop is certainly not the determining factor here. The type of wood you choose is much more important.
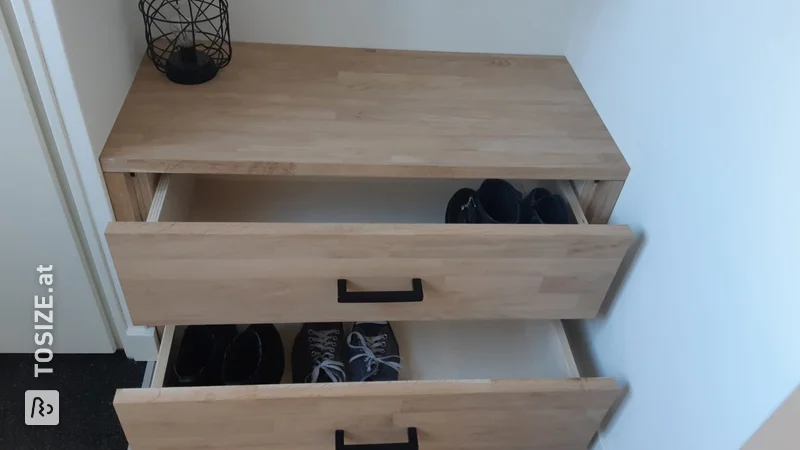
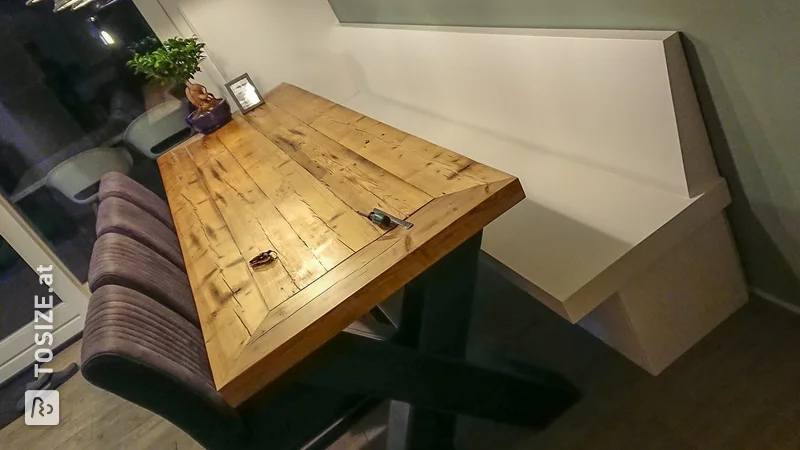
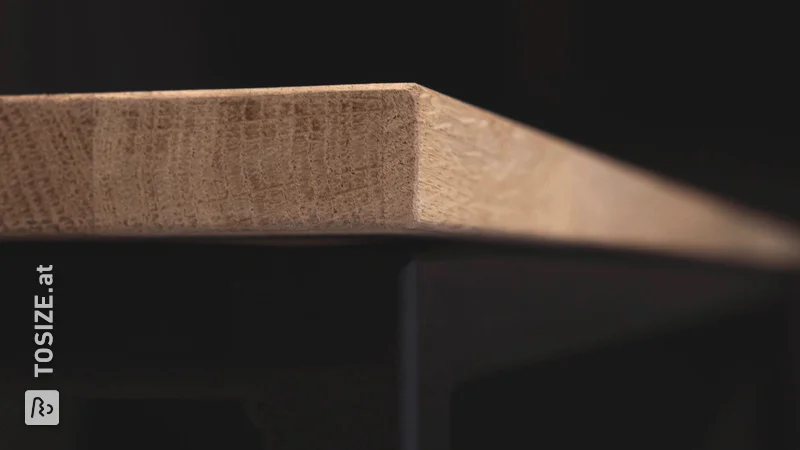
To give you an indication of the thickness of a worktop: in the projects of our handymen, we see many worktops with a thickness of 18.0 mm to 22.0 mm. But, we also see peaks of 40.0 mm, like this worktable by Ineke. Of course, a thick top looks nice, robust and solid.

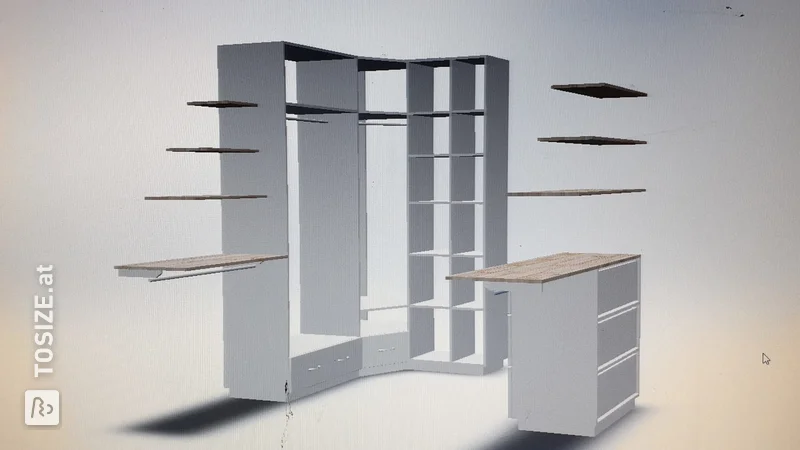
How to make a drawing for a worksheet?
When making a worksheet, you don't always need to draw a picture. But, it can certainly help you get a good idea of what you are planning and what materials you need. Are you going for a complete workbench with drawers and a tool rack? Then it is definitely necessary to make a good sketch before you start.
A sketch is, of course, simply made with graph paper, a ruler and an eraser. It can be helpful to include the entire room in your sketch, so you can clearly see how much space your worktop takes up. You can also use painter's tape to tape off the outer dimensions of the workbench or worktop in your room.
We also have some tips for measuring your project for you.
As you design, consider the different tools you plan to use or store on your worktop. Do you want to add a wall rack for tools? Or a drawer unit underneath? Do you need to attach a vice to the worktop or a crosscut saw? Take this into account in your design.
Also draw carefully how you are going to make the base. Do you already have a metal frame on which the worktop will rest? Or are you going to make the base yourself from wood? These are all aspects you will work out in your drawing.
If you want to work on your drawing digitally, you can use online programmes such as SketchUp or FreeCAD.
Tip: Are you ordering several wood materials in webshop? Then give each part a label, so that you can tell them apart at home and can quickly start your job.
Which chassis are you using?
A sturdy worktop naturally rests on a sturdy base. You have several options for that.
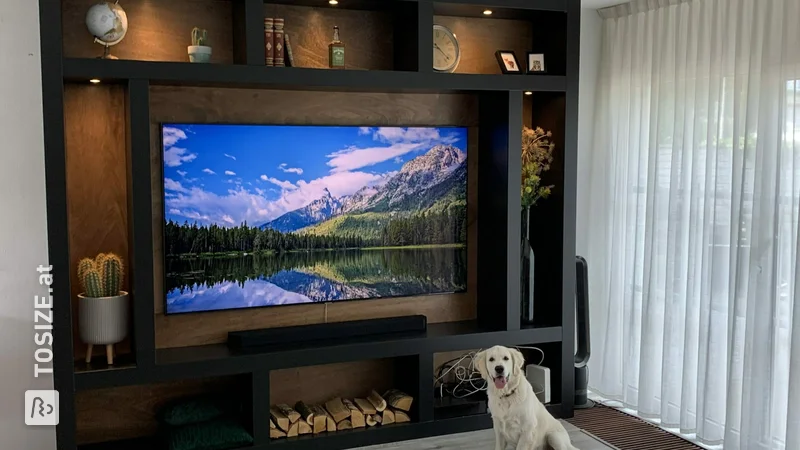
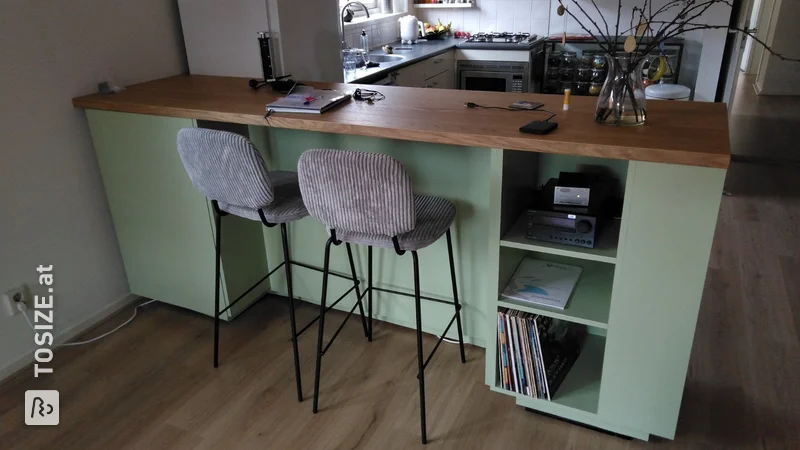
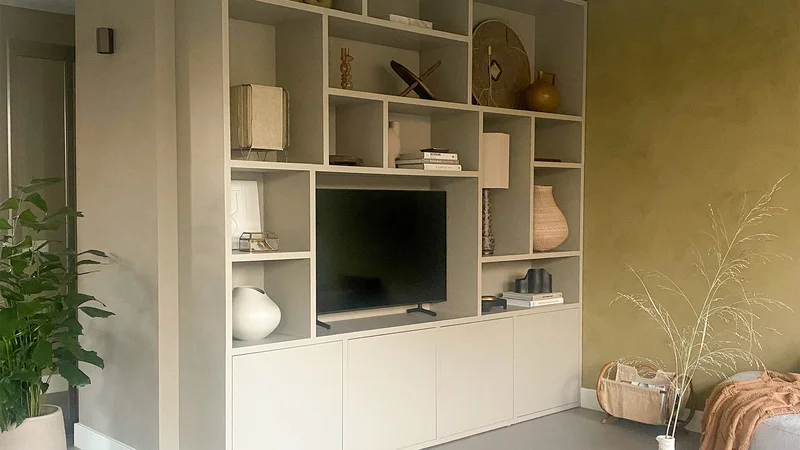
For example, you can opt for a cabinet base to give you lots of storage space. So did handyman Jochem with this large workbench.
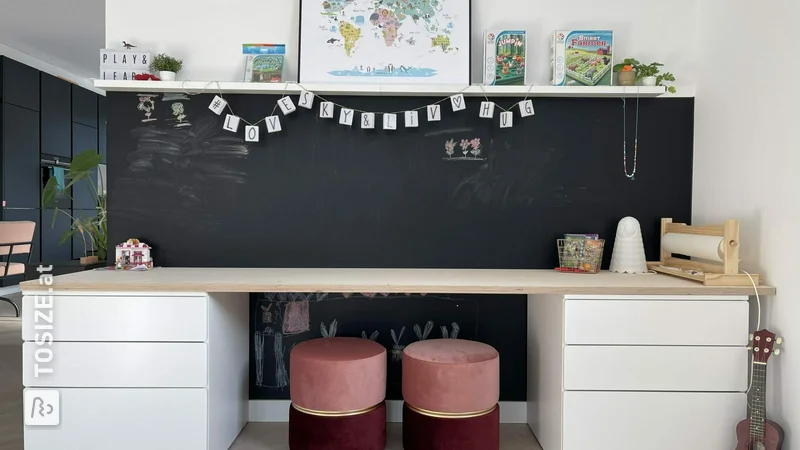
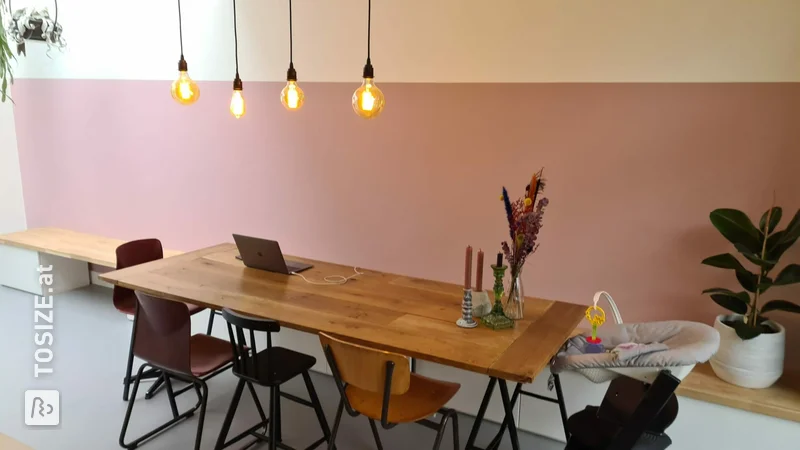
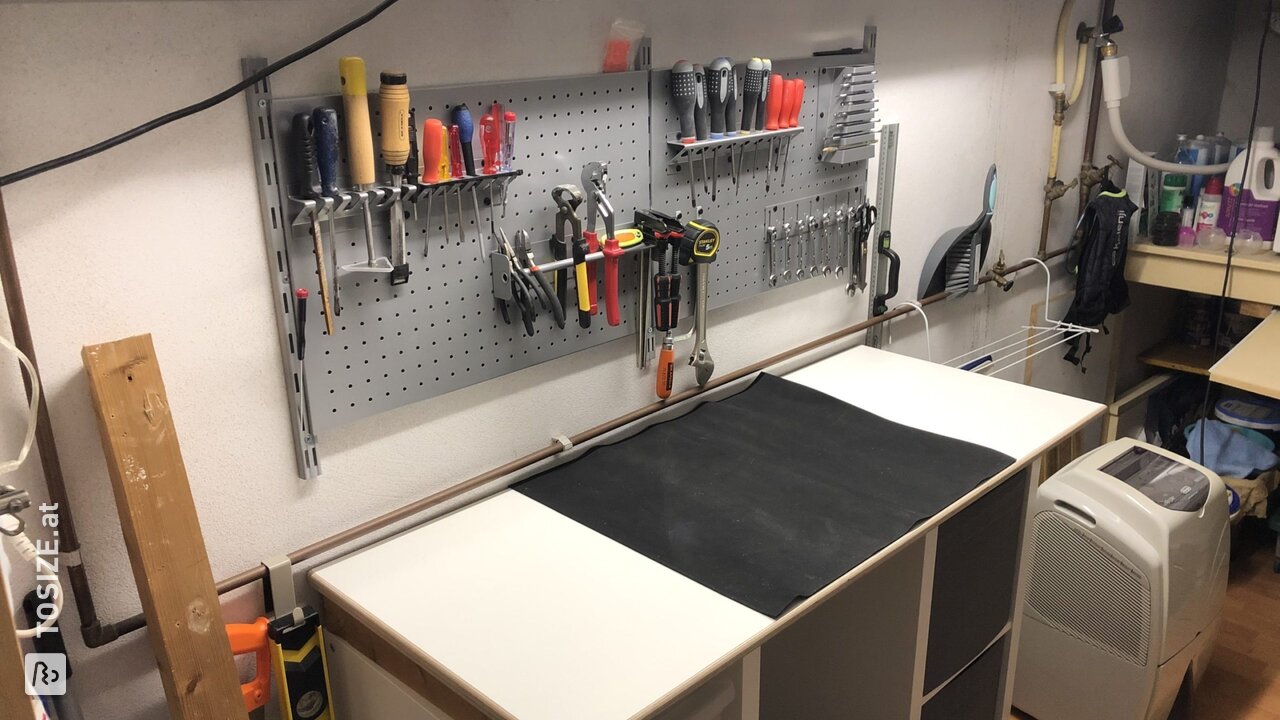
Another option is to attach the worktop to the wall on one side and rest it on legs on the other. You can also see this in the worktop in handyman Stefan's shed.
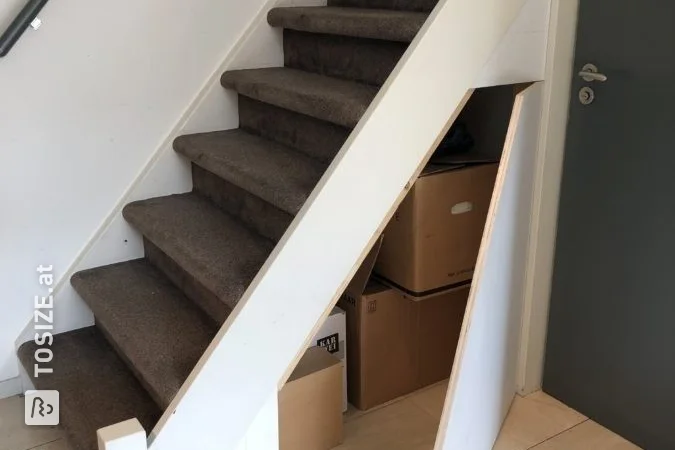
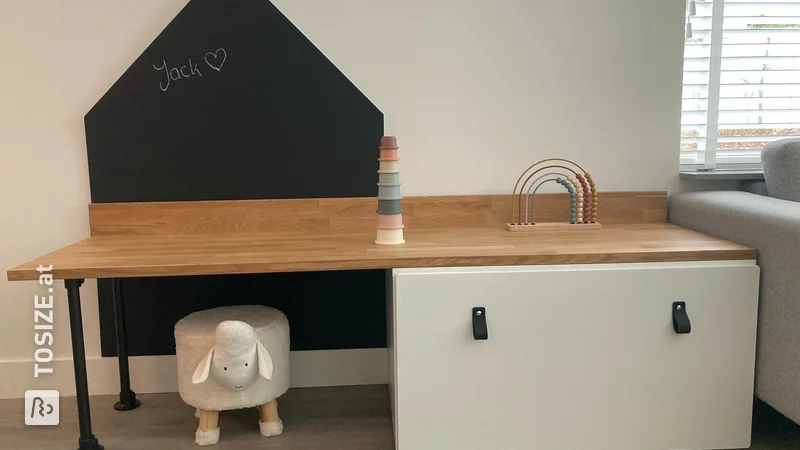
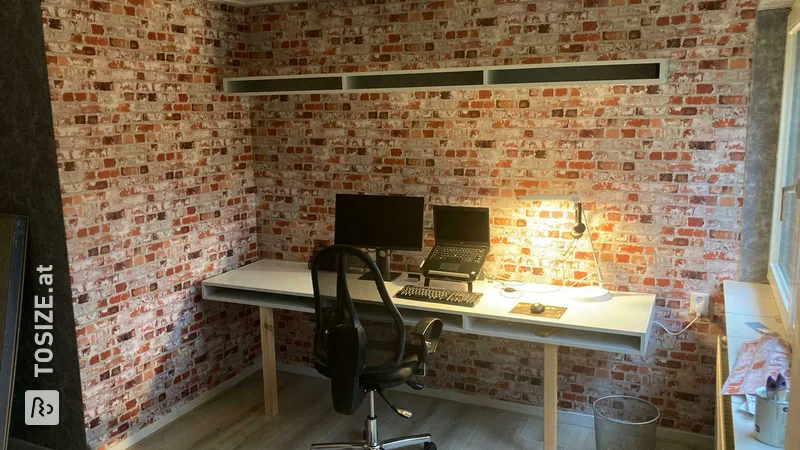
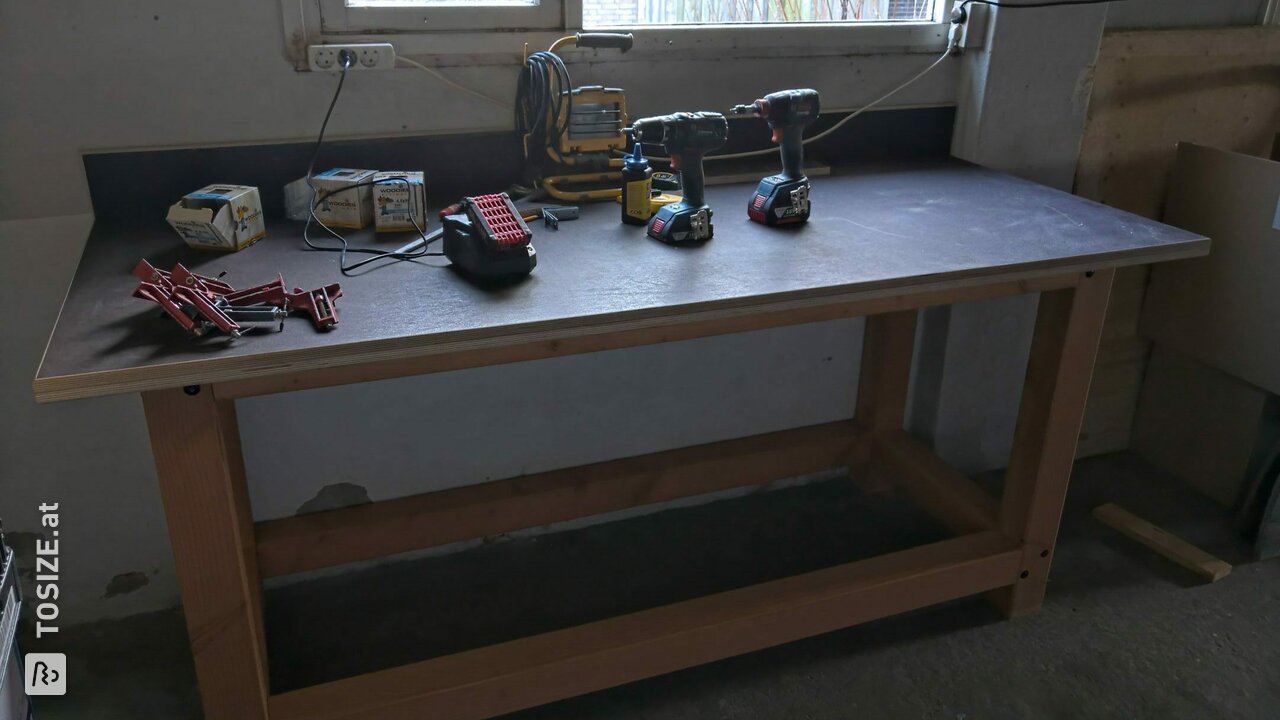
Perhaps you already have a steel or wooden frame that you use as a base. Otherwise, you can also choose to make your own wooden frame, as in handyman Martijn's project.
What material do you use for a to size worktop?
A worktop should be sturdy, durable and strong. With these properties in mind, you have a wide choice within our range. Many materials meet these requirements, such as MDF, plywood, plywood, OSB, concrete plywood, underlayment, furniture panels, chipboard, timber panels or HPL. Your personal taste is therefore an important factor in your final choice. What do you like and what works well for your job?
In our handyman's worktops, we often see the use of the following materials:
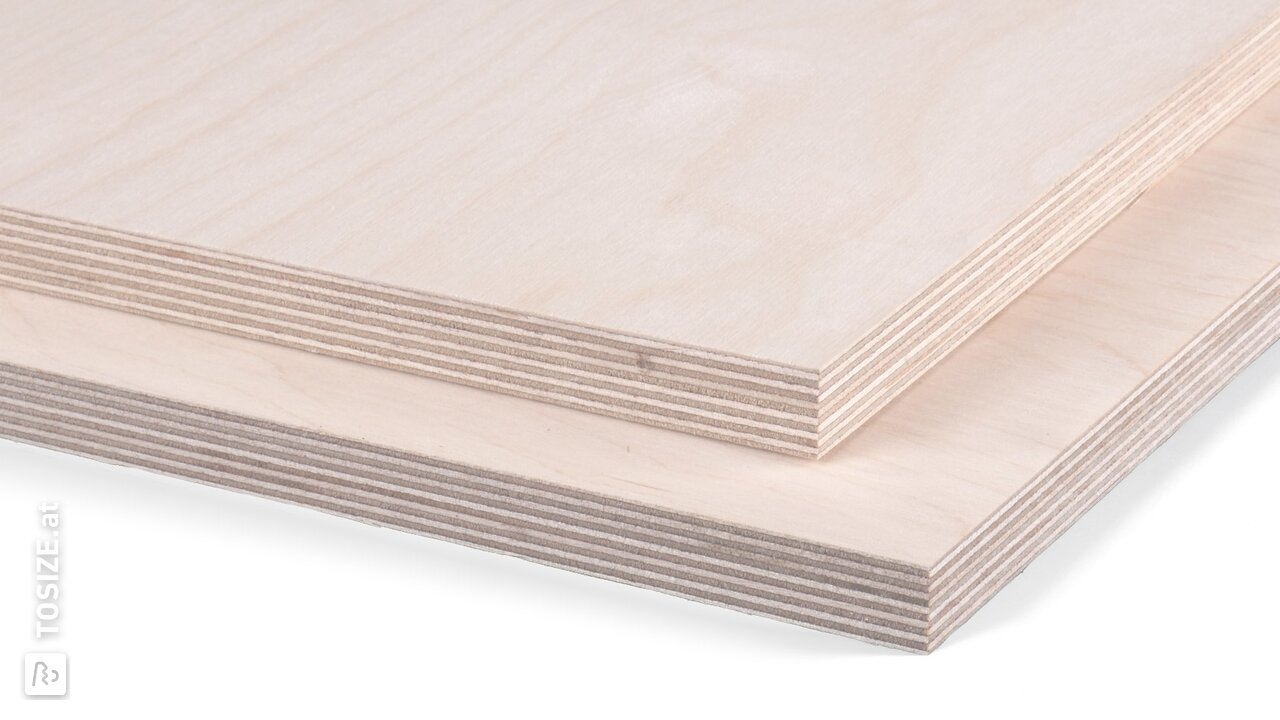
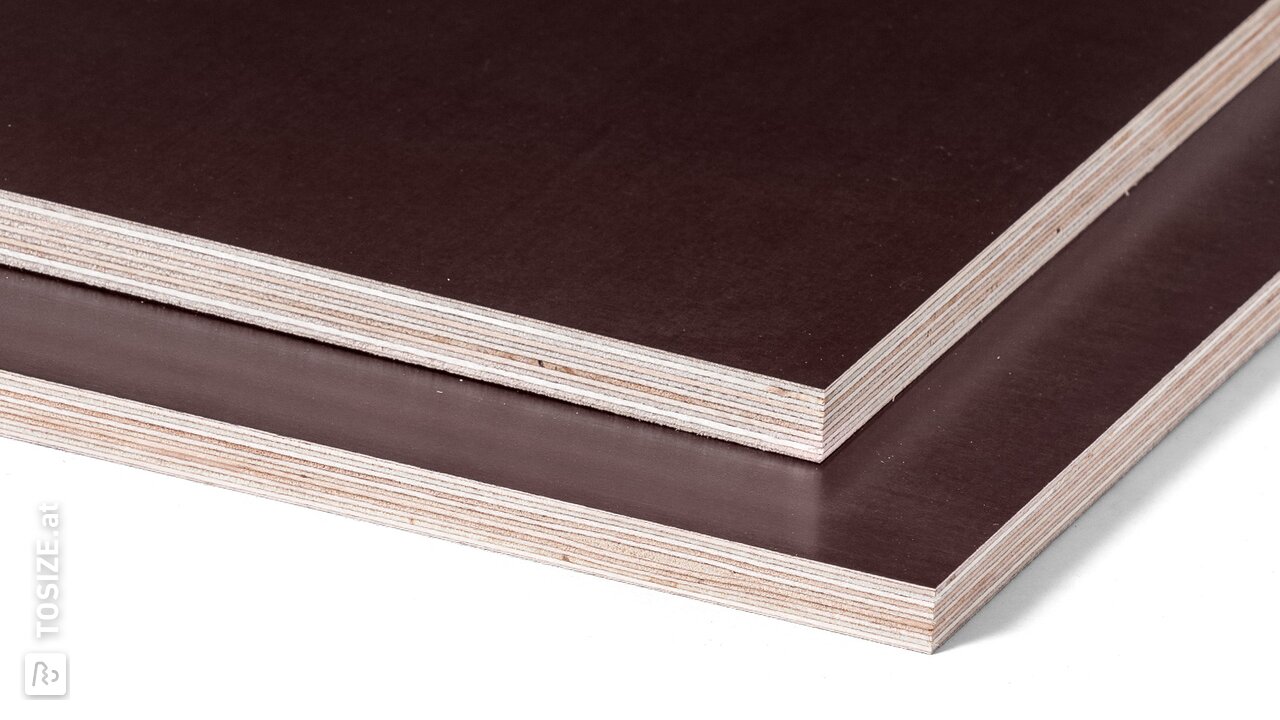
Plywood
Plywood panels are widely used for worktops. These boards are composed of different types of wood glued together. For a worktop, do choose a hardwood variant, such as birch or beech. These boards are enormously strong and very suitable as workto
Phenolic Plywood is a real powerhouse. It consists of plywood with a plastic top layer (phenolic resin coating). This top layer is applied to the top and bottom. An advantage of this is that you don't have to finish this top layer yourself. For a worktop, you can also opt for the handy non-slip top layer, so your material will not slide.
Underlayment
Underlayment boards, like plywood, consist of glued veneer layers. In plywood, these are 5 layers, in underlayment even 7. This makes the material very strong and stable and very suitable for use as a worktop. It also looks tough and robust. Choose a slightly thicker variant to prevent the underlayment from warping.

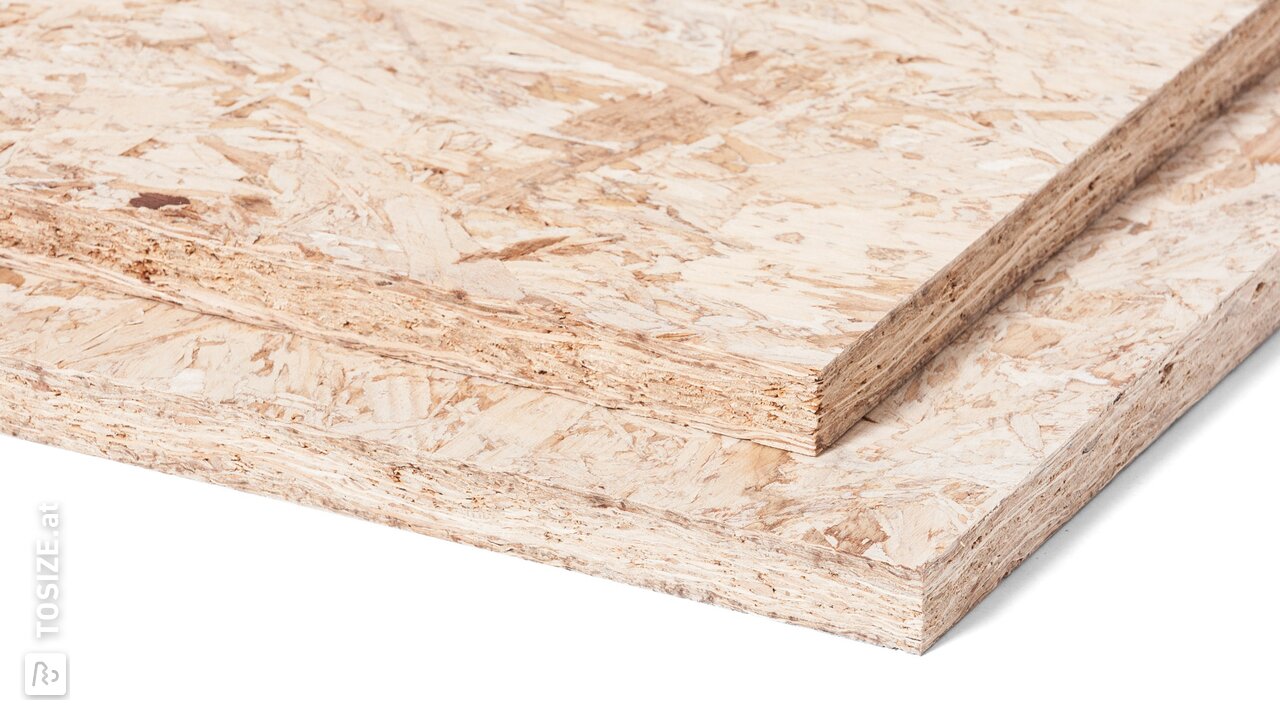
OSB
OSB is a fibreboard consisting of glued wood chips. This makes the material very sturdy and suitable as a worktop. This board also looks very rough and robust, giving your worktop a unique character.
How do you finish a worksheet?
The materials you order from TOSIZE.at still need to be treated in most cases. In the case of a worktop, this is basically necessary; a worktop usually gets a lot of wear and tear.
In terms of finishing, you can of course decide entirely how you want to do this. Handyman Lothar used PCV for a mirror-smooth, scratch-resistant top layer. But you can also opt for treatment with an oil or several layers of scratch-resistant lacquer. A good finish certainly extends the life of your worktop!
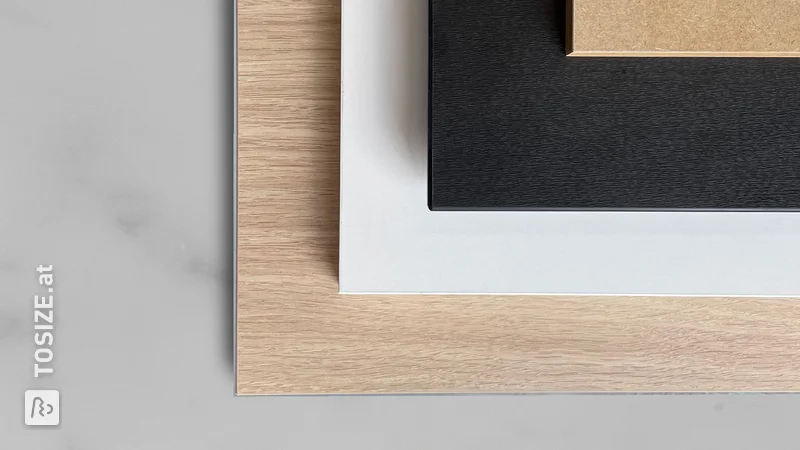
If you like, we can finish the edge of the worktop with an ABS-band. This is a plastic layer 1 or 2 mm thick that in principle does not need any further treatment. Of course, you can also treat the edge yourself with a stain, oil or lacquer. Just what you like.
Examples of worktops made by our handymen
You don't have to come up with everything all by yourself. Our handymen have gone before you in creating a worktop and you can take inspiration from them.
To size Phenolic plywood workbench
Koen used an IKEA cabinet as the base for a spacious, Phenolic plywood workbench. He ordered the plywood with rounded corners, so nothing can get stuck behind it.
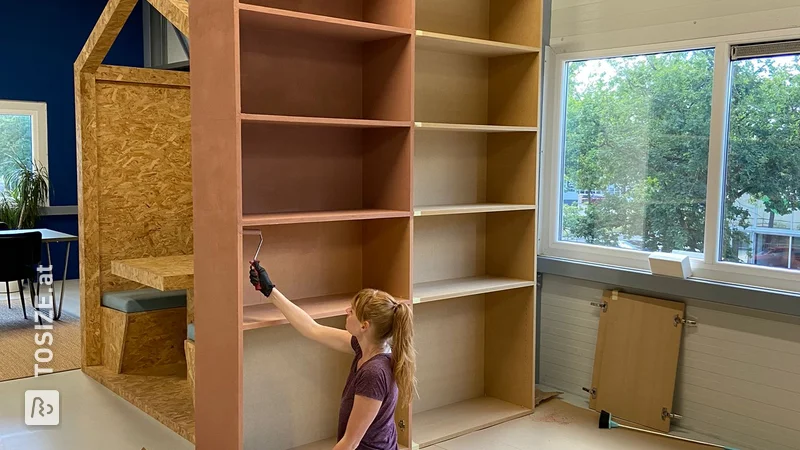
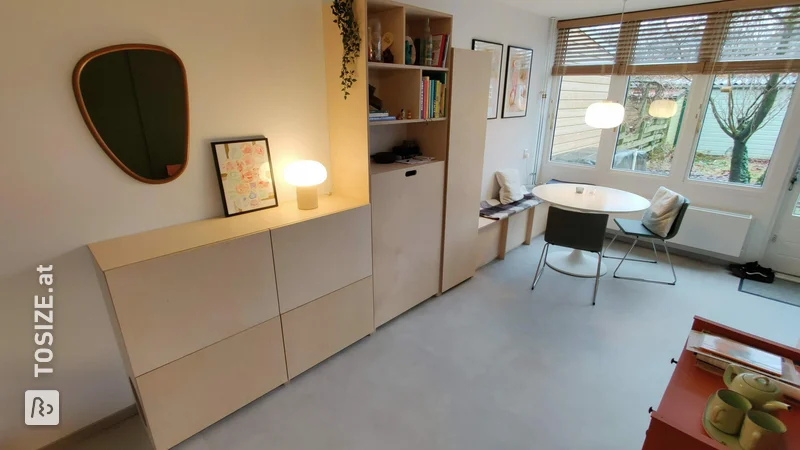
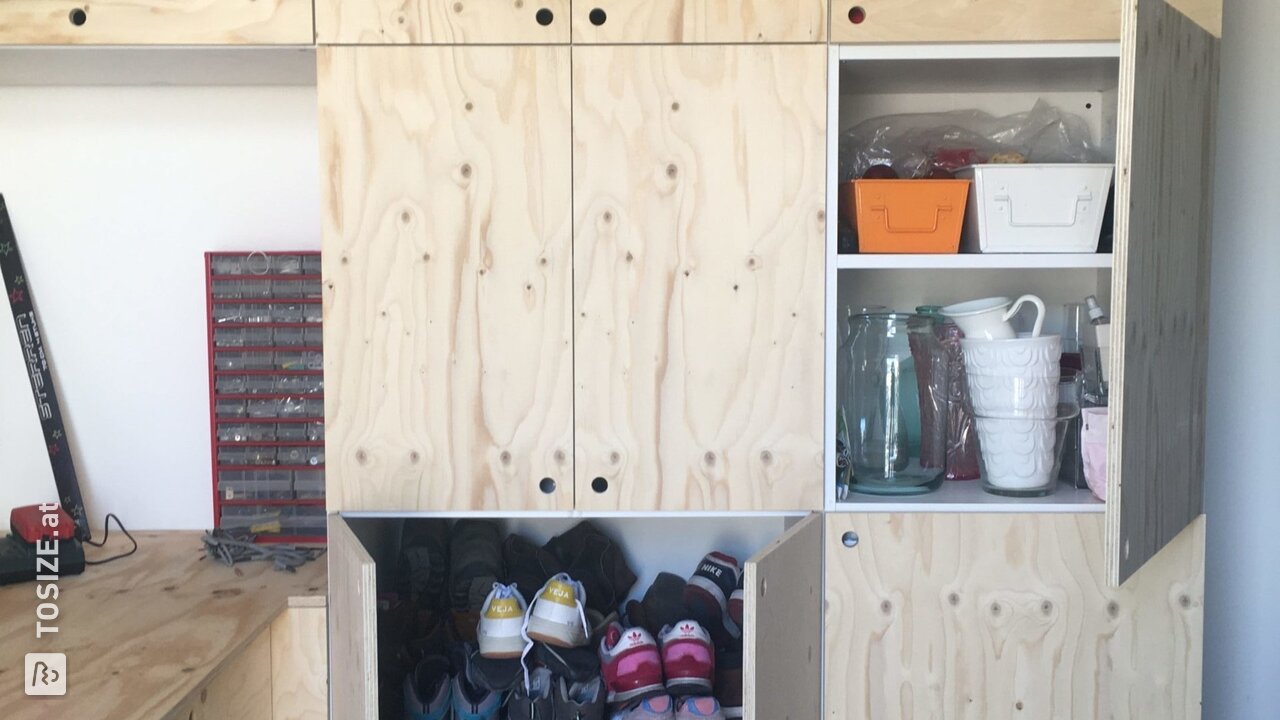
Cabinet wall and workbench made of underlayment
Feel like going big? Then do like handyman Jeroen, who made a cabinet wall with workbench out of underlayment. He even made room for a tool board and a built-in fridge!
Mobile workbenches made of plywood birch
Also clever: two mobile workbenches that you can swivel up. Handyman Jochem explains exactly how he did it and what materials he used for this project.
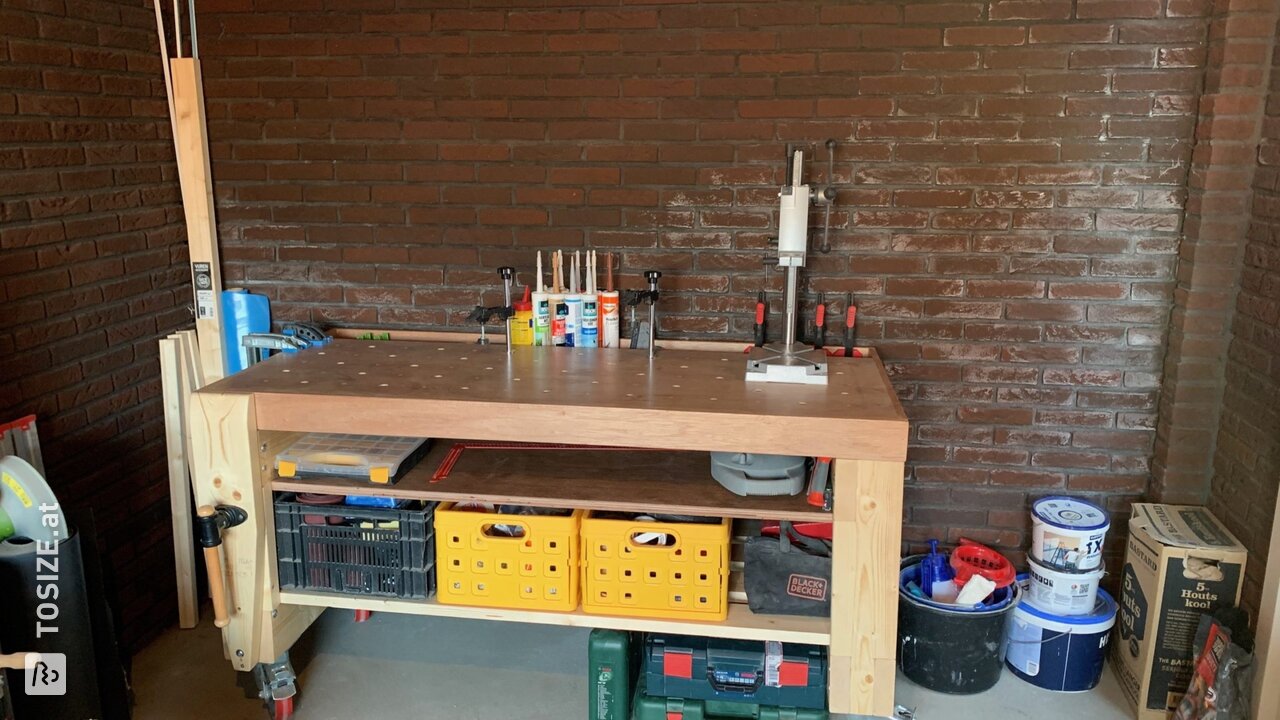
Workbench on wheels with bumpers
Rob made this workbench on wheels with a hardwood bumper. He made the drawing for his project using SketchUp.
Hardwood workbench
Handyman Lieuwe made the legs for his hardwood workbench. He used plywood for the worktop and planed spruce for the base.
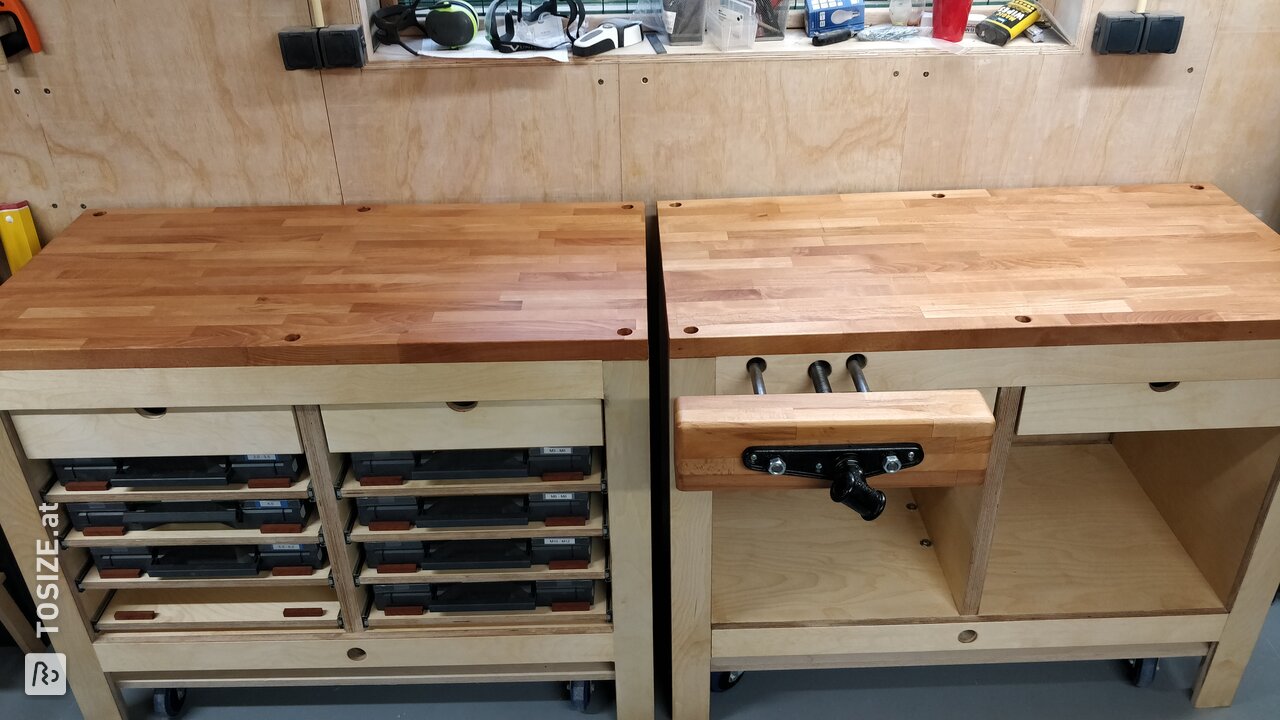
Multifunctional roller tables with storage space
A worktop does not always have to be big, as handyman Collin proves with these compact rolling tables. This ensures that he always has his tools within reach during handyman and hobby work at home. The tables can even be linked together. Nice work!
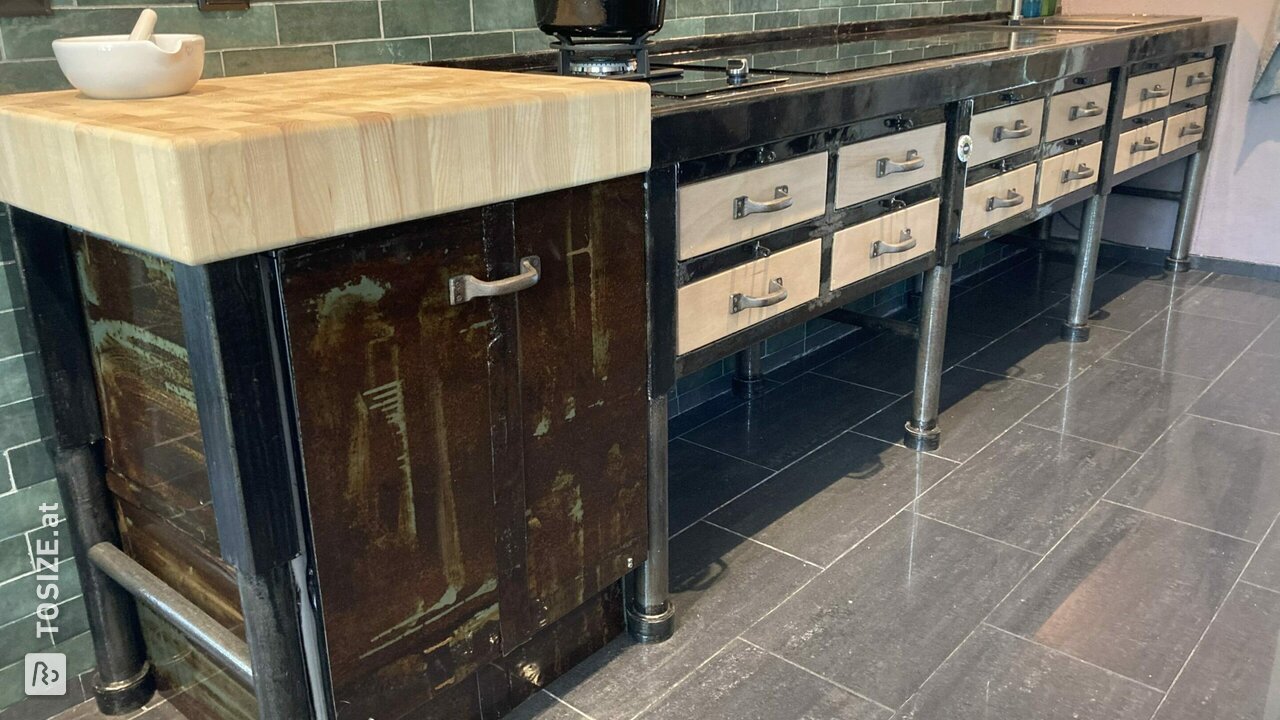
Old workbench becomes kitchen
Handyman Fred made a unique kitchen from an old workbench. He used plywood okoumé waterproof for the worktop. Quite a job, but the result is worth it.
Getting started with your own custom-made worksheet
In this article, we have helped you as best we could to get you started on making your own custom-made worktop. Moreover, we hope the DIY projects of our handymen have inspired you to make a great job of it.
In any case, it starts with a perfectly cut worktop from TOSIZE.at.
Good luck with your DIY project!