- TOSIZE.at
- Do it yourself
- DIY Projects
Stylish blue plywood game cabinet, by Rick
Stylish blue plywood game cabinet, by Rick


Create this project yourself with sheet material cut to size by TOSIZE.at!

Rick

Average
2 minutes
Playful and Functional: Rick's Homemade Game Cabinet
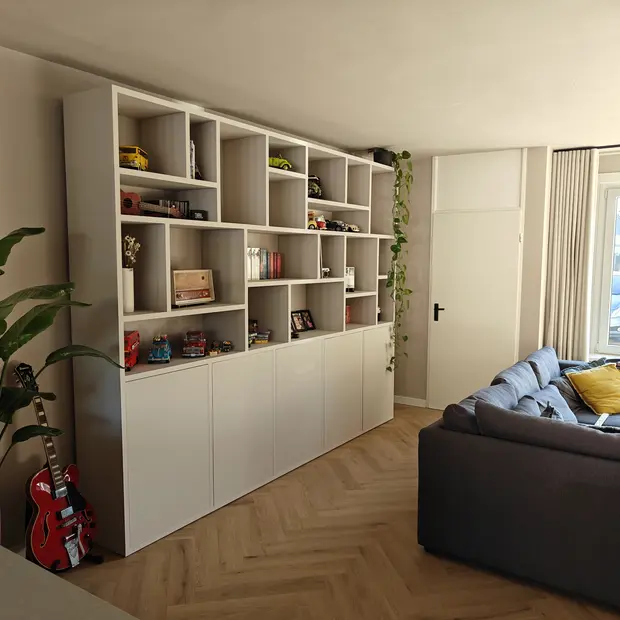
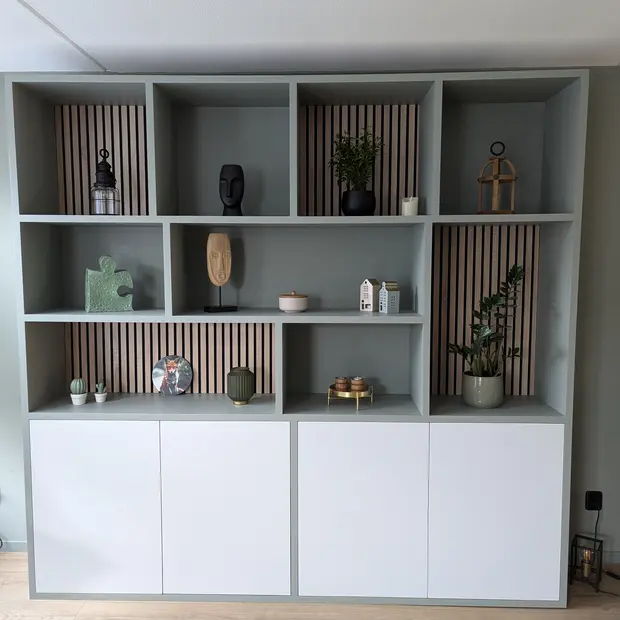
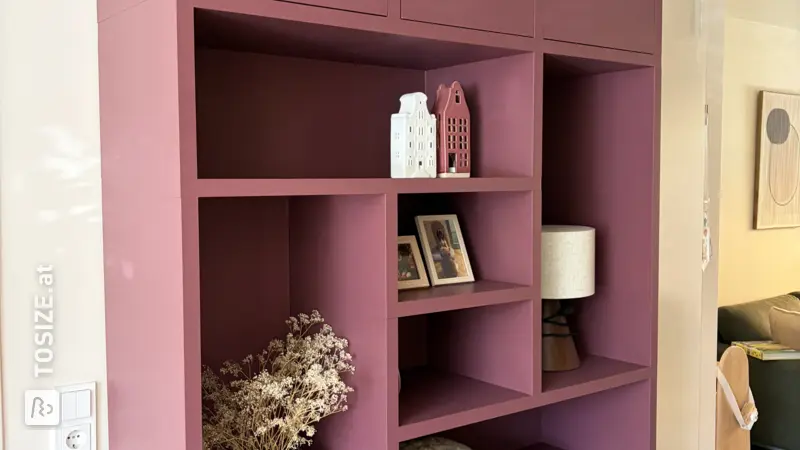
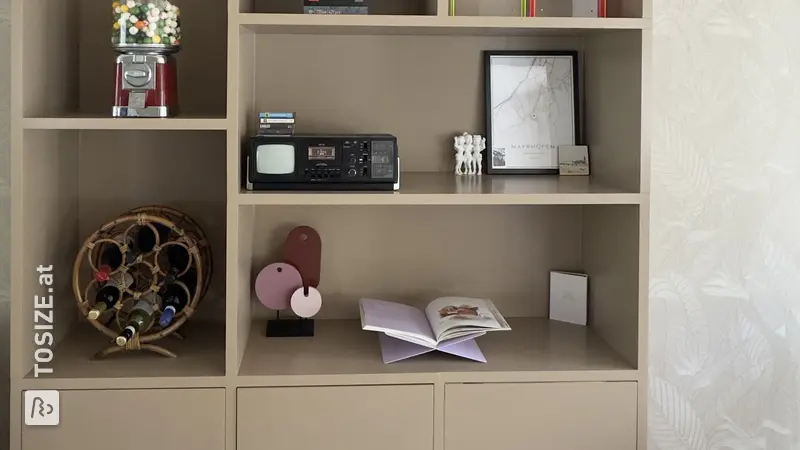
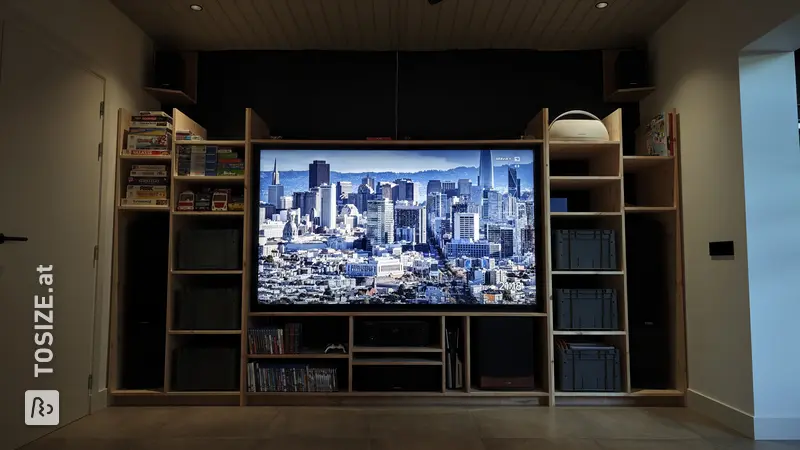
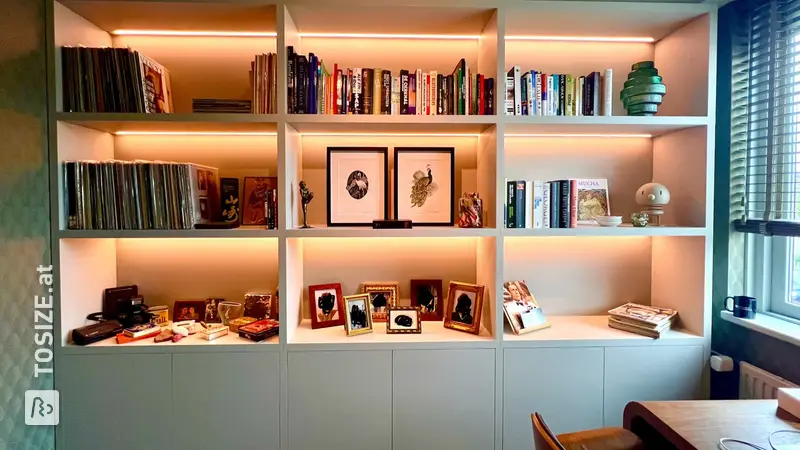
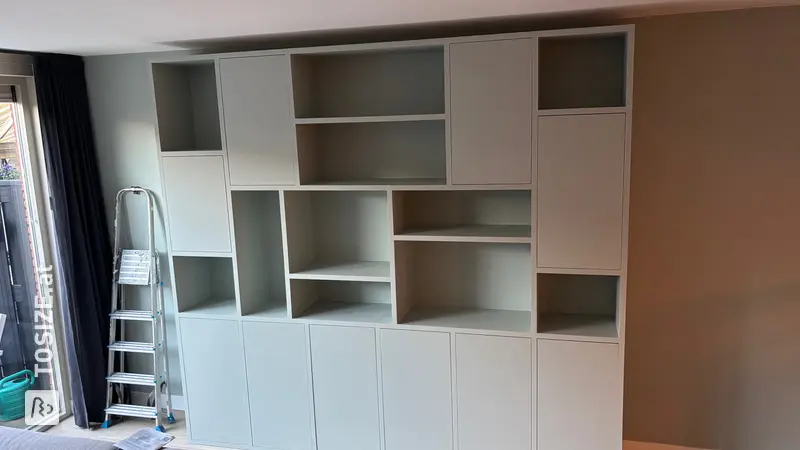
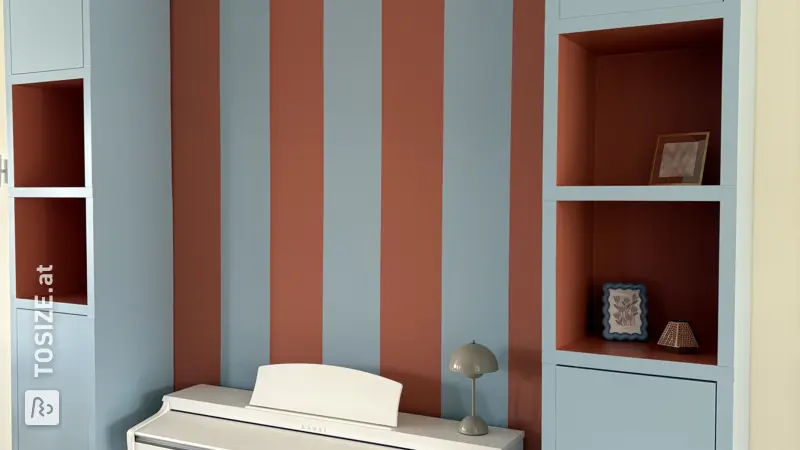
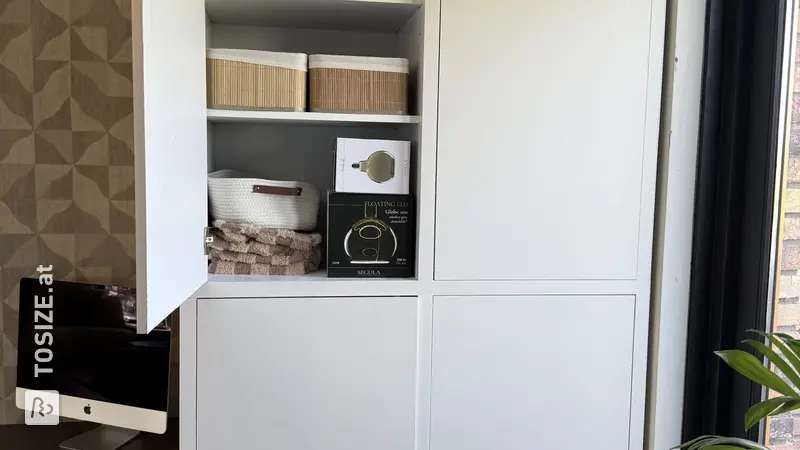
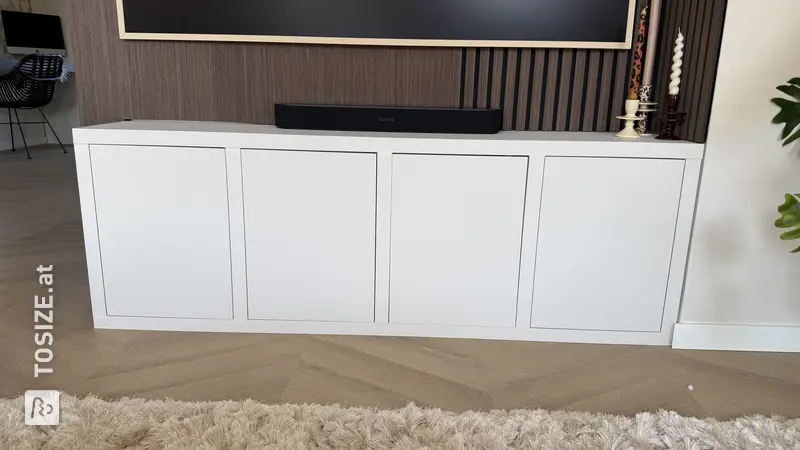
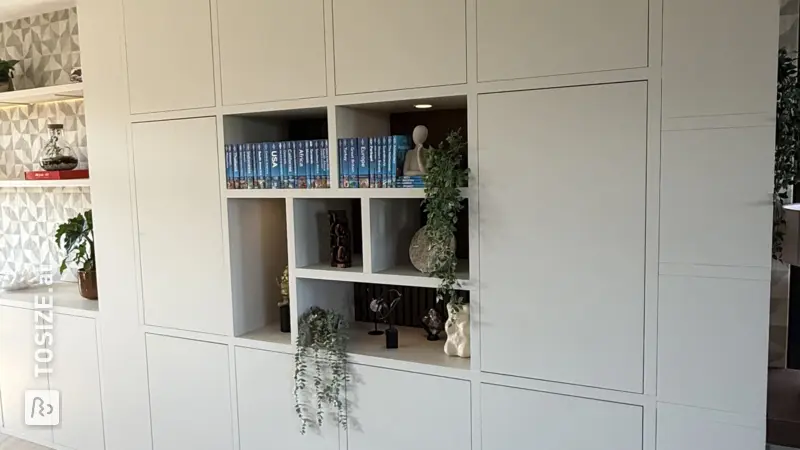
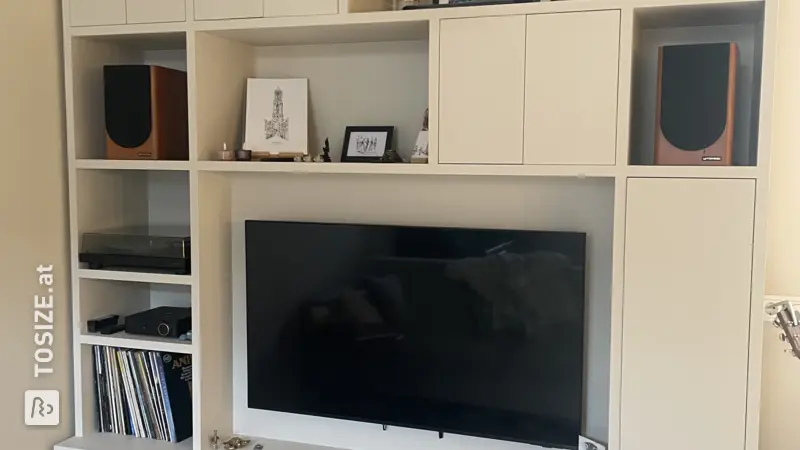
Rick built a stunning game cabinet that's not only practical but also a real eye-catcher in his living room. The cabinet provides more space for his extensive board game collection and adds a touch of color to his interior. Let's take a closer look at this beautiful project!
Tailor-made and inspiring
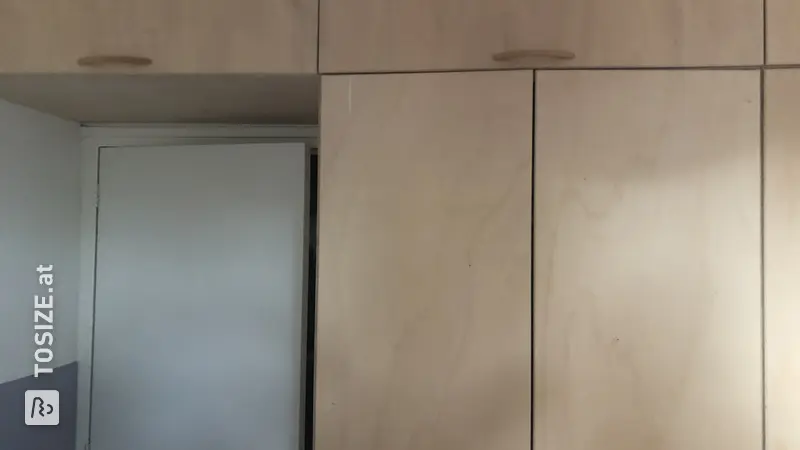
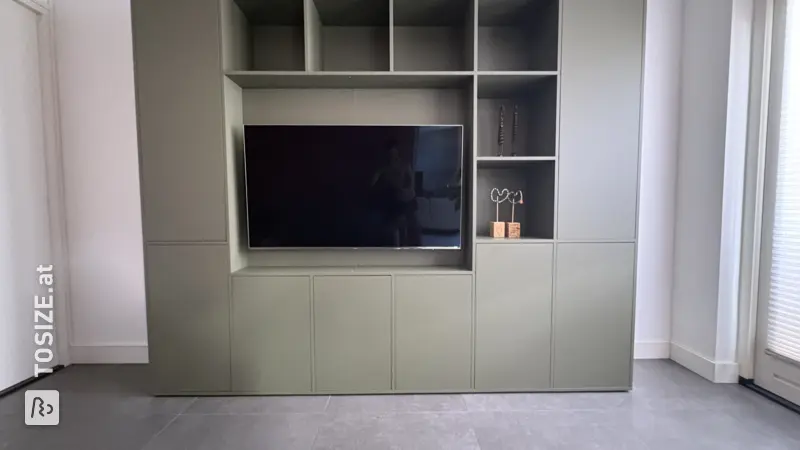
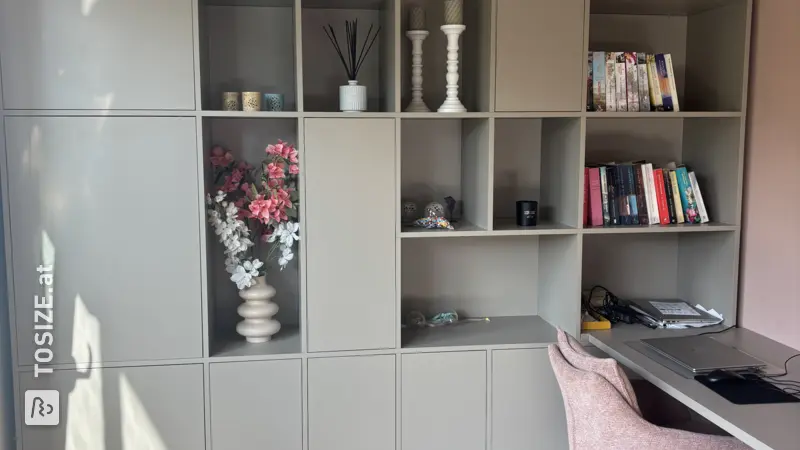
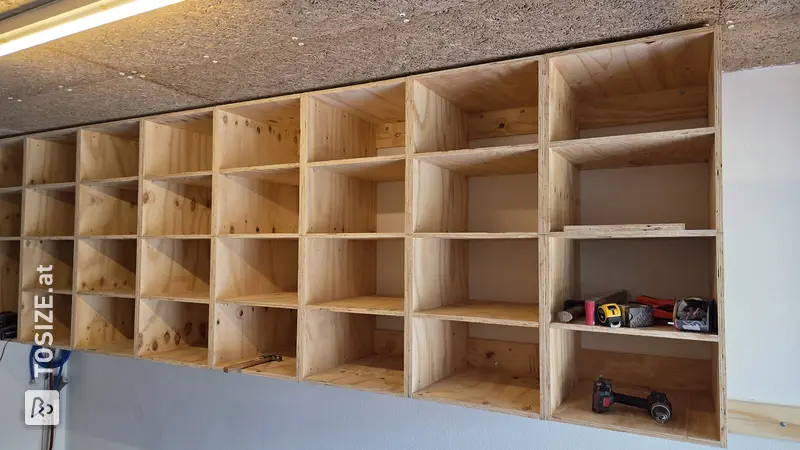
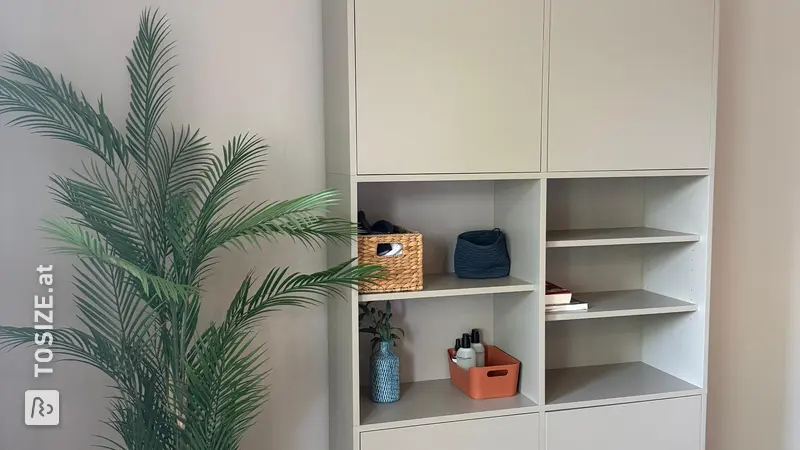
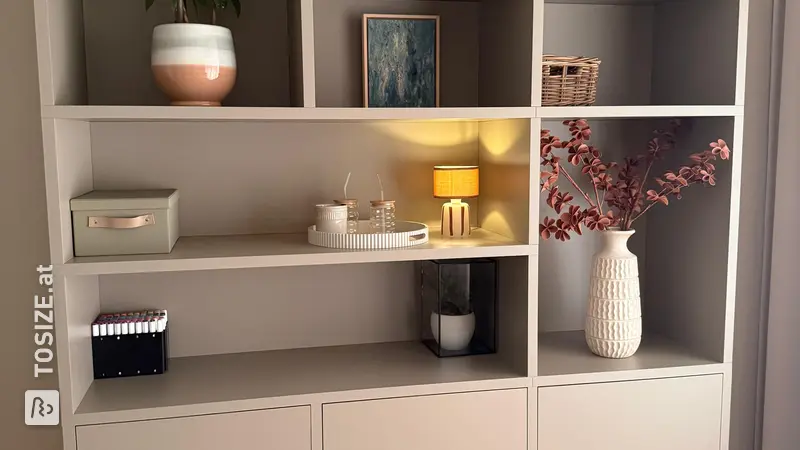
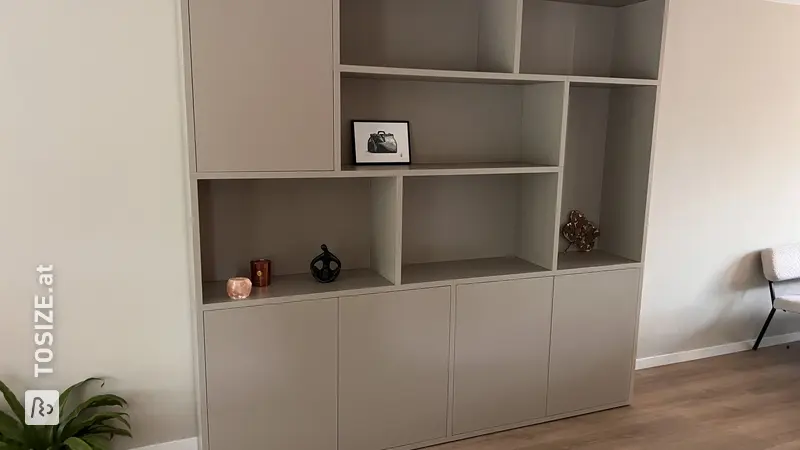
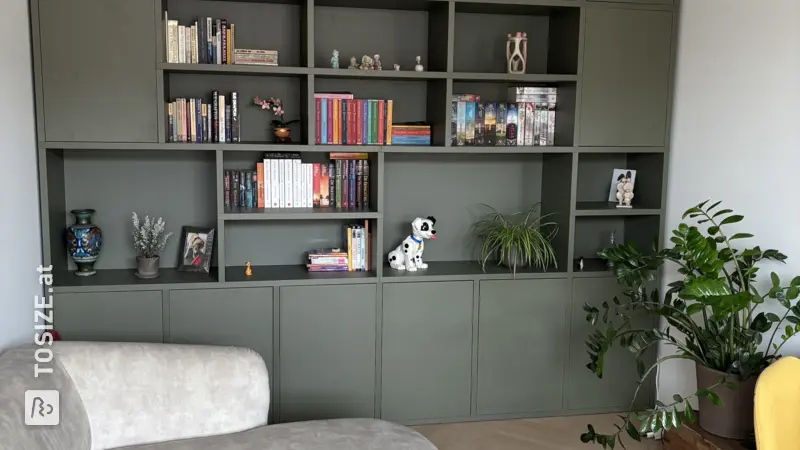
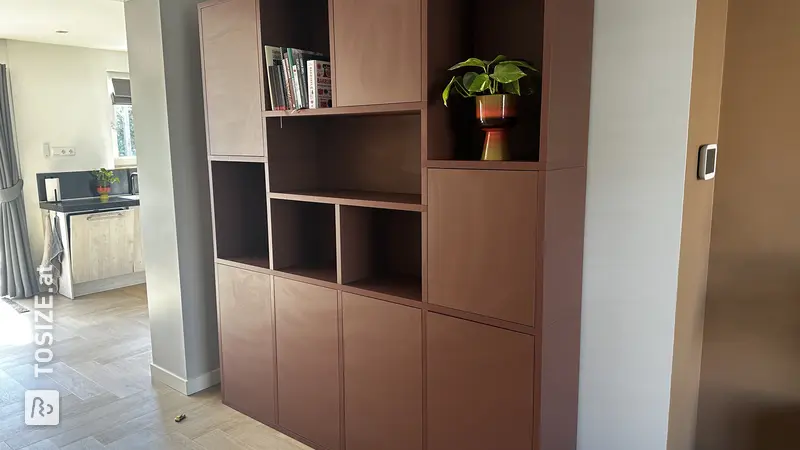
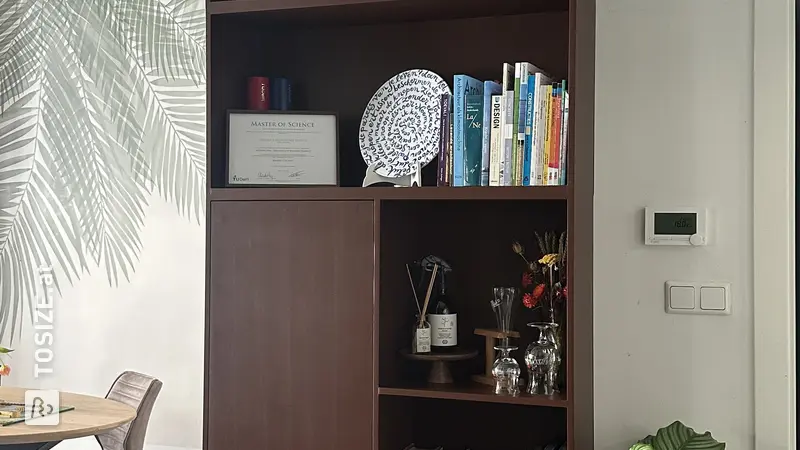
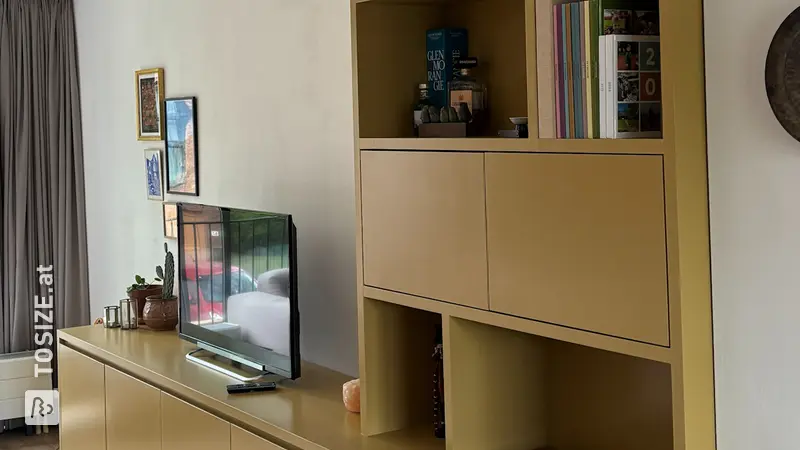
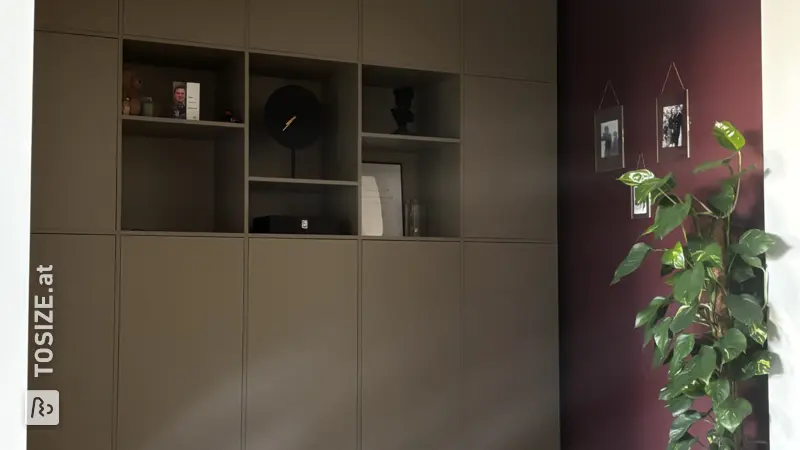
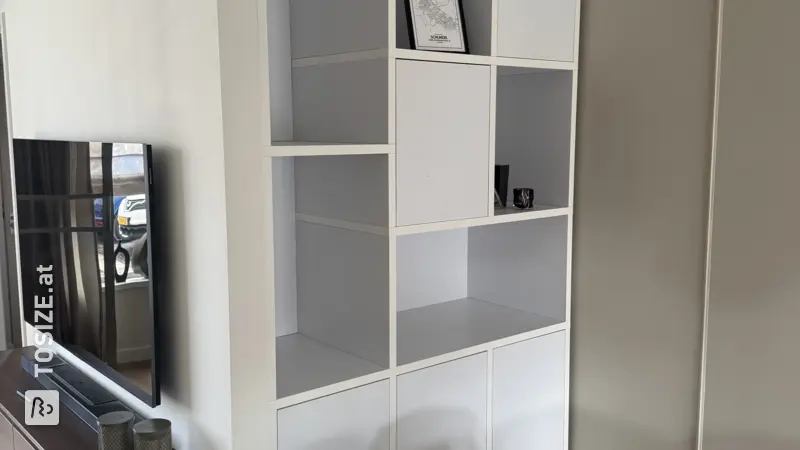
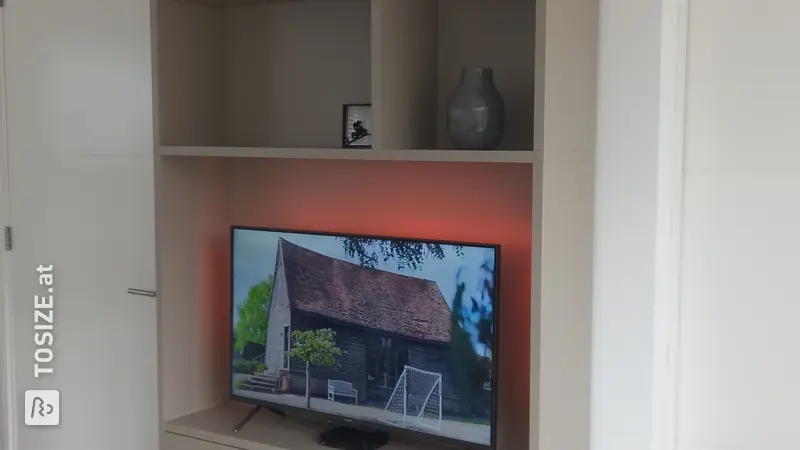
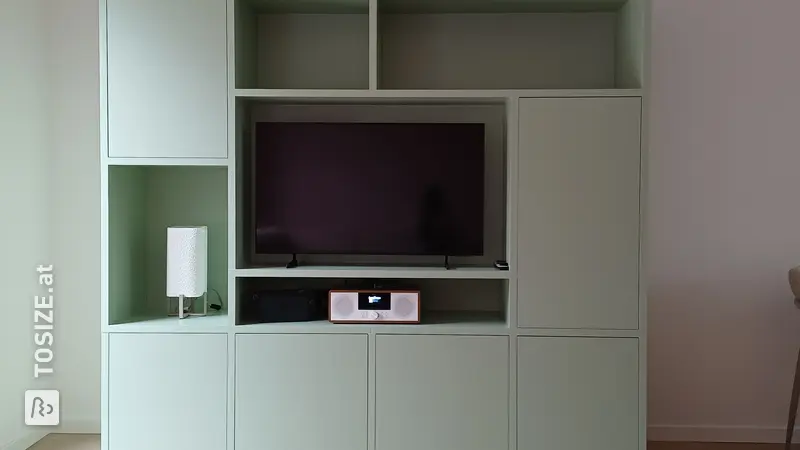
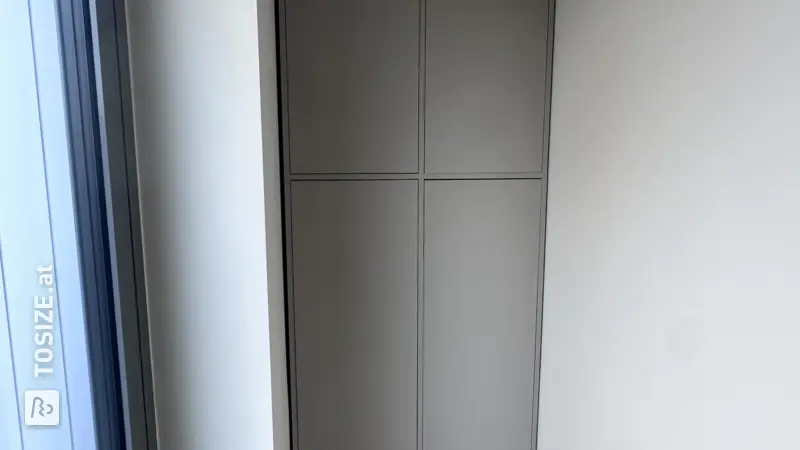
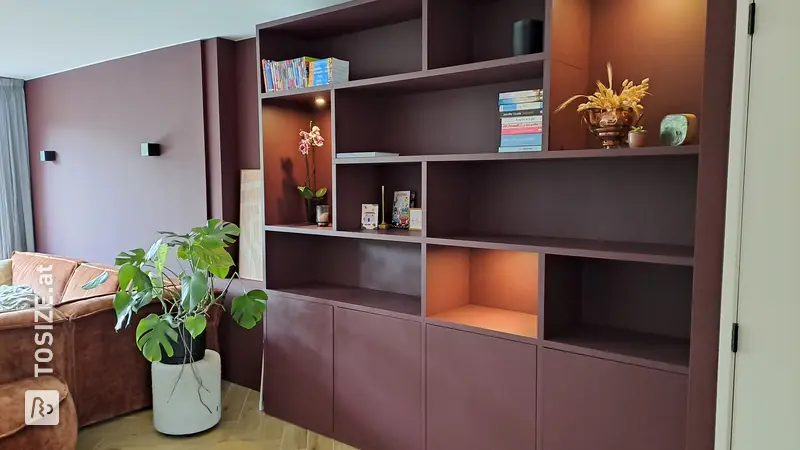
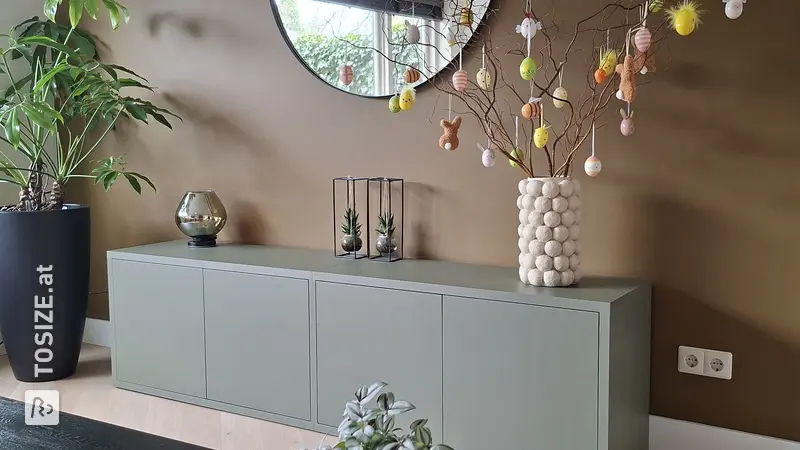
This game cabinet is a prime example of what can be achieved with creative design and quality materials. Made of durable plywood and painted a rich, deep blue, it fits perfectly into any modern home. The cabinet is sturdy and offers ample storage space thanks to strategically placed shelves.
Beautifully balanced with the interior
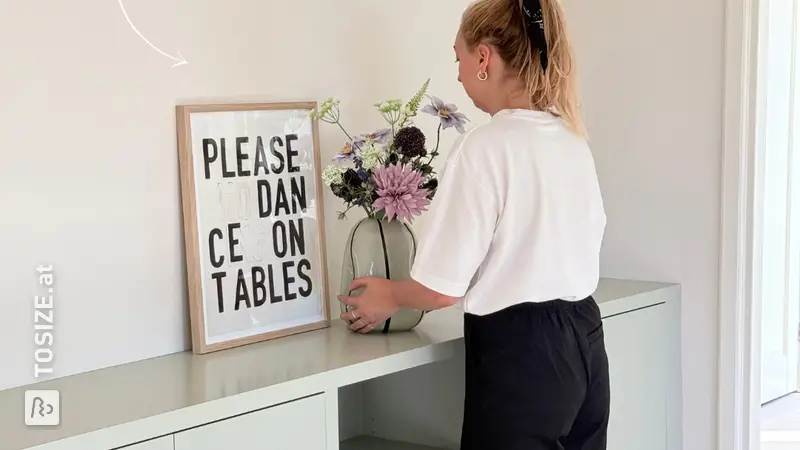
This beautiful cabinet stands prominently in the living room and immediately draws attention. The blue finish contrasts beautifully with the light walls and floor, creating a sense of calm and vibrancy. The sleek and minimalist design creates a modern look.
The role of TOSIZE.at
Rick opted for custom work at TOSIZE.at to ensure that each wooden panel was cut precisely to his specifications. This resulted in a flawless construction and a perfectly fitting cabinet. The flexibility in dimensions and material choices allowed Rick to build without compromise.
Why make it yourself?
Building your own furniture not only offers a creative outlet, but also the freedom to create a piece that truly suits your needs and budget. By doing it himself, Rick created a unique storage solution that's hard to find in stores.
Contemporary Elegance
Rick's game cabinet exudes contemporary elegance. Its simple design and beautiful color make it a versatile choice for modern living rooms. It's more than just storage; it's a stylish piece of furniture that adds character to any space.
Material selection and benefits
Plywood Asian goldplex B/BB: This plywood offers a smooth finish perfect for a sleek design. It's durable and gives the cabinet a professional look.
Hardboard Eucalyptus: This type of hardboard is lightweight yet strong enough to support the planks. With a smooth surface, it adds subtle texture to the overall design.
DIY tips from experience
A tip: paint the parts before assembling. This makes it easier to get a smooth finish without making a mess. And remember: measuring is knowing! Make sure you double-check your measurements before sawing.
Tip! Also check out our handy DIY tips!
Step by step guide
Preparation
- I started by creating a drawing on the computer. That gave me confidence that the dimensions were correct. Tip: Lay everything out for yourself first and use stickers to indicate what goes where, so there's less chance of making mistakes.
Montage
- First, I milled slots in the top, bottom, and sides for the back panel. Then I fitted all the mounting points with dowels. After that, I assembled the cabinet without glue to check for a perfect fit. Finally, I used wood glue to assemble everything, clamping a square plank to ensure everything was perfectly square. The final step was nailing the back panel to the center uprights.
Finish
- Once assembled, I sanded the edges thoroughly, working from coarse to fine. I sanded the flat edges only with fine sandpaper. I then treated the plywood edges with edge sealer. The seams were sealed with acrylic sealant. Then I finished with primer and two coats of varnish, lightly sanding the cabinet between each coat.
What now?
Want to make this DIY project? Check out Rick's saw list and complete your order easily.
€424.31
View all sheet materials
My experience with TOSIZE.at
Order
Delivery
General experience