- TOSIZE.at
- Do it yourself
- DIY Projects
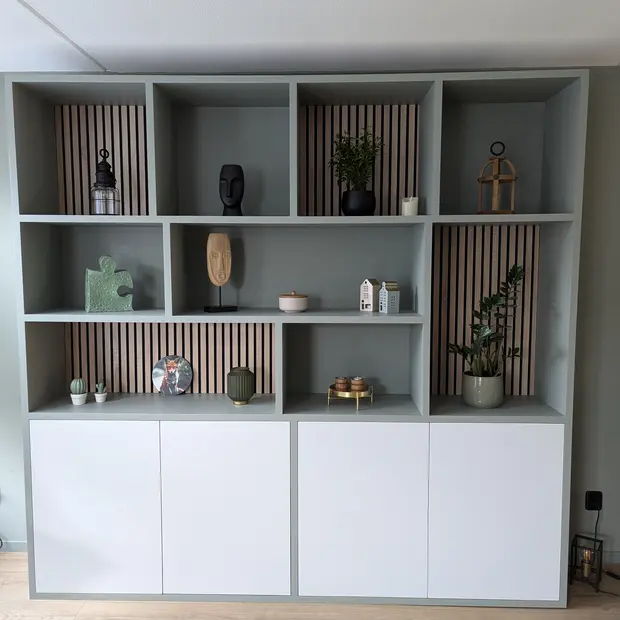
Integrated technology cabinet made of lacquered MDF, by Stijn
Integrated technology cabinet made of lacquered MDF, by Stijn


Create this project yourself with sheet material cut to size by TOSIZE.at!

Stijn

Average
2 minutes
Discover Stijn's Integrated Technology Cabinet
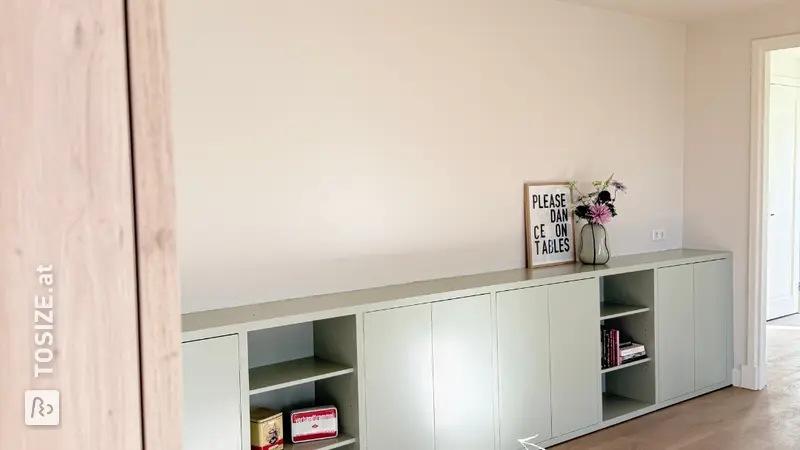
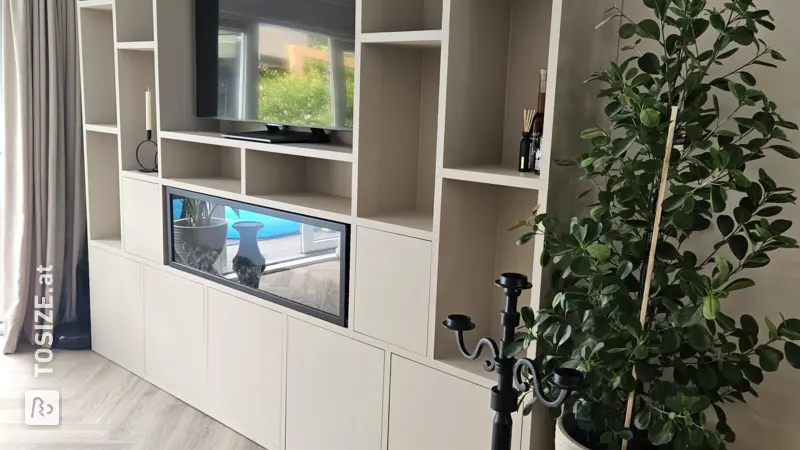
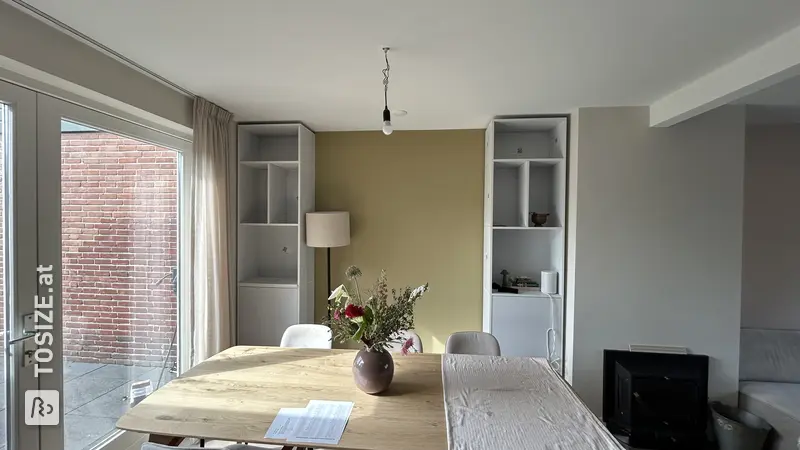
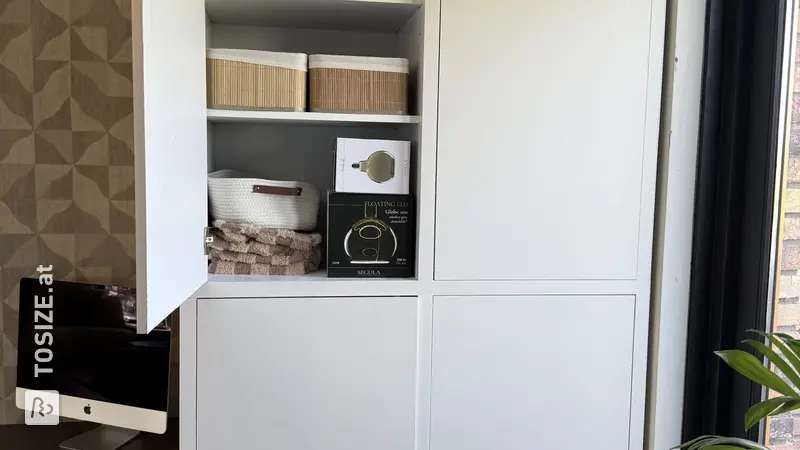
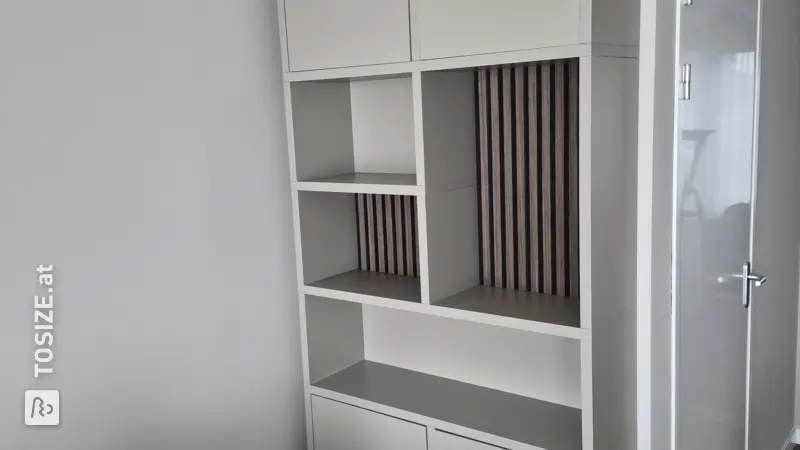
Imagine: a modern, sleekly designed built-in cabinet that not only keeps clutter out of sight but also neatly stores essential household appliances. Stijn has achieved just that with this fantastic utility cabinet, made entirely of lacquered MDF, custom-cut by TOSIZE.at.
Perfect Symbiosis of Functionality and Design
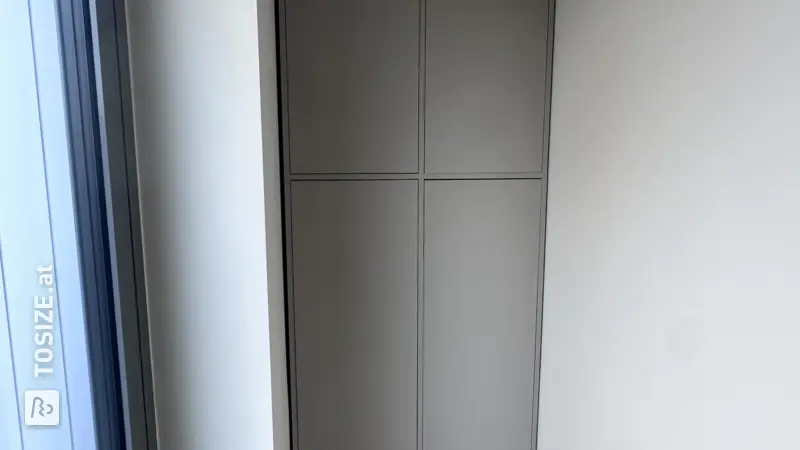
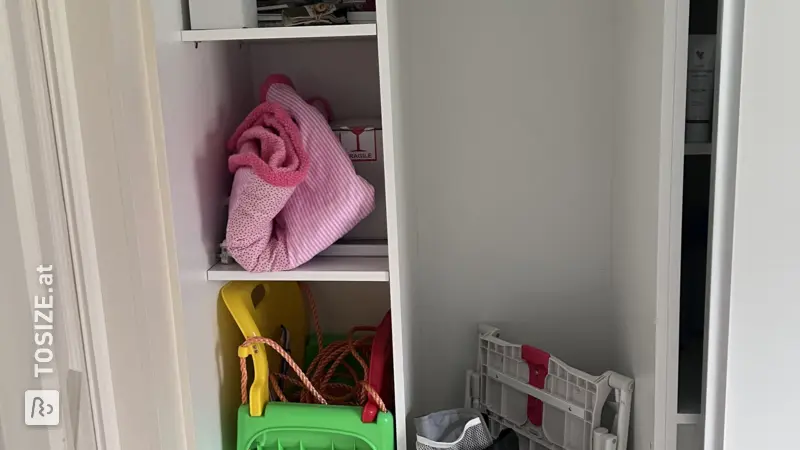
This beautiful built-in cabinet is designed to perfectly store various home appliances. From water filters to water bottles, everything finds its place in this cabinet. Thanks to its clever design, the cabinet's functions are diverse yet well-organized.
The Story Behind the Construction
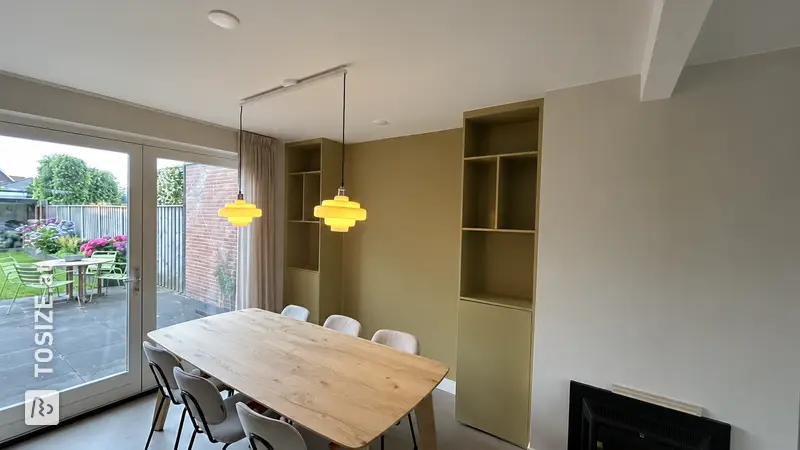
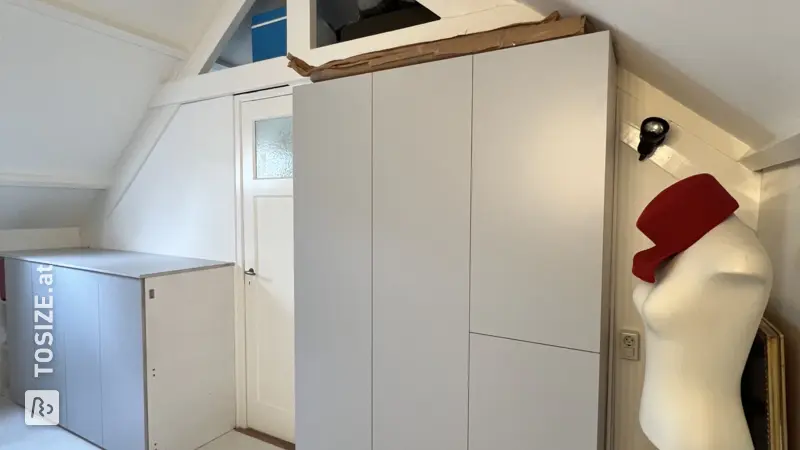
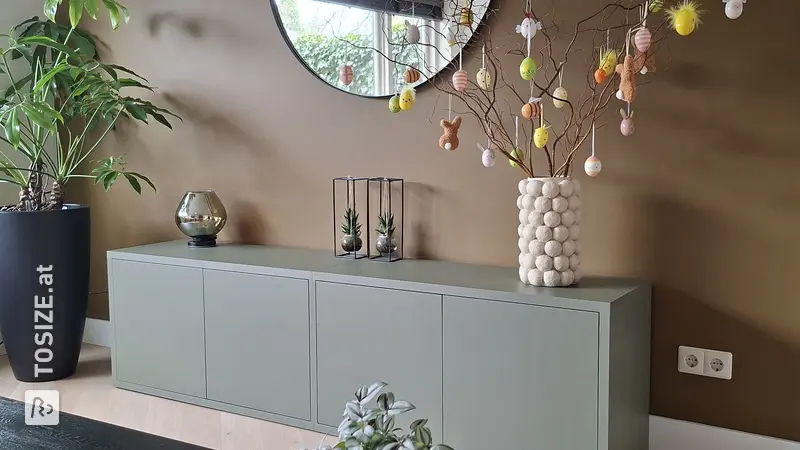
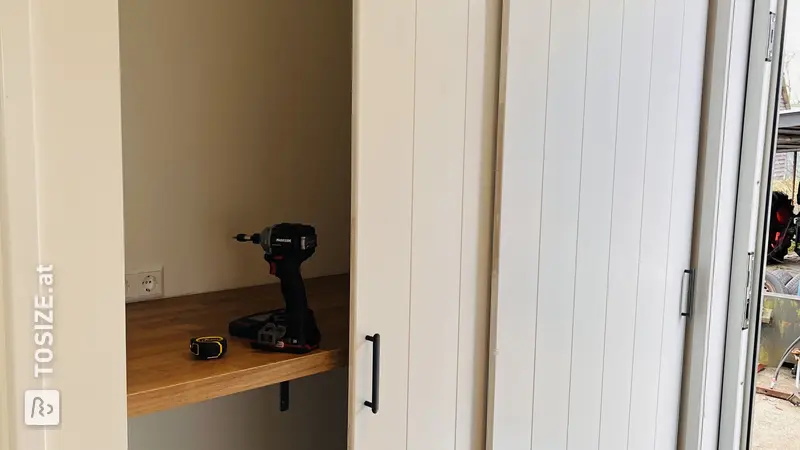
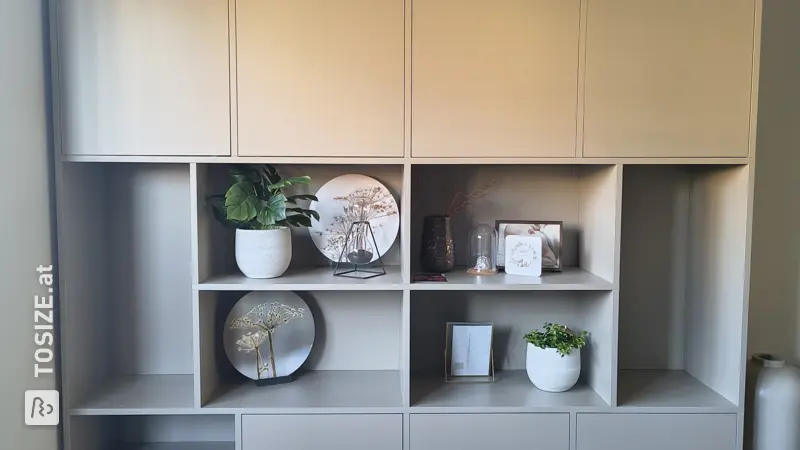
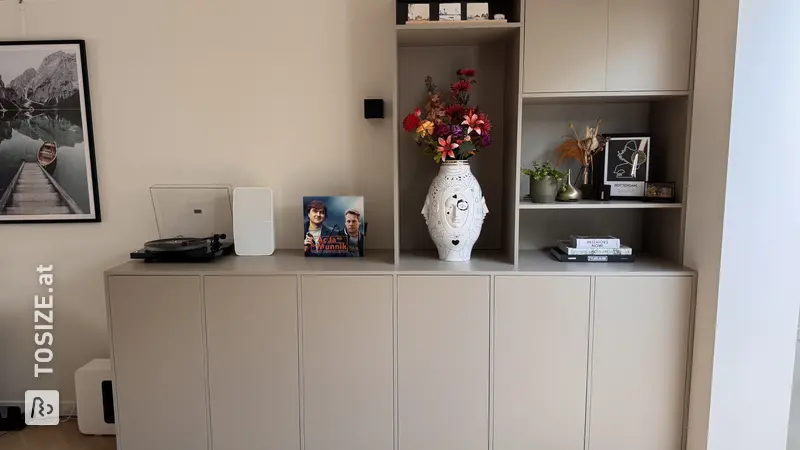
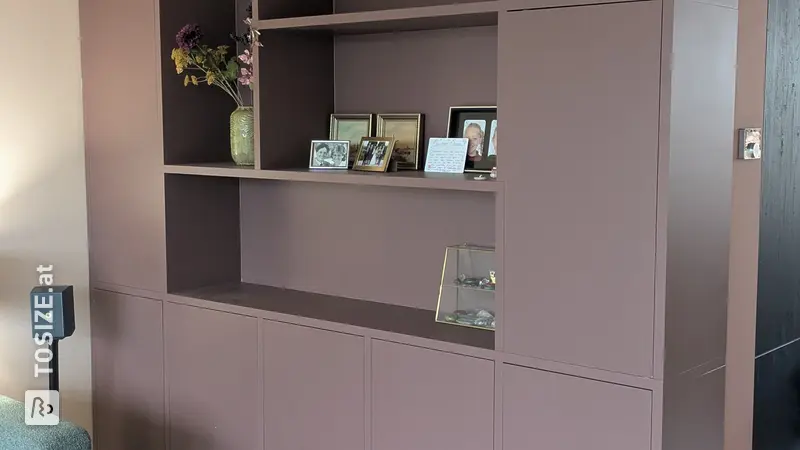
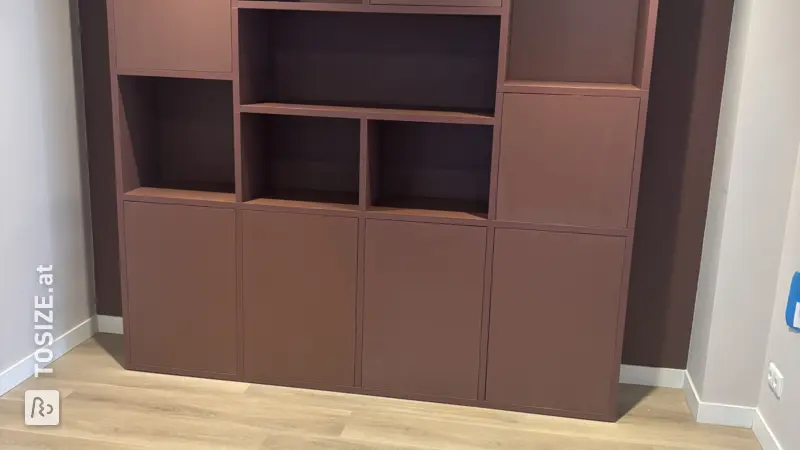
The cabinet, located in the spacious hallway of Stijn's house, perfectly complements the modern look of the home. The sleek, neutral gray lacquer on the MDF creates a harmonious whole with the rest of the interior. This custom-made cabinet is not only a feast for the eyes but also easy to use thanks to its sturdy hinges and perfect finish.
Customization of TOSIZE.at
Customization plays a crucial role in this project. Stijn used TOSIZE.at's service to have the MDF cut to size. This not only saved time but also ensured that everything fit together seamlessly. Using lacquered MDF as the base lays the foundation for a durable and easy-to-maintain cabinet.
Modern Atmosphere
The project exudes a modern feel. The neutral colors and clean lines make it easy to integrate into any contemporary home. The utility closet isn't just a storage space; it's an aesthetically pleasing element in the space.
The Benefits of MDF Moisture-resistant V313
The choice of MDF Moisture-resistant V313 is no coincidence. This wood type is ideal for rooms where moisture is a concern, such as kitchens or utility rooms. MDF V313 offers excellent stability in humid conditions, which contributes to the furniture's durability.
DIY tips from Stijn
Stijn's tip: Always measure twice and saw once. This ensures a flawless end result. Also, make sure you use high-quality hinges, as shown in this project. They significantly extend the lifespan of your furniture.
Want to create a beautiful cabinet like this? Start your own DIY project today and discover the benefits of custom work!
Tip! Also check out our handy DIY tips!
Step by step guide
Preparation
- I started by taking proper measurements. This cabinet will be placed at the bottom for a water filter and water collectors. It took some time to ensure that the separation between the three-part cabinet (one single body, one double body) would fit neatly between two collectors, thus keeping them accessible. The base plate is also narrower (less deep) than the fixed shelf and top plate, to keep them out of the way of the pipes. I ordered the sides as a standard rectangular shape, but I cut out the necessary recesses myself using a plunge saw with a rail.
- I then drilled all the holes before assembling the cabinets. This included the line holes for the shelves, the holes for two adjustable wall anchors, and the holes for the hinge plates in the sides of the cabinets. In the doors, I drilled the cup holes for the hinges themselves. For the latter two, I used a Blum drilling template. The wall anchors, actually for upper cabinets, are necessary because the cabinet, due to the cutout for the pipes, rests on only one row of feet and is therefore not stable on its own.
Montage
- The carcasses, made of 18mm moisture-resistant MDF, are assembled with beech dowels, for which I drilled the holes using a dowel jig, and wood glue. To save time on gluing, I also used screws where the screws are hidden. I did pre-drill the holes first to ensure I didn't split the MDF.
Finish
- Next, it was time to paint. I lightly sanded and degreased the MDF. Then, using a roller, I applied a water-based MDF primer and two (three on the fronts) matte coats of paint. I sanded very lightly in between each coat. The result is quite impressive...
- Finally, I cut the top and bottom skirting boards to size and attached them with adhesive. I made a larger hole in the side to fit a plug, which is currently being used for the vacuum cleaner. I'll order the side trim strip, which will also conceal two pipes, next time.
What now?
Want to make this DIY project? Check out Stijn's saw list and complete your order easily.
€426.23
All materials used
View all sheet materials
My experience with TOSIZE.at
Order
Delivery
General experience
.webp)