- TOSIZE.at
- Do it yourself
- DIY Projects
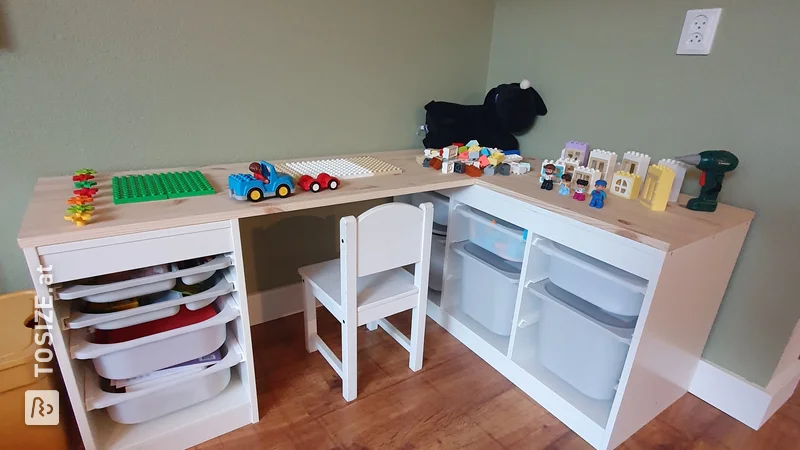
DIY Minimalist work spot / floating desk, by Pam
DIY Minimalist work spot / floating desk, by Pam
Create this project yourself with sheet material cut to size by TOSIZE.at!
Pamela
Average
3 minutes
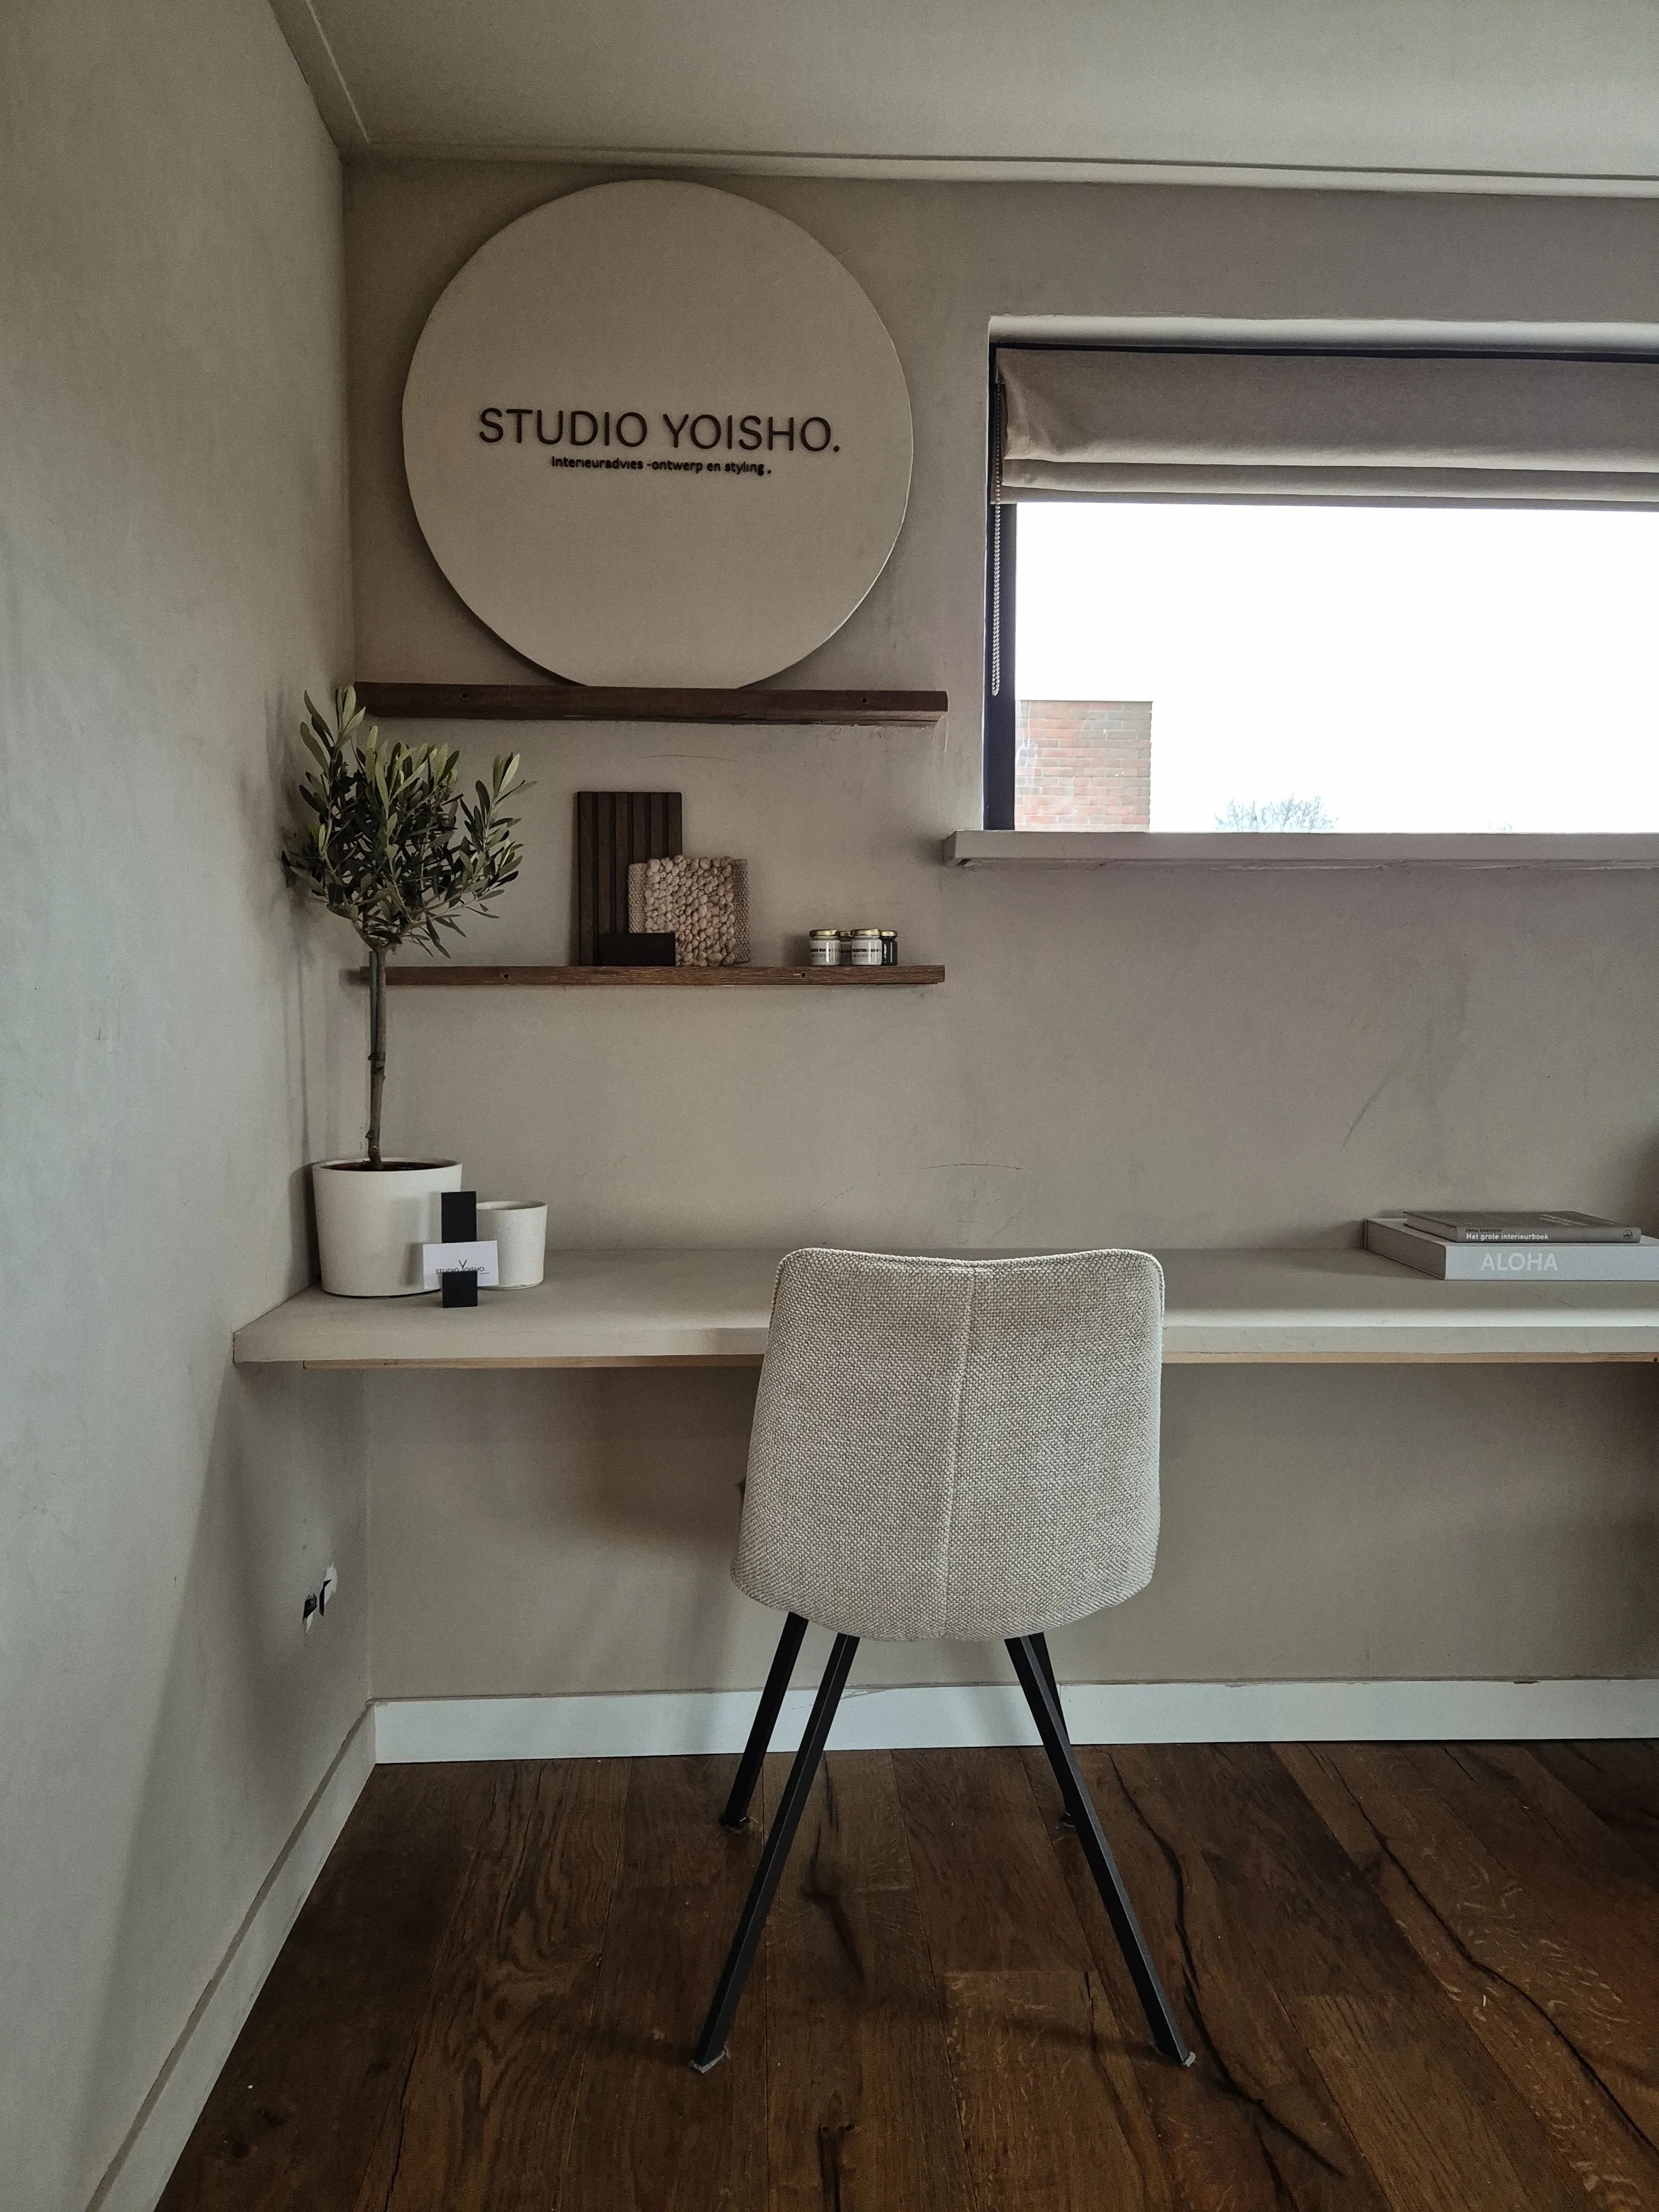
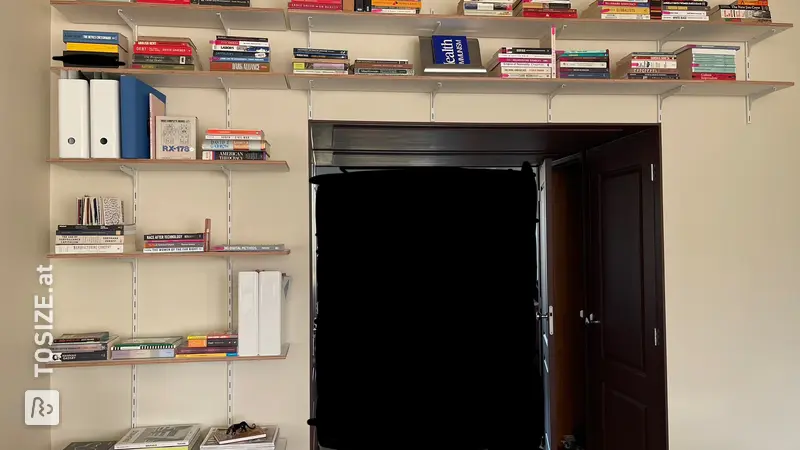
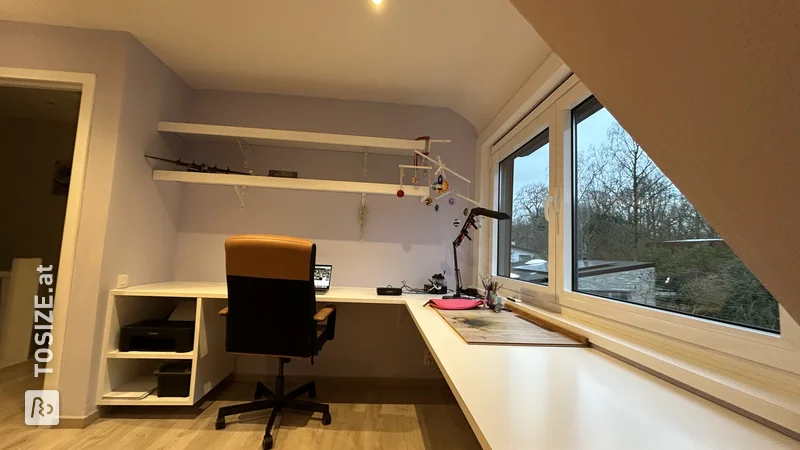
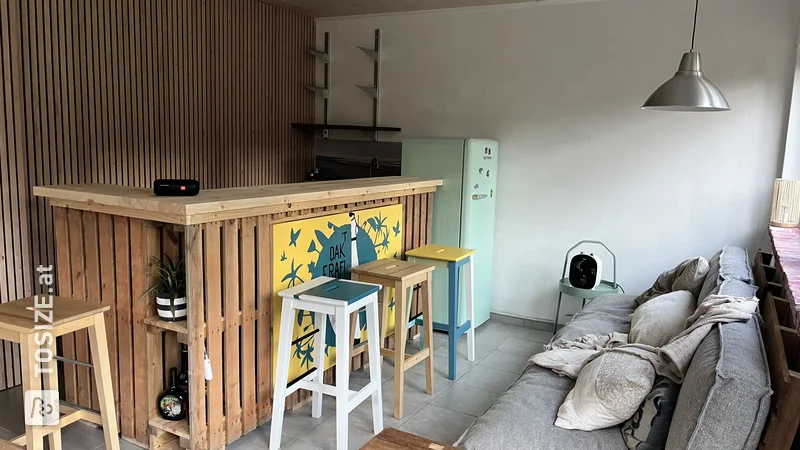
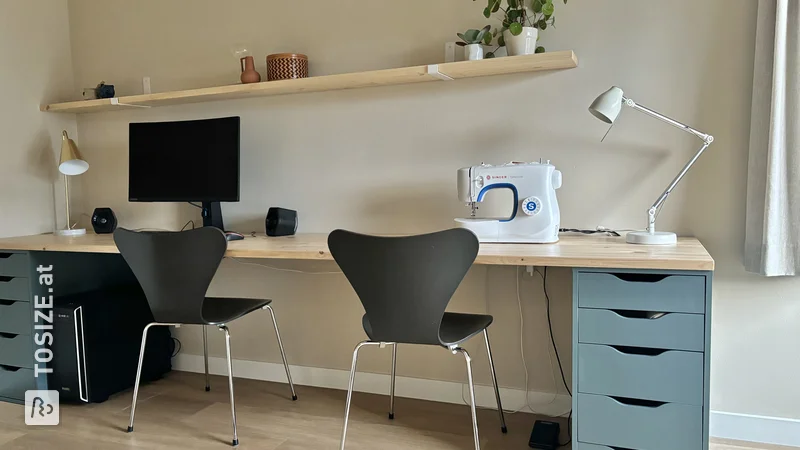
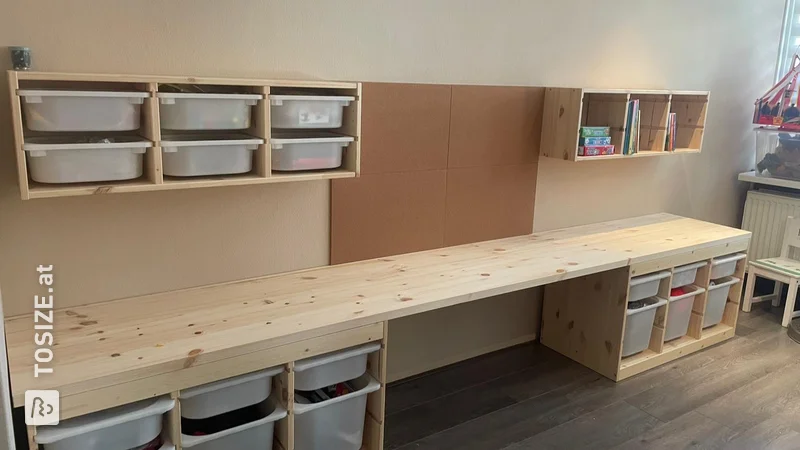
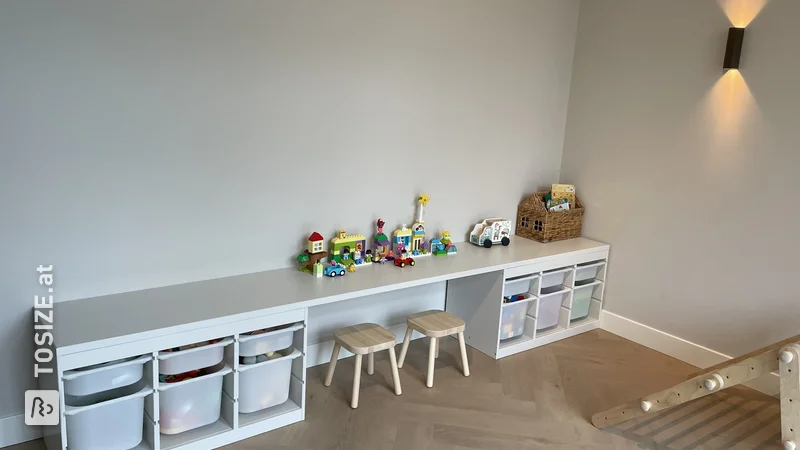
I am the type of person who is always on the lookout for something unique. Something that no one else has, something truly my own. This extends to my interior design as well. Since March 2020, I have been renovating my house by myself, and wow! It gives me an enormous thrill and results in unique projects that I am super enthusiastic about and eager to share with you. One such project is my new workspace in the bedroom.
Description by Pam (@pamdosal)
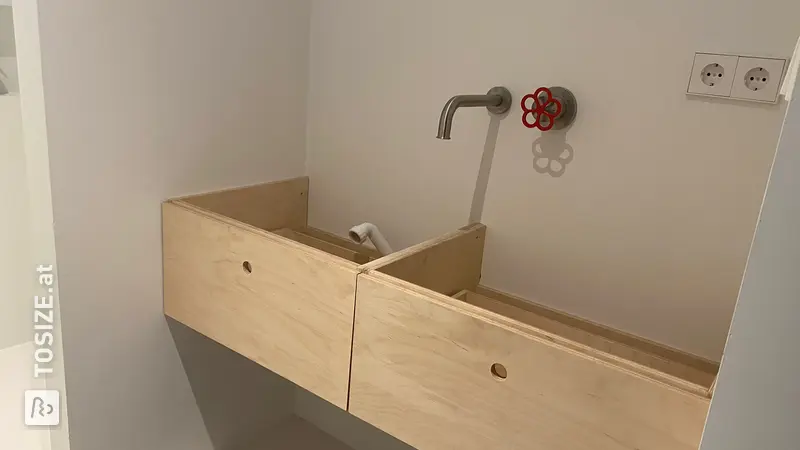
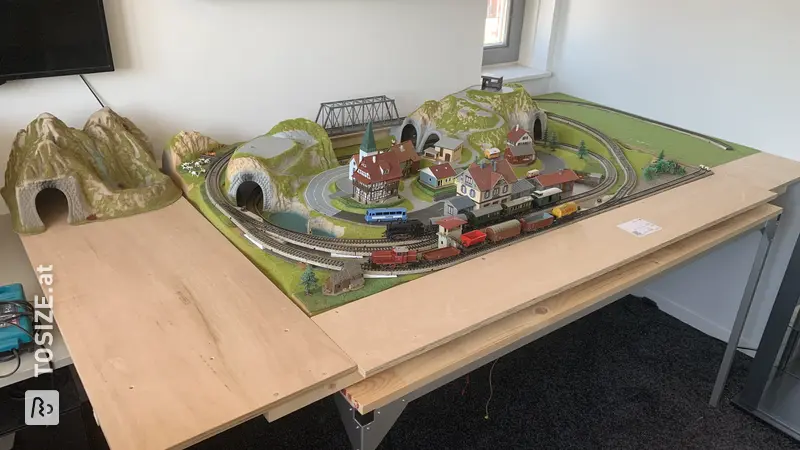
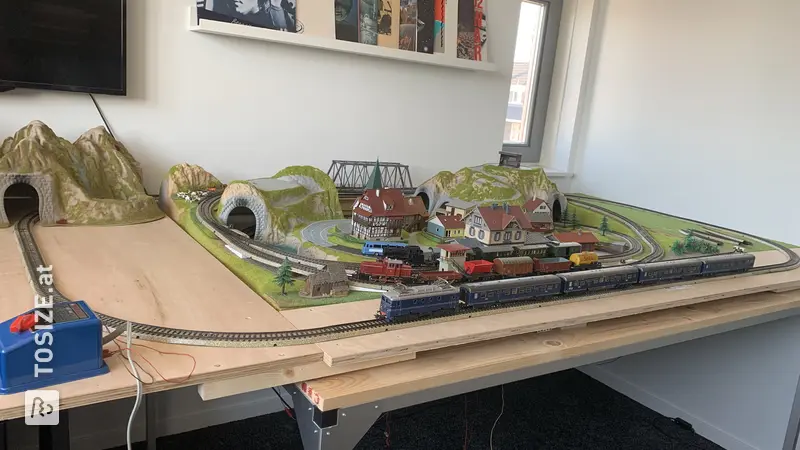
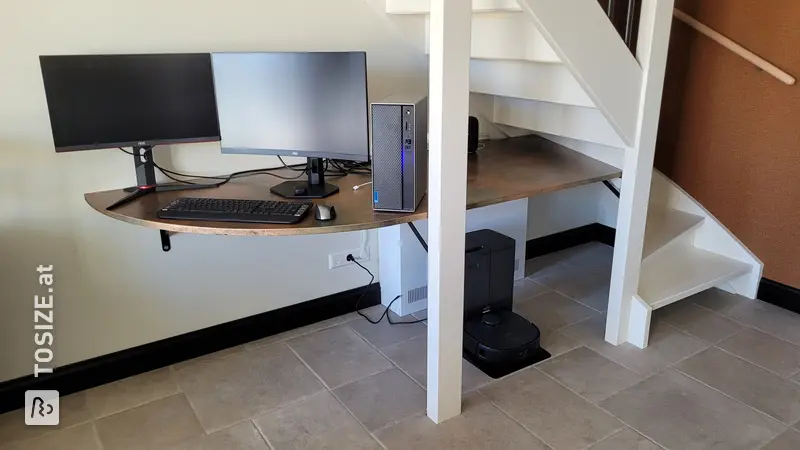
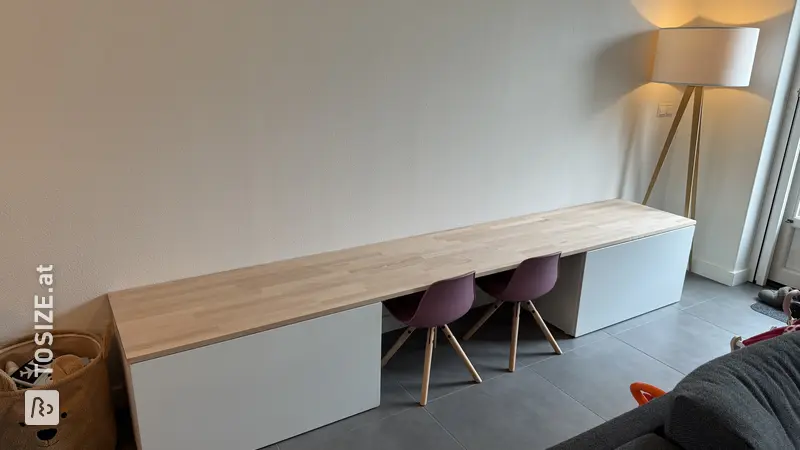
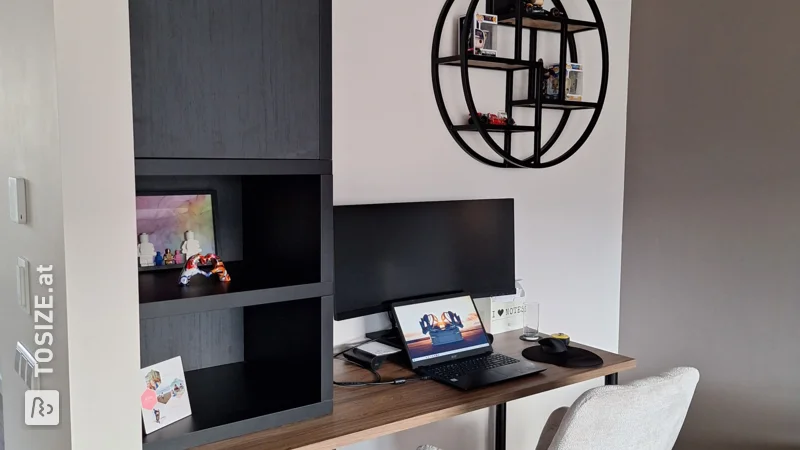
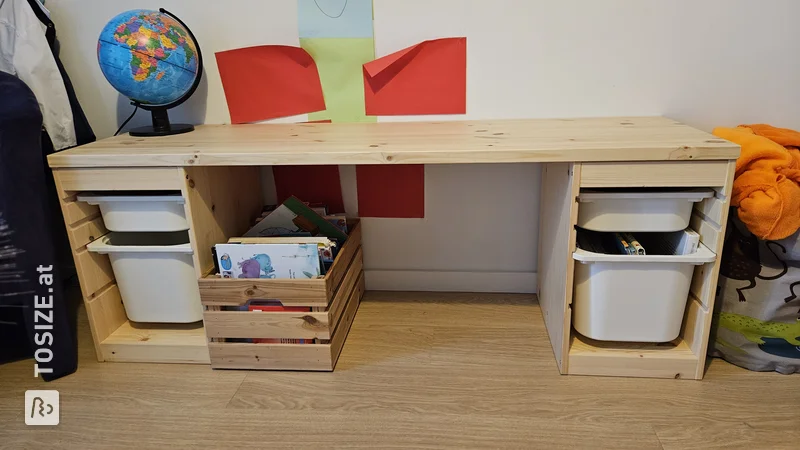
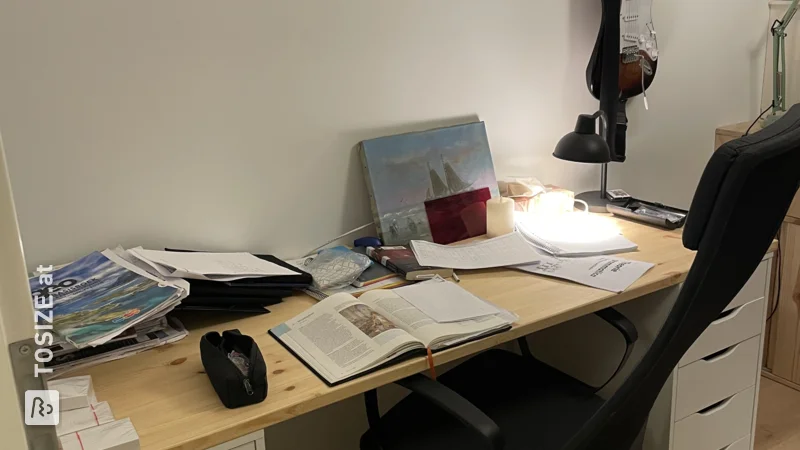
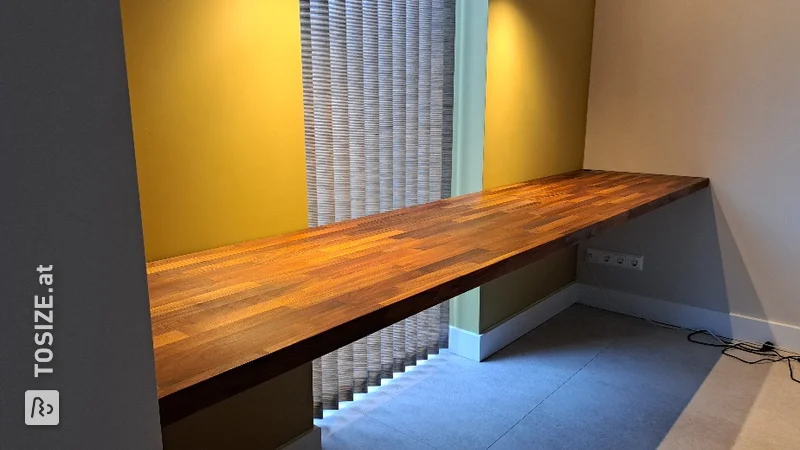
I had it all planned out: my workspace needed to be minimalist, not too big, and definitely not look like a typical 'desk.' The option was to create a custom workspace, and so I did! Together with TOSIZE.at, where I ordered the materials. Conveniently, this desk is so easy to make and assemble that you can also get creative and start right away.
Let’s go!
How I made this project
Custom Cut
- Worktops
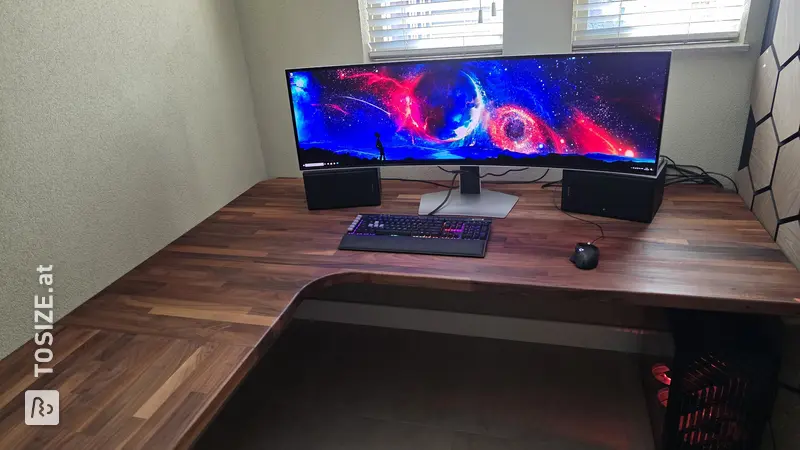
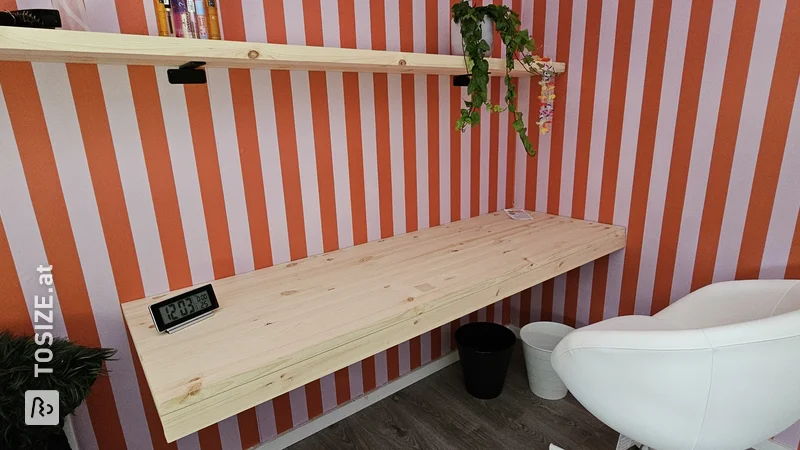
Type: Birch Plywood 27 mm
Size: 150.0 x 60.0 cm
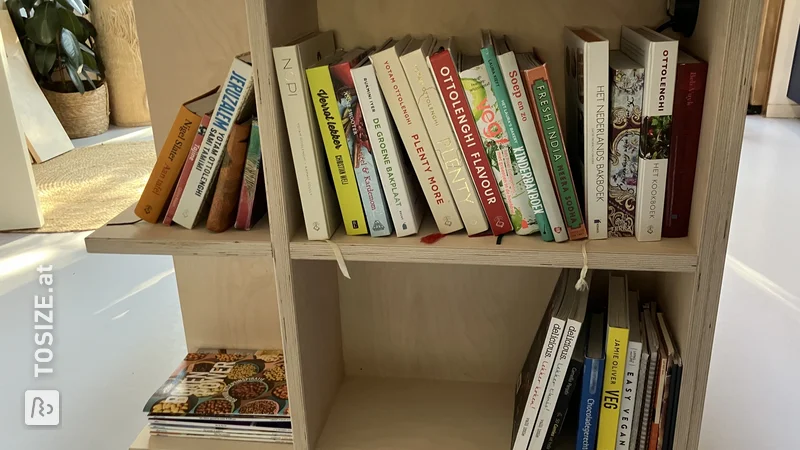
Quantity: 1 - Storage box sides
Type: Birch Plywood 12 mm
Size: 150.0 x 15.0 cm
Quantity: 2 - Storage box dividers
Type: Birch Plywood 12 mm
Size: 15.0 x 11.6 cm
Quantity: 3
Materials Needed
- (Laser) level
- Marking pencil
- SDS 8 mm drill bit
- 2x HEBGO shelf supports 480 mm
- 6x Safety anchors M8 x 75 mm
- 6x Phillips head screws 12 mm
- Bison Montage kit Poly Max High Tech Express Transparent
- Someone to help you lift the board, as it is a bit heavy
Step-by-Step Guide
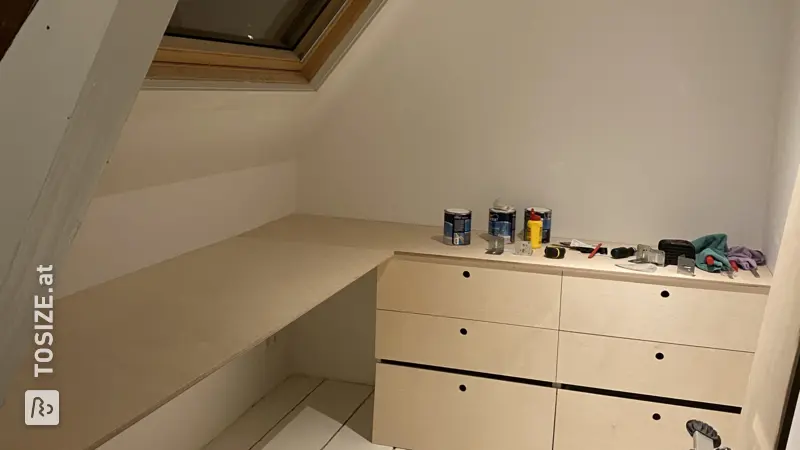
- Have the board and storage box cut to size by TOSIZE.at
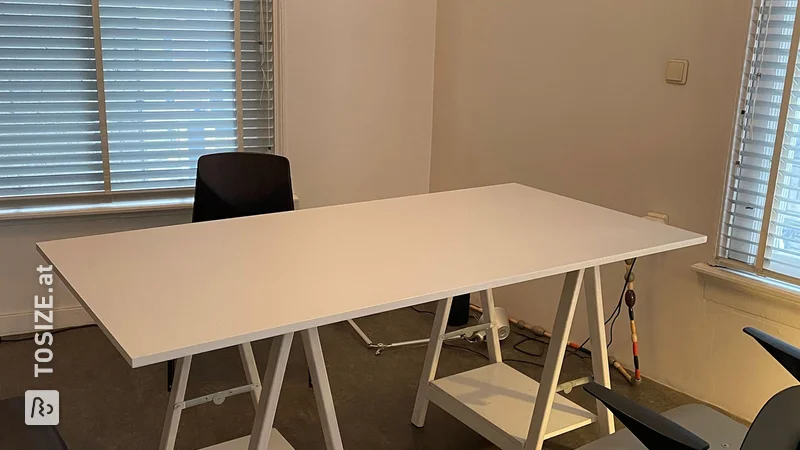
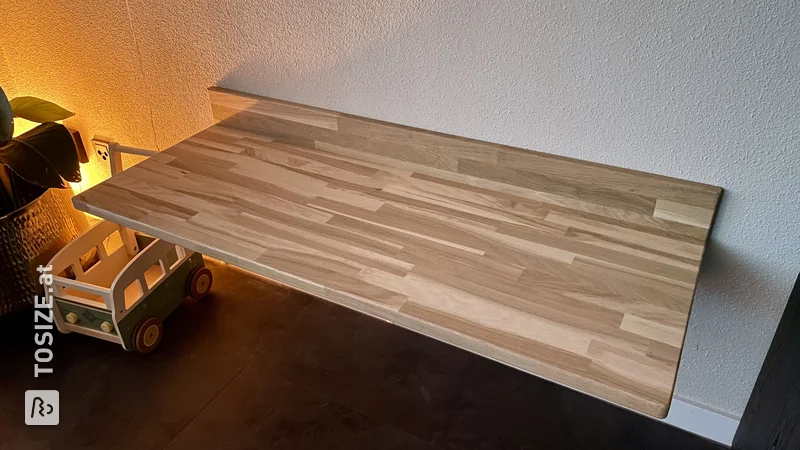
- Determine the position and height of the worktop on the wall (standard height is 74 cm)
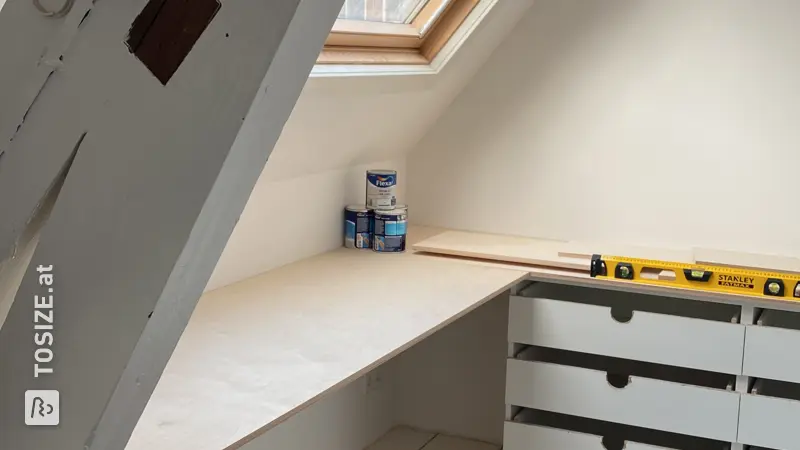
- Mark on the wall. TIP: use a laser level
- Mount the shelf supports with the safety anchors. Evenly distribute the shelf supports over the worktop
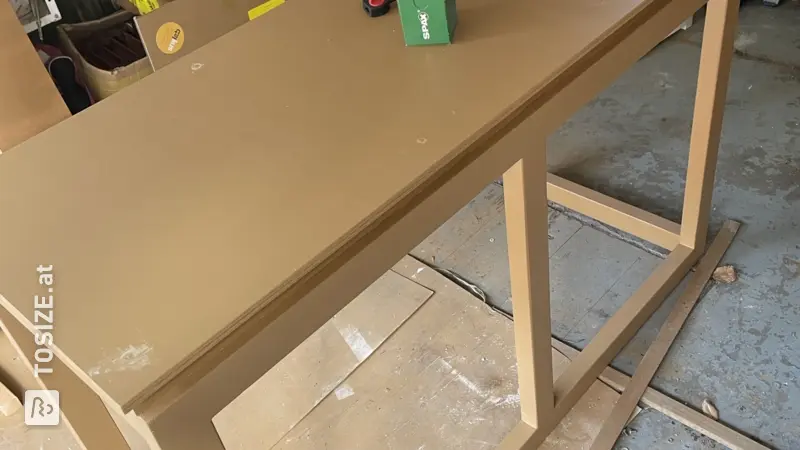
- Place the worktop on the shelf supports and secure it with the Phillips head screws (screw them in from underneath, just saying)
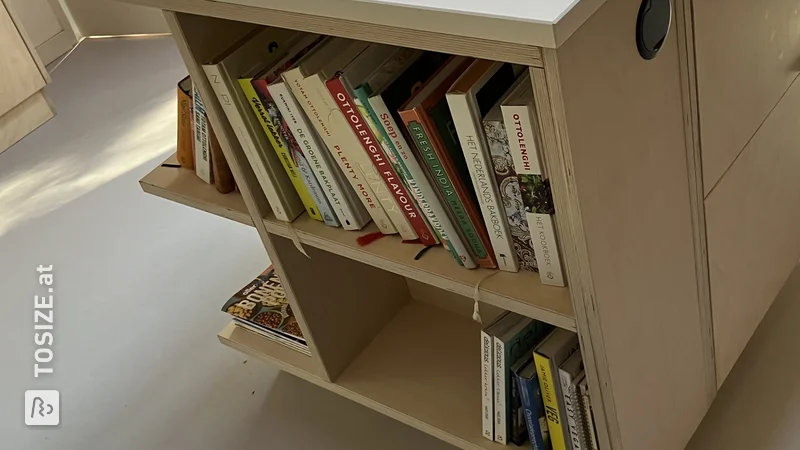
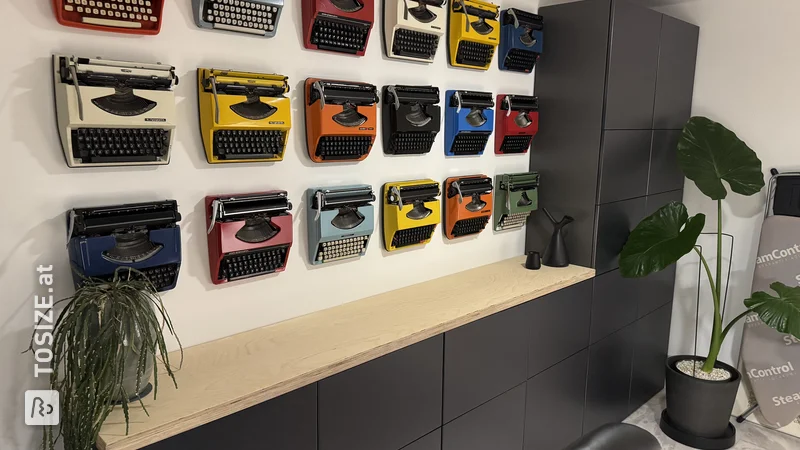
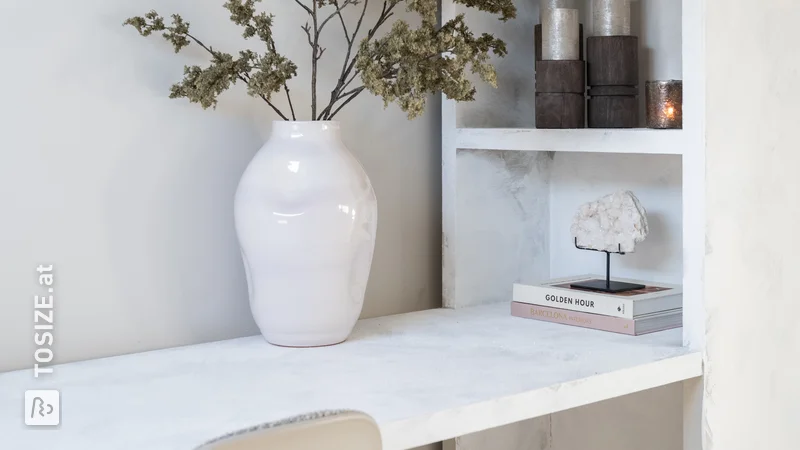
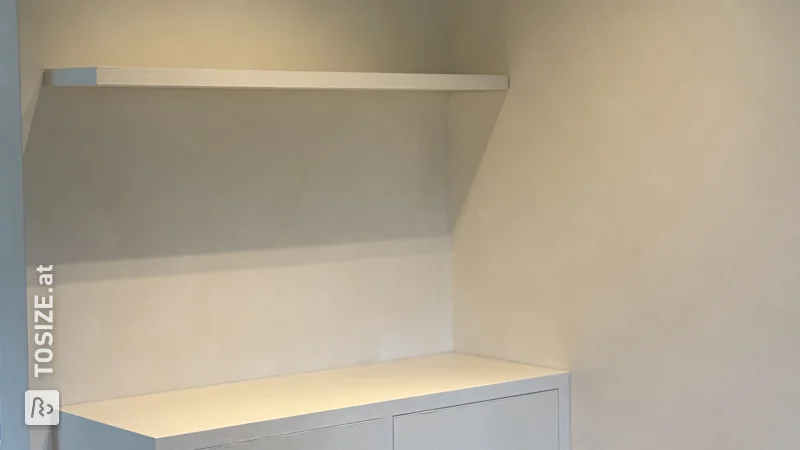
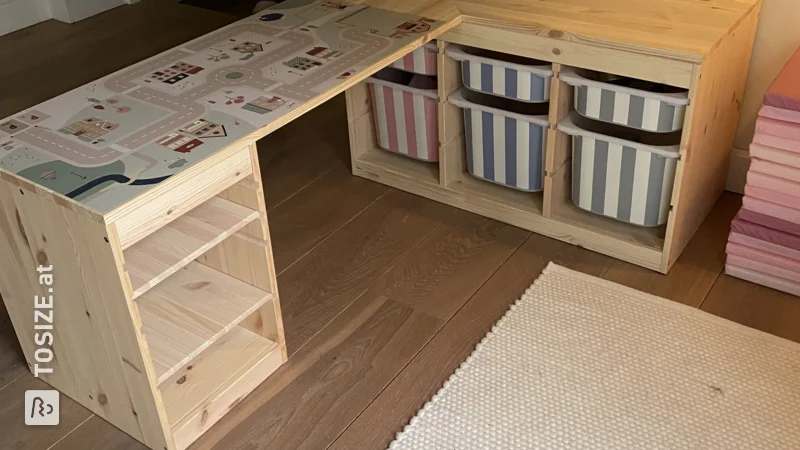
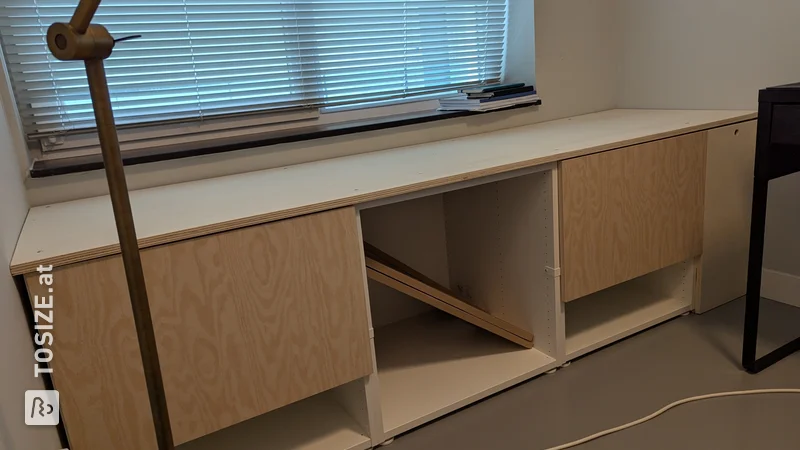
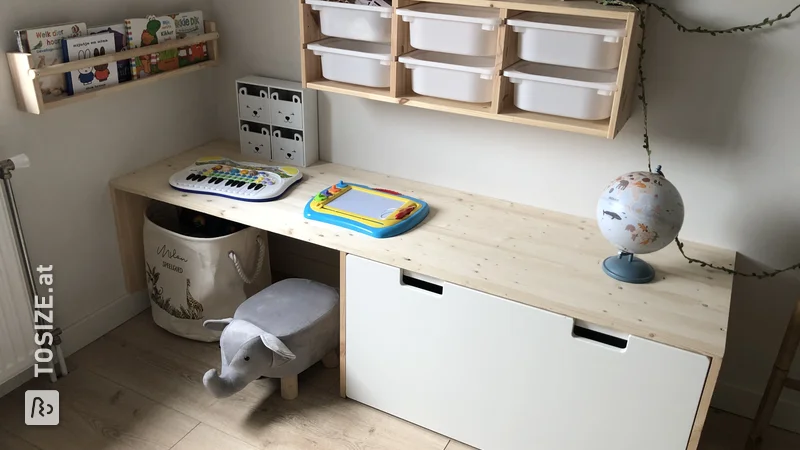
- We glued the storage box to the worktop with montage kit. The box is also attached to the wall. Dividers are also glued (a top solution so you don't see any screws)
- Ready to work!
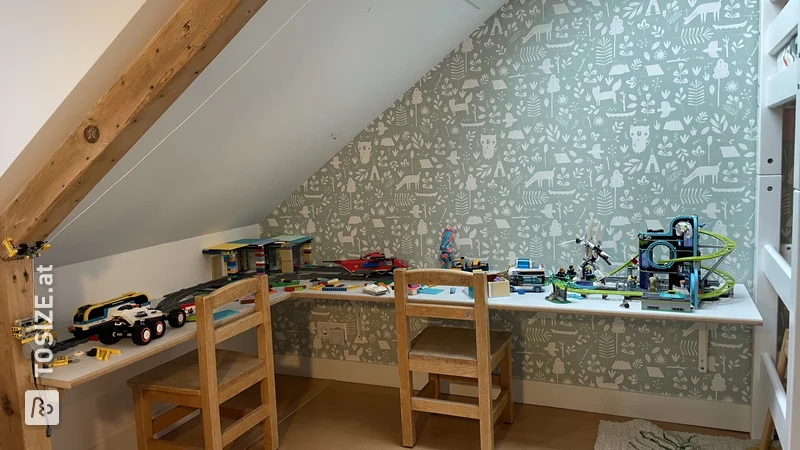
We mounted the worktop slightly away from the wall because the walls are uneven. This project took us less than two hours to assemble. Thanks to TOSIZE.at for cutting and sanding everything to size. Super handy because it really is: receive the package, assemble, and ready to use. I can only say: think of something, work it out, and go for it. You create the most beautiful things that way. As I always teach my kids: you learn by trying.
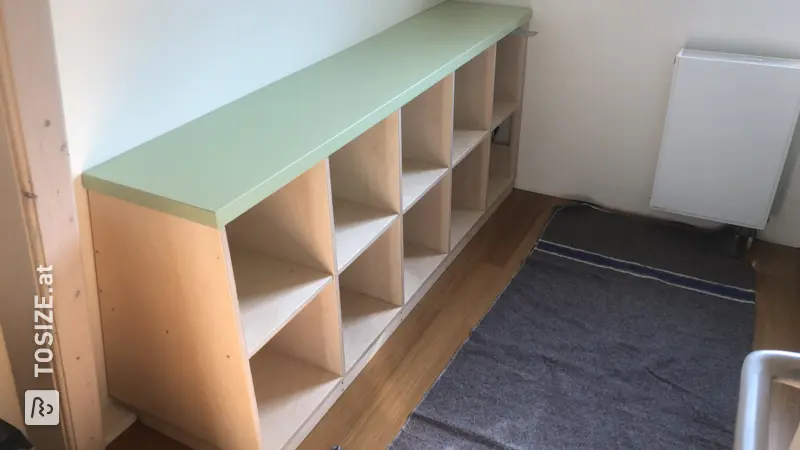
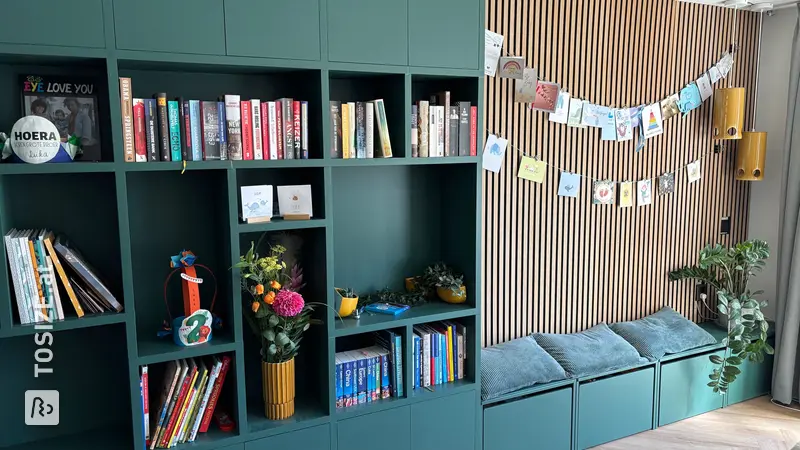
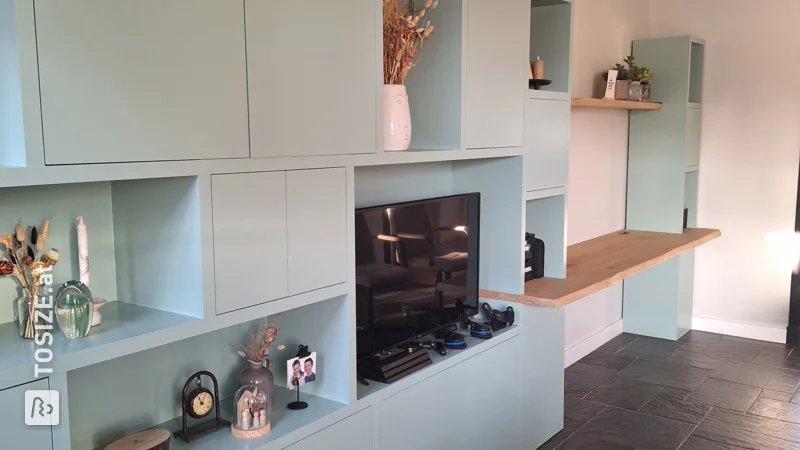
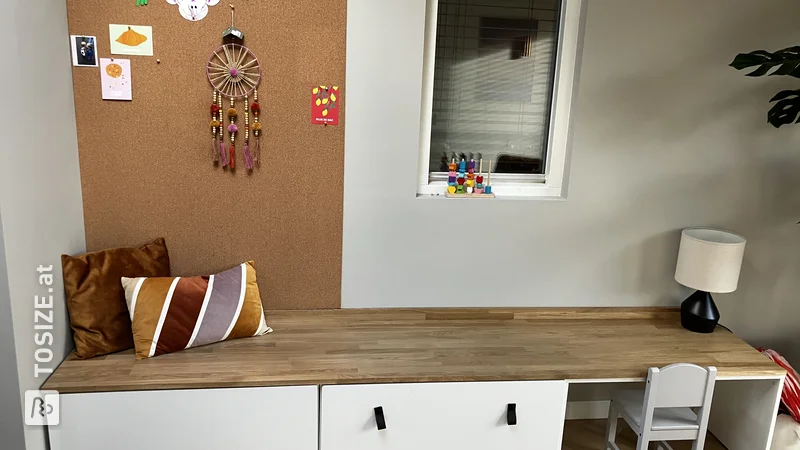
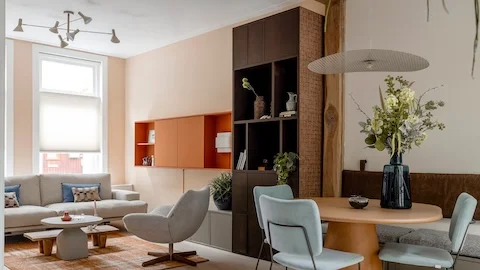
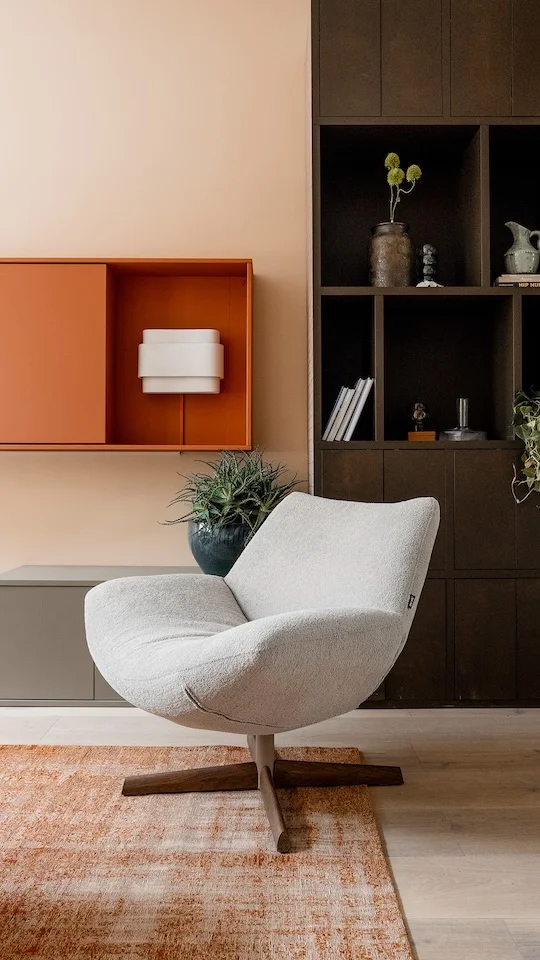
I style it with minimalist items like the cute vases from HM Home and Jysk (budget tip) and an eye-catching lamp from Madame Garage.
Want more DIY inspiration? Follow @pamdosal on Instagram!
Tip! Also check out our handy DIY tips!
What now?
Want to make this DIY project? Check out Pamela's saw list and complete your order easily.
€271.81
All materials used
View all sheet materials