- TOSIZE.at
- Do it yourself
- DIY Projects
Bedroom makeover and a Do It Yourself headboard, by Tatjana
Bedroom makeover and a Do It Yourself headboard, by Tatjana

Create this project yourself with sheet material cut to size by TOSIZE.at!
Tatjana
Easy
7 minutes
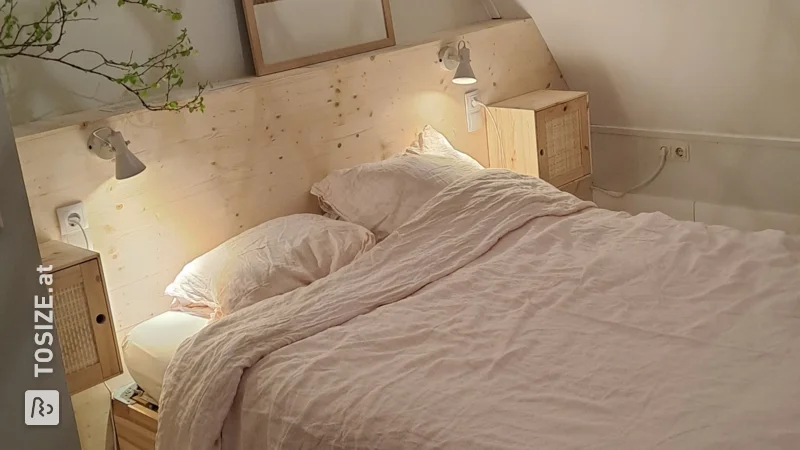
Roll up your sleeves, because today we have another great DIY for you! I (@tatjanas_world_) gave our bedroom a cool makeover and made a cool wooden headboard, among other things.
I admit, this is not something you do in an hour, but once it's finished; wow! Today I'm going to show you step by step how I made the headboard and how you can do this too! Of course I will also share lots of pictures of the end result! Do you want to read my blog; Bedroom make-over with a Do It Yourself headboard?
Description of Tatjana (@tatjanas_world_)
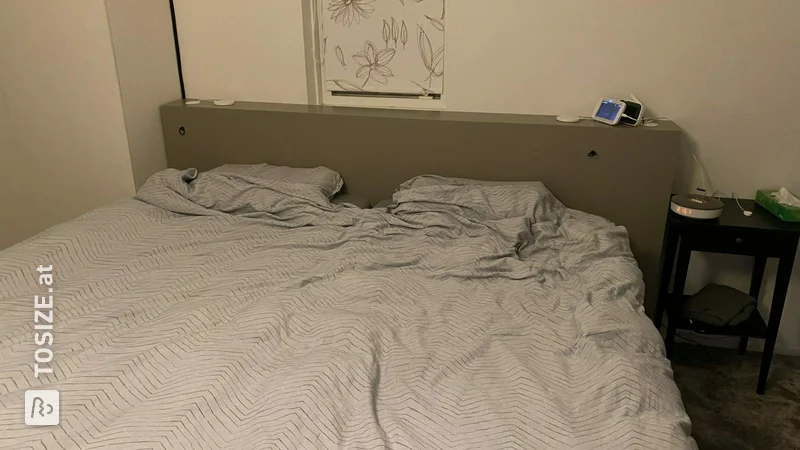
I always get my inspiration from everywhere. From Pinterest, Instagram, around me, but also good old-fashioned magazines. A while ago, I saw a super cool headboard in a VT-wonen DIY-special. The idea of replacing our old-fashioned fabric headboard with a wall-to-wall one had been on my to-do list for years. But what exactly it should look like was still a bit vague in my mind. It just wasn't it. Until I noticed that picture; a plan was born! I was in love!
Strong together
One of the reasons I hadn't started on that headboard was the sawing work. Large pieces, what material.. and then bringing all that home from the hardware store in my Fiat 500? The idea gave me a bit of a headache. Until I came across the company TOSIZE.at. You can get a saw shopping list from them with all the pieces of wood you need on it. TOSIZE.at delivers all kinds of wood and board material in many sizes and finishes, and it is delivered right to your door, so all you have to do is put it together. Really ideal.
How I made this project
(These are the sizes we used for a room of 350.0 cm width, if necessary you can adjust the sizes of course)
ATTENTION: Tatjana sawed the wood herself in mitre. This project can also be done without mitred edges. This makes the project a lot easier at the same time.
- Front 174.5 x 116.0 x 1.2 cm mitre sawn (you will need this twice)
- Side 16.0 x 116.0 x 1.2 cm mitre sawn (you will need this twice)
- 2 Side-panels 14.0 x 114.2 x 1.2 cm
- Top side 174.5 x 16.0 x 1.2 cm mitre sawn (you will need this twice)
- Shelf to join 2 parts together
- 29x Decorative strips 1,8 x 1,8 x 116 cm
- Nails 25 mm
- Screws 12 mm
- Screws 25 mm
- 7x reinforcement corners 60 x 60 mm + 1x coupling plate
- Adhesive kit (polymax) + kit gun
- Filler
- Flexa nice easy paint for furniture + brush and rollers
- Accuto
- Hammer
- Tape measure
- Pencil
- Putty knife
- Drevel
Material selection
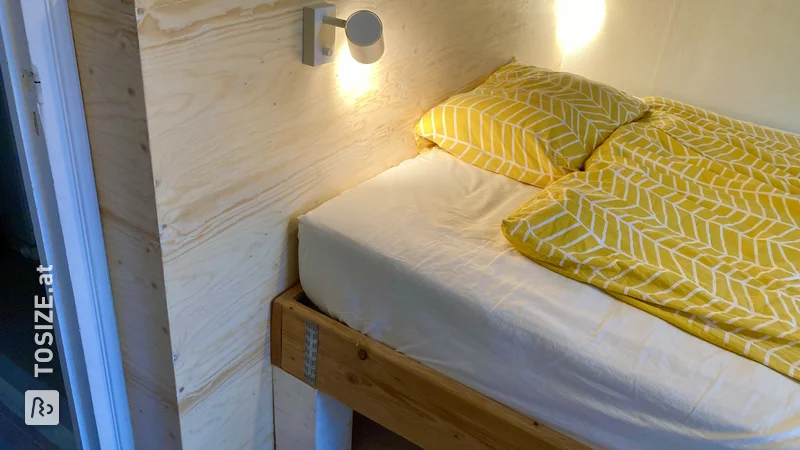
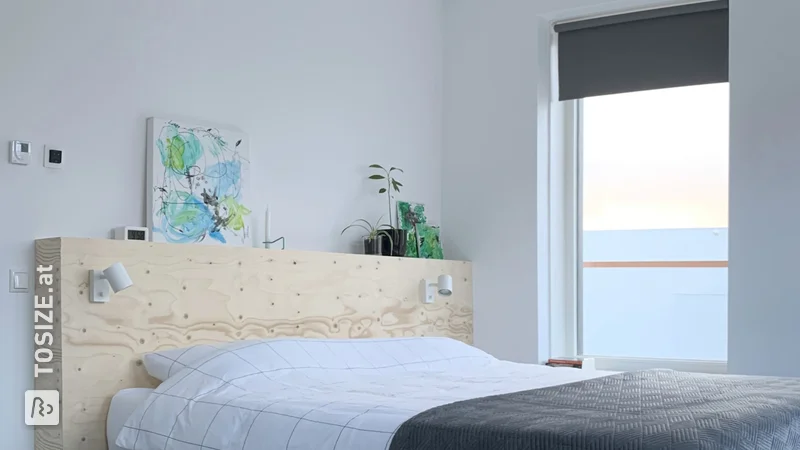
I chose Primed plywood with a thickness of 12mm at TOSIZE.at as the material. This is easy to paint straight away and its thickness is just right without being too heavy. The decorative strips I bought myself at the DIY store because they were too narrow to saw, but from 5 cm wide TOSIZE.at can also deliver this.
TOSIZE.at delivers all parts of your building project with stickers so you know exactly which part goes where. You can also add your own comments if you find this useful.
Construction drawing
This is the construction drawing I made. Here you can see exactly which pieces you need and where the mitre edges are (where there is a thick brown line).
Get going!
Yes, we are going to build. Make sure you have all your stuff ready, nothing is as annoying as having to walk 100 times to the shed or drive to the hardware store.
- We start by connecting the sides to the fronts. You will do this with the Polymax glue putty and the reinforcement profiles. These are nicely mitred, so you cannot screw them together directly. Apply glue to the mitre edge of the "side pieces" and then attach them to the "front pieces".
Make it even more sturdy by screwing a reinforcement profile into the corners (with the 12 mm screws) - You will now glue the uprights to the rear side. As with the "side pieces", apply glue putty to the edges and glue these to the back of the "front piece". These uprights ensure that your headboard stays up. I deliberately only did 2 because I still want to put the old headboard behind it (if we ever move, it can go with us). Of course, you can do more for extra sturdiness.
- Now that the sides and uprights are in place, the 2 top parts can be attached. Do this by using the reinforcement profiles and glue.
- Leave it to dry for a few hours so that all the glue has set.
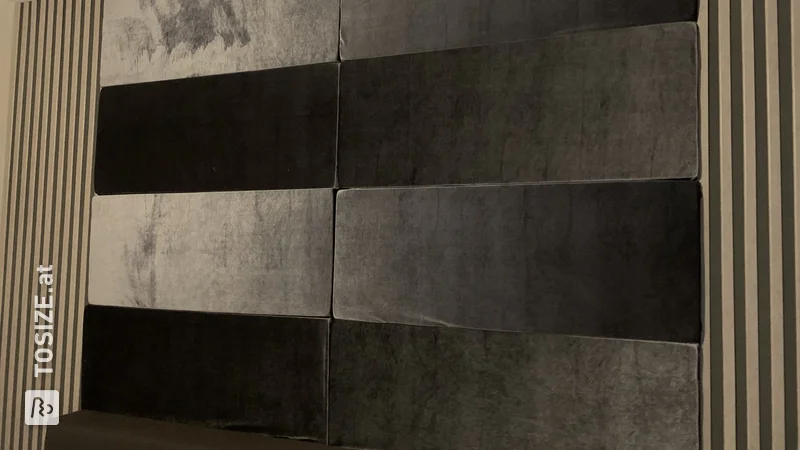
Finishing touch
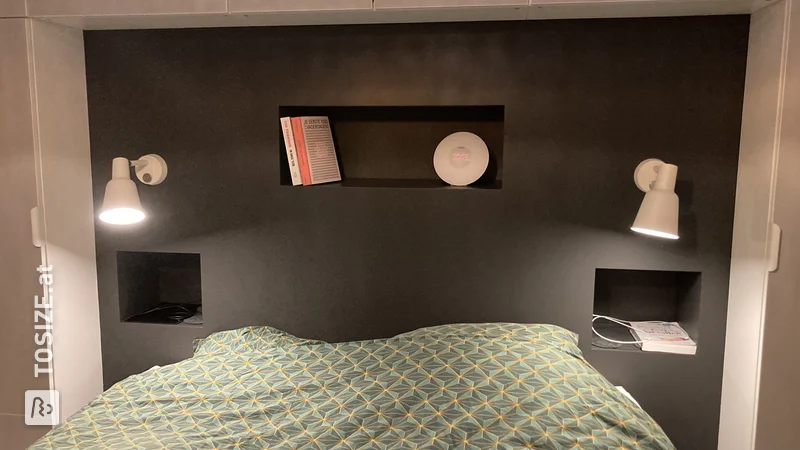
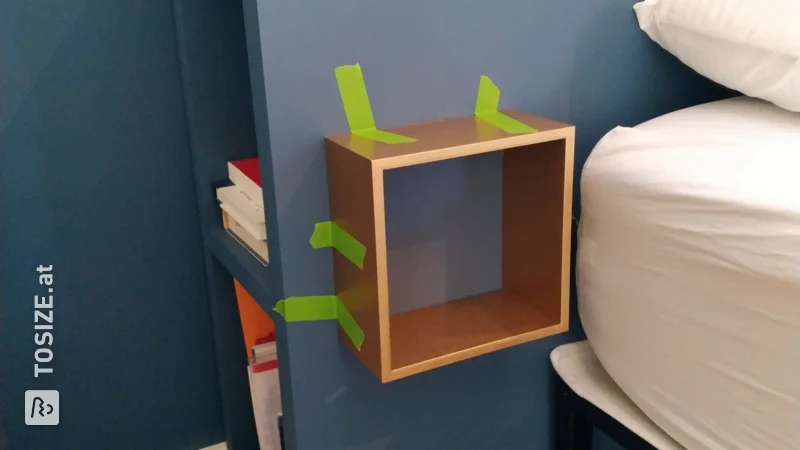
- Time for the decorative strips. I attach the decorative strips with 9.9 cm space between each strip. I glue each batten in place first, and then I place one nail above and one below the batten for extra strength. Countersink the nails with a punch so that you can hide them later. The batten in the middle falls exactly over the gap in the middle where you joined the two parts.
- Put the headboard upright.
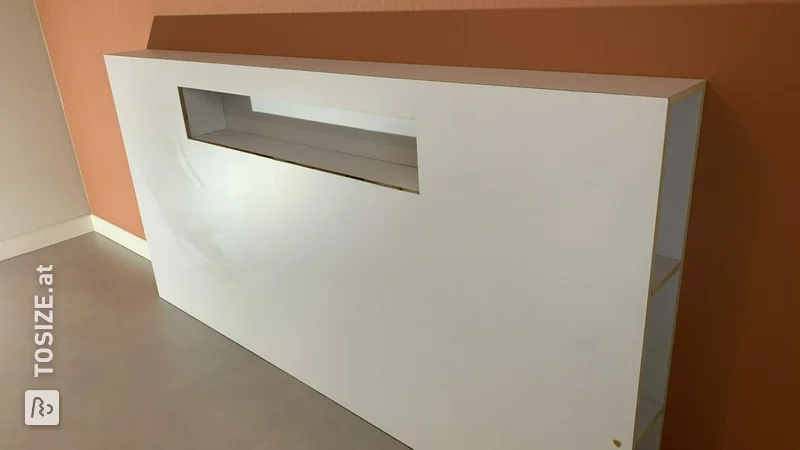
- Now join the two parts that you have put together. Do this with the plank that you attach to the back with screws. To attach the 2 upper parts to each other, use a straight iron coupling plate.
- Your headboard is now assembled in its entirety.
Almost done!
- Now use the filler to fill all the holes and cracks that exist. Remove the nail holes on the decorative strips, the gap at the top and any space between the headboard and the strips.
- Let this dry for a few hours and then sand everything nice and smooth with fine sandpaper.
- First of all, a round of applause for yourself, because your headboard is ready! Time for some colour!
- Wipe everything down with a cloth so that it is dust-free.
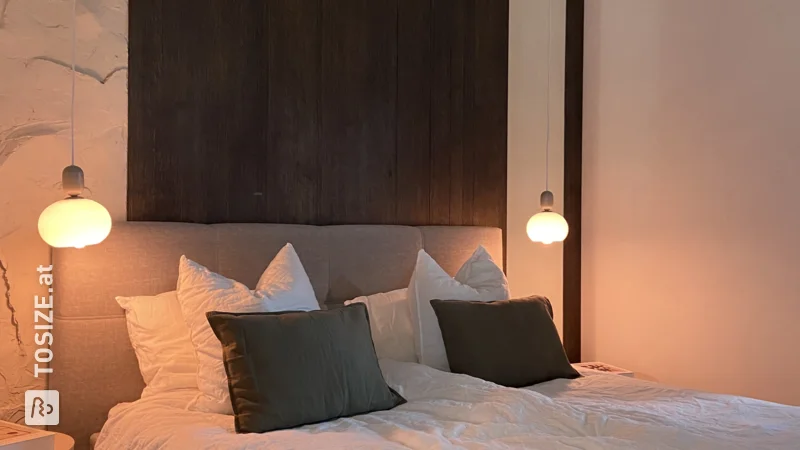
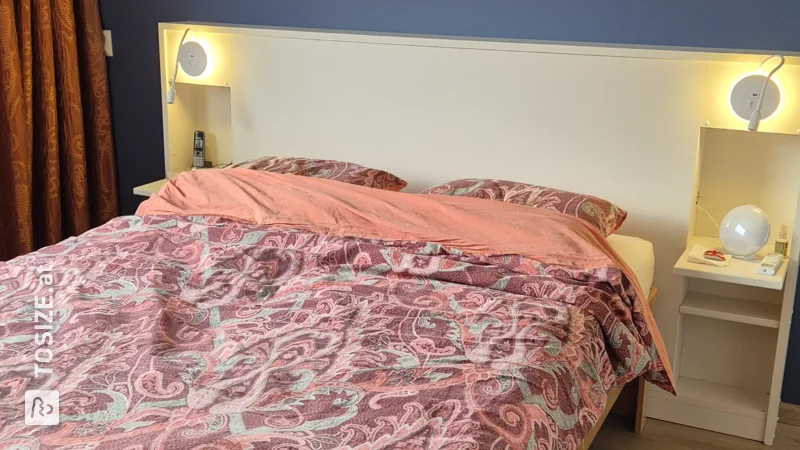
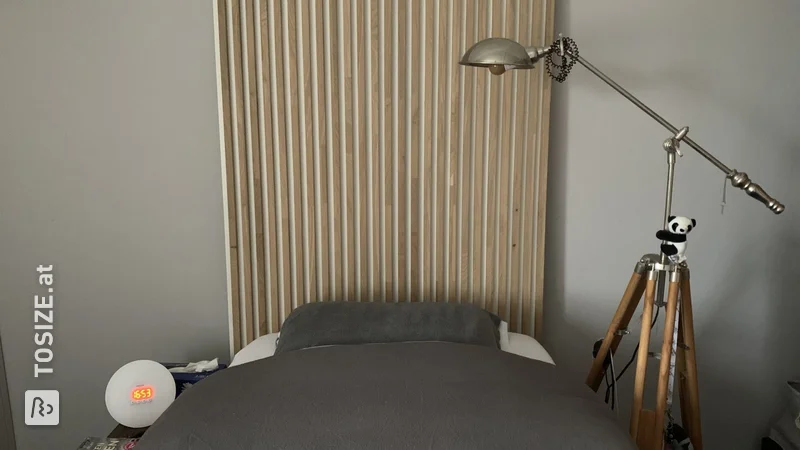
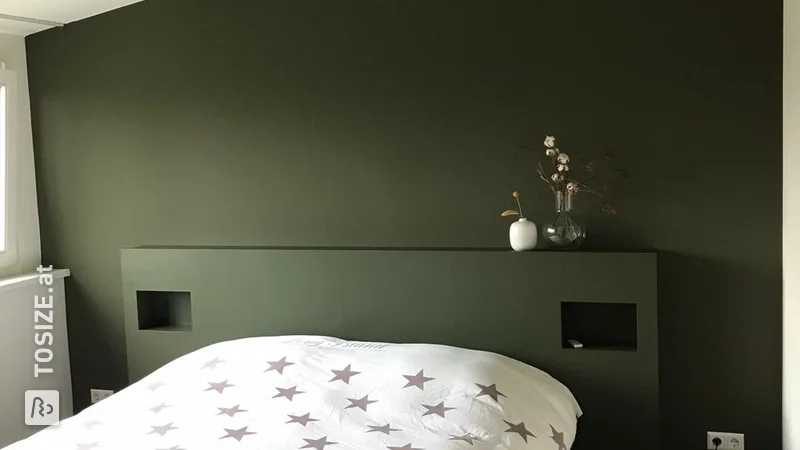
- Paint the headboard in any colour you like. I used Flexa Mooi Makkelijke for furniture in the colour “Something Marble”. Very handy because it means you don't have to use any primer and it dries quickly. Flexa Mooi Makkelijk is available for different projects and can be mixed in all colours.
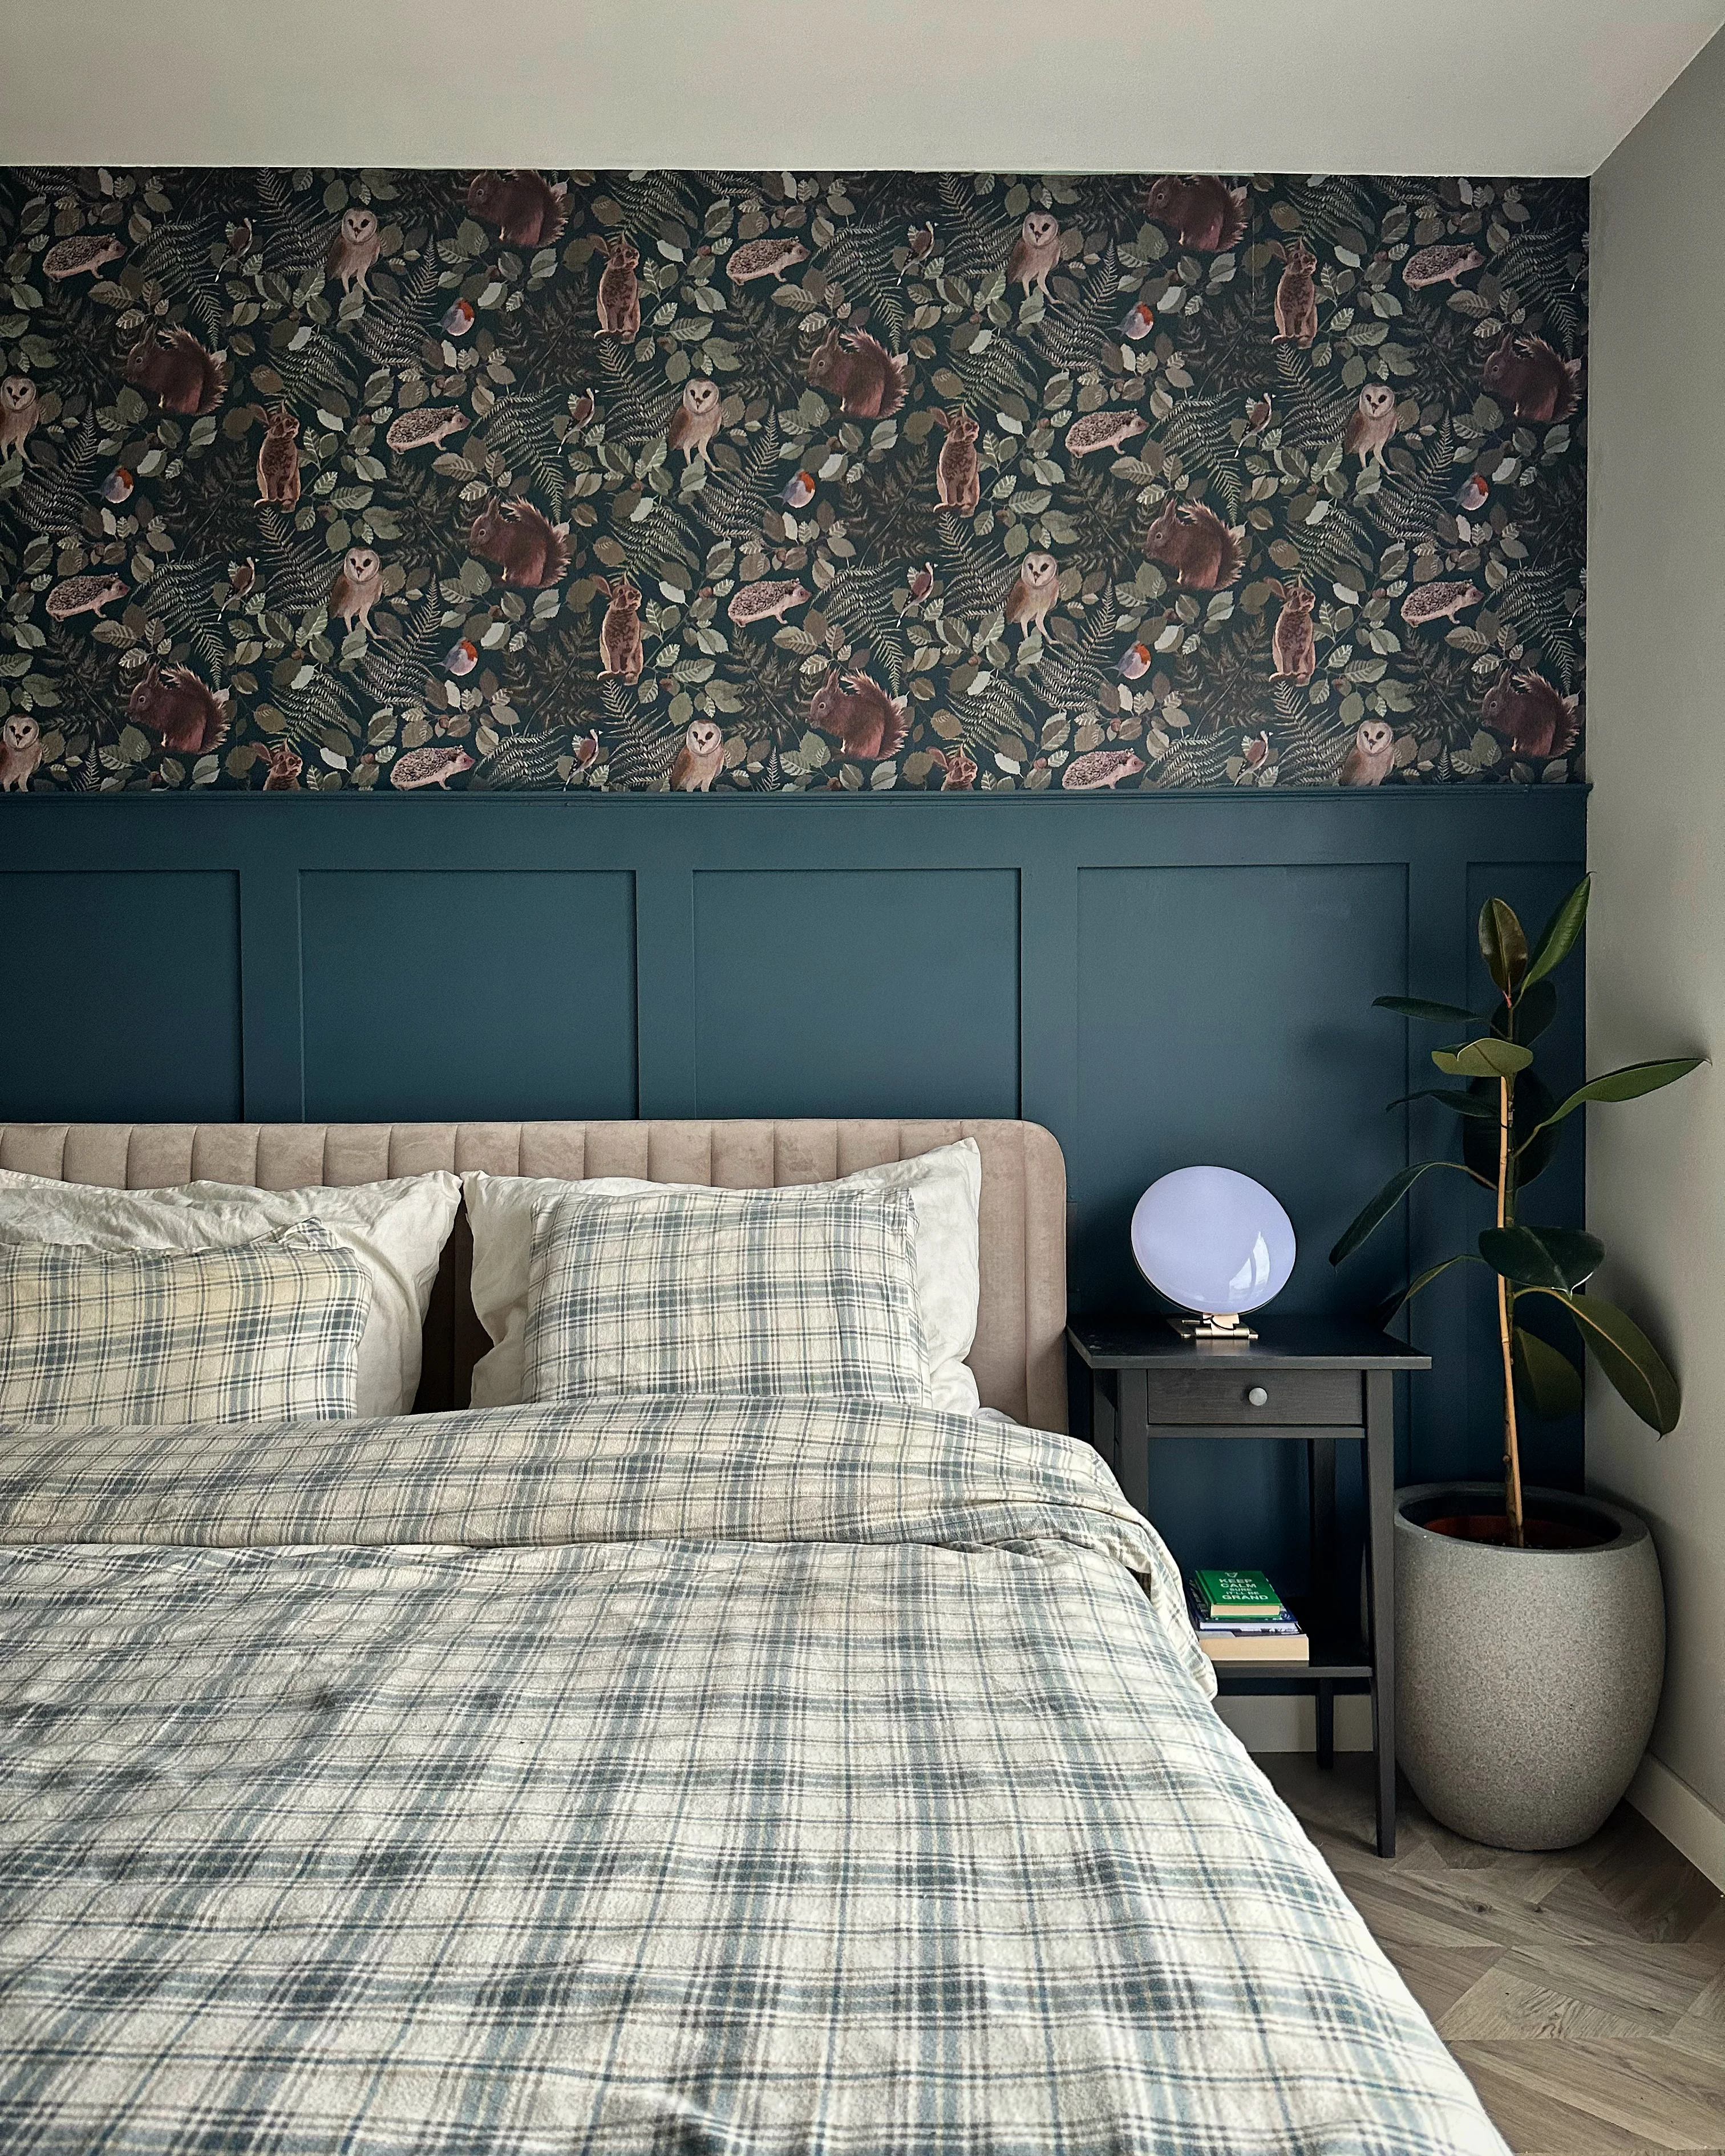
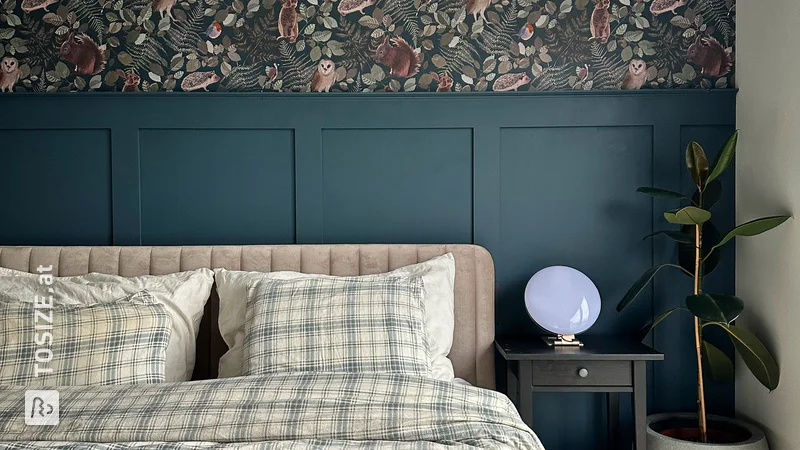
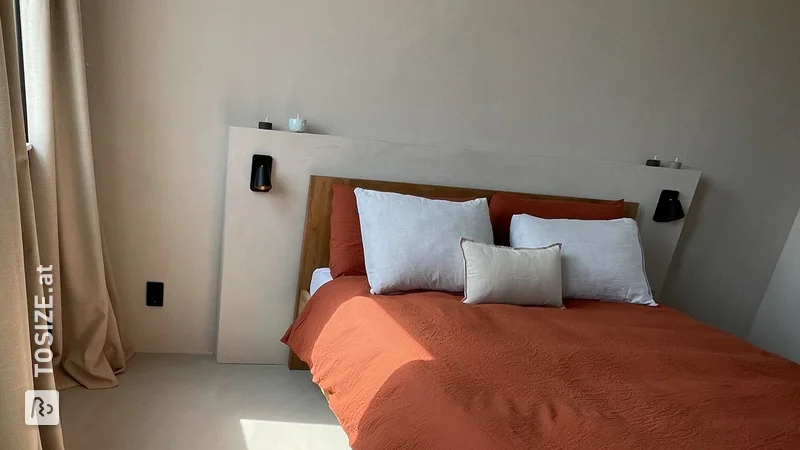
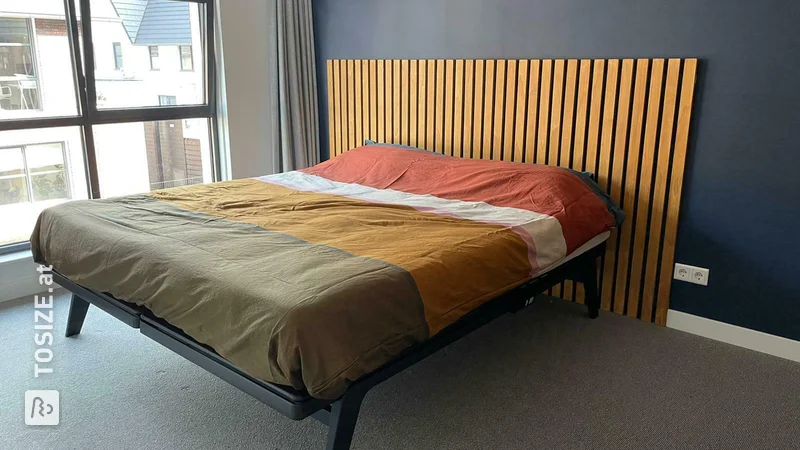
- Voila! Take a step back and enjoy the beautiful headboard you have just built yourself! But of course, we are not quite finished yet!
Time for colour!
Whenever I start a project that involves changing an entire room, I create a mood board. The starting point for this bedroom makeover and Do It Yourself headboard was a tough whole with boho elements. This was the moodboard I made. Warm and cool tones alternate, cool black accessories and a gallery wall.
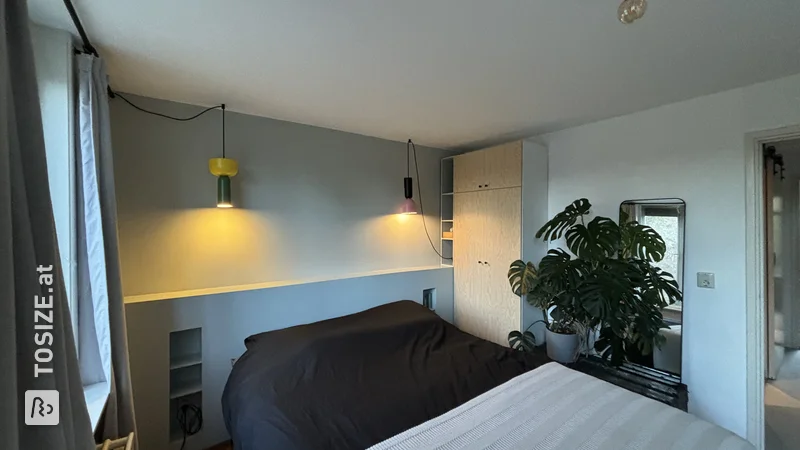
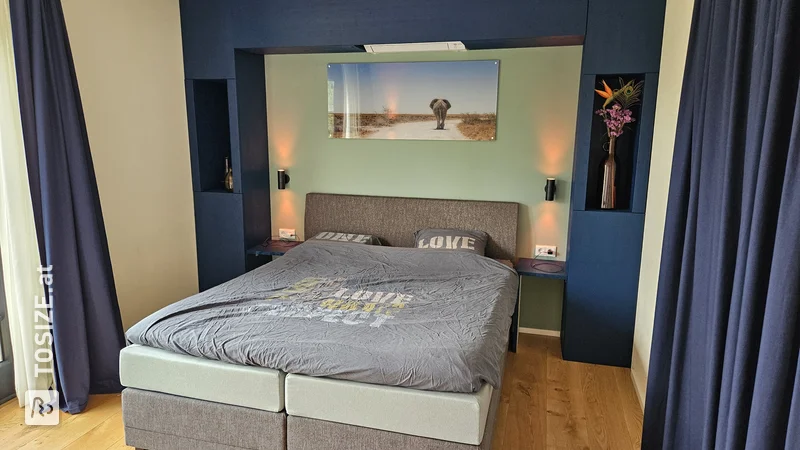
The biggest job in my bedroom makeover was finishing the headboard. But, it wouldn't be finished without a new colour on the wall. I painted a semi-circle above the headboard in the same colour as the headboard itself, which was "Something Marble" from Flexa Creations Extra Mat.. For the side wall, I chose "White Gravel" A very light blue colour, almost white with a hint of blue in it. This makes it a nice match with the "Something Marble" on the other wall.
Styling
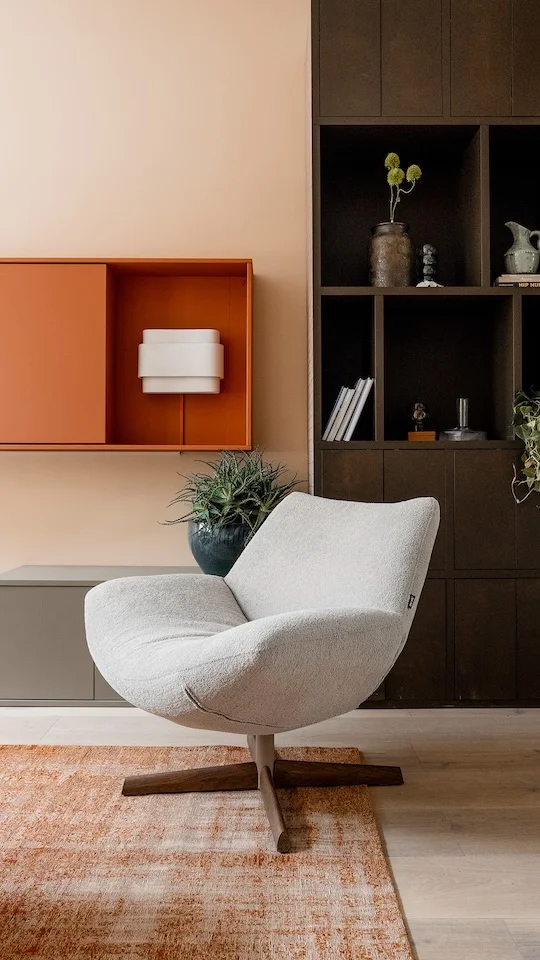
I wanted the whole thing to be a bit tougher than it was, so I chose accessories that would achieve that result. I replaced the lamp above the bed with theNimbus.lamp. Candle holdersWalker Large and Walker Small for the darker evenings and soft cushions Dolly and Faith to crash into! These items are all from By-Boo.
I also made a gallery wall with posters from Desenio and Posterlounge, among others.
All in all, our bedroom is still recognisable as ours but has been given a completely different look! We are very happy with it and wonder what you think of it!
It's great that you read my blog; Bedroom Makeover with a Do-It-Yourself Headboard. Are you going to do this DIY too? Tag me and TOSIZE.at on Instagram!
Dimensions of my DIY project
~350,0 x ~116,0 x ~16,0 cm
Tip! Also check out our handy DIY tips!
What now?
Want to make this DIY project? Check out Tatjana's saw list and complete your order easily.
€542.27
All materials used
View all sheet materials